 View Gallery
1 photo
View Gallery
1 photo
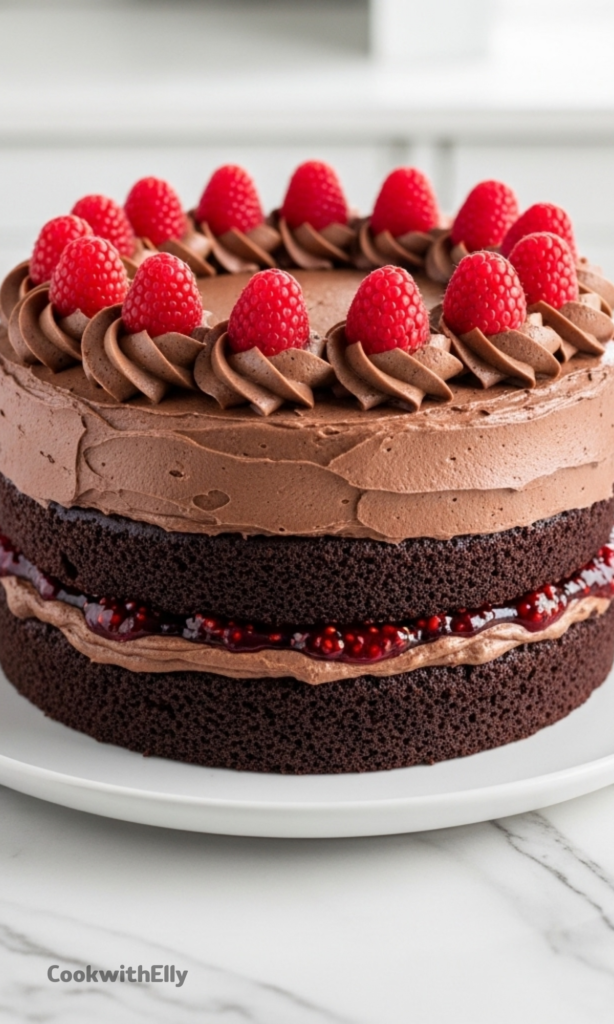
This chocolate raspberry cake is one of those recipes I keep coming back to, especially when I want something that feels special without being stressful. It has deep chocolate flavor, a soft crumb, and a bright raspberry layer that cuts through the richness just right. Every time I serve it, people assume it took way more effort than
it actually did.I love cakes that feel a little dramatic when sliced, and this one delivers. You get the dark cake layers, the ruby filling peeking through, and that smooth chocolate frosting wrapping it all together. It works for birthdays, dinner parties, or those weekends when baking feels like self-care.
This recipe is also forgiving, which matters more than people admit. The batter is thin, the steps are straightforward, and you do not need fancy tools or advanced skills. If you can stir, pour, and spread frosting, you are already qualified.
Ingredients Needed for the Recipe
- Granulated sugar – sweetens the cake and helps create a tender crumb.
- All-purpose flour – gives structure without making the cake heavy.
- Unsweetened cocoa powder – provides that deep chocolate flavor.
- Baking soda and baking powder – help the cake rise evenly.
- Salt – balances sweetness and sharpens the chocolate taste.
- Eggs – bind everything together and add richness.
- Buttermilk – keeps the cake moist and soft.
- Oil – adds moisture that lasts even after chilling.
- Vanilla extract – rounds out both the cake and frosting flavors.
- Boiling water – blooms the cocoa and makes the batter smooth.
- Butter – forms the base of the chocolate frosting.
- Powdered sugar – sweetens and thickens the frosting.
- Milk – adjusts the frosting texture.
- Raspberries – create the bright, tangy filling.
- Lemon juice – lifts the raspberry flavor.
- Cornstarch – thickens the raspberry filling.
How to make Chocolate Raspberry Cake?
Step 1 – Prepare the pans and oven
I always start by preheating the oven to 350 degrees and prepping the pans. Greasing them well and lining the bottoms with parchment gives peace of mind later. There is nothing worse than a cake that refuses to come out clean.
Set the pans aside and gather all your ingredients before mixing. This small step keeps the process calm and helps avoid missed additions. It also makes baking feel less rushed.
Step 2 – Mix the dry ingredients
In a large bowl, stir together sugar, flour, cocoa powder, baking soda, baking powder, and salt. I use a whisk here to break up cocoa clumps and evenly distribute everything. This simple step matters more than it sounds.
Once mixed, pause for a second and make sure the color looks even. If you still see streaks of white flour, give it another gentle stir. No need to overthink it.
Step 3 – Add the wet ingredients
Add the eggs, buttermilk, oil, and vanilla to the bowl. Beat the mixture for about two minutes until smooth and glossy. The batter will look thick at this stage, and that is exactly right.
Now slowly stir in the boiling water. The batter will thin out dramatically, which can feel wrong the first time. Trust the process, this is what makes the cake so moist.
Step 4 – Bake the chocolate cakes
Divide the batter evenly between the prepared pans. Place them in the oven and bake for 30 to 35 minutes. A toothpick inserted into the center should come out clean or with a few moist crumbs.
Let the cakes cool in the pans for about ten minutes before turning them out onto racks. Allow them to cool completely before assembling. Warm cakes and frosting never mix well.
Step 5 – Make the raspberry filling
While the cakes cool, combine sugar, water, lemon juice, and cornstarch in a saucepan over medium heat. Stir until smooth before adding the raspberries. This prevents lumps later.
Cook the mixture, stirring often, until the berries break down and the sauce thickens. Let it cool completely before using. Warm filling will slide right out of the cake.
Step 6 – Prepare the chocolate frosting
Mix melted butter and cocoa powder until smooth. Add powdered sugar, milk, and vanilla, then beat until creamy. The frosting should spread easily but still hold its shape.
If it feels too thick, add a splash of milk. If too thin, add a bit more powdered sugar. This frosting is forgiving and easy to adjust.
Step 7 – Assemble the cake
Place one cake layer on a serving plate. Spread an even layer of raspberry filling on top, leaving a small border around the edge. This keeps the filling from spilling out.
Top with the second cake layer and frost the entire cake with chocolate frosting. If you like, spoon extra raspberry filling on top or finish with fresh berries.
Serving Ideas
This cake shines on its own, but a few small touches can elevate it even more. I sometimes serve slices with lightly whipped cream or a scoop of vanilla ice cream. The contrast is simple but lovely.
For gatherings, I like to garnish the top with fresh raspberries right before serving. It adds color and hints at the flavor inside. Plus, it makes the cake look bakery-worthy.
Tips
- Use room temperature eggs and butter for smoother mixing.
- Spoon flour into the measuring cup instead of scooping.
- Do not over-mix once wet and dry ingredients are combined.
- Cool the raspberry filling completely before assembling.
- Freeze cake layers briefly to make frosting easier.
Variations and Substitutions
If raspberries are not your thing, this recipe adapts beautifully. Strawberries or cherries work well using the same method. The chocolate base is flexible and pairs with many fruits.
You can also use store-bought raspberry filling if time is tight. I have done this more than once, and no one complained. Just choose a thick filling so it stays put.
Make Ahead and Storage
This chocolate raspberry cake can be made a day ahead and stored covered in the fridge. I actually think it tastes even better the next day once the flavors settle. Just bring it to room temperature before serving.
Unfrosted cake layers freeze well for up to a month. I wrap them tightly and thaw overnight in the fridge. Frosting frozen layers is surprisingly easier and less crumbly.
Every time I bake this cake, it reminds me why classic flavor combinations never go out of style. Chocolate and raspberry just work, no explanation needed. It is comforting, celebratory, and always worth the effort.
If you make it once, you will likely make it again. That has been my experience, at least. Some recipes earn a permanent spot, and this one absolutely has.
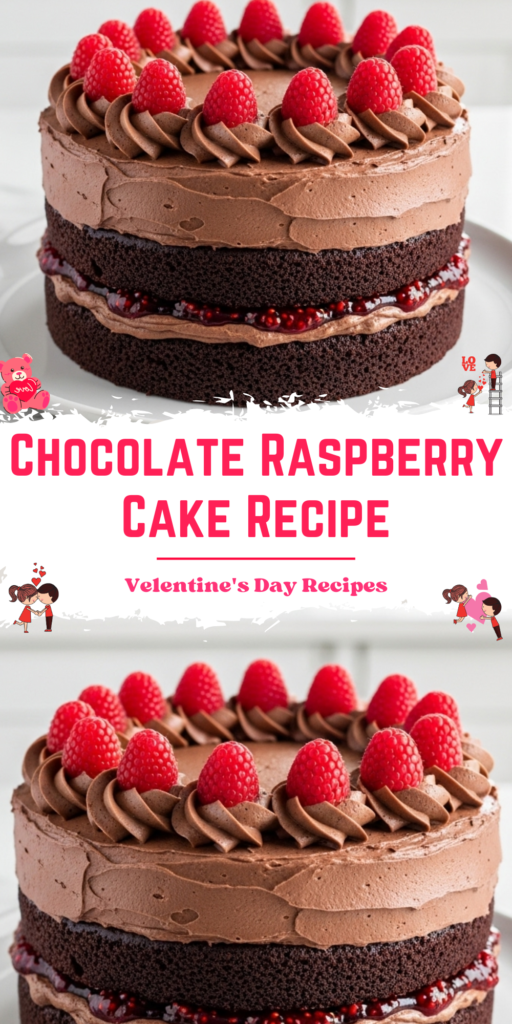
Chocolate Raspberry Cake Recipe
Description
This rich and moist chocolate cake layered with homemade raspberry filling and smothered in silky chocolate frosting is a showstopper dessert—perfect for birthdays, celebrations, or any time you crave something indulgent. Easy to make yet elegant in presentation, it’s a go-to party favorite that never disappoints.
ingredients
Chocolate Cake
Raspberry Filling
Chocolate Frosting
Instructions
Chocolate Cake
-
Preheat oven to 177°C (350°F). Grease two 9-inch round cake pans and line with parchment paper.
-
In a large bowl, whisk together sugar, flour, cocoa powder, baking soda, baking powder, and salt.
-
Add eggs, buttermilk, oil, and vanilla. Beat with an electric mixer on medium speed for 2 minutes. Stir in boiling water until just combined (batter will be thin).
-
Divide batter evenly between prepared pans. Bake 30–35 minutes, or until a toothpick inserted in the center comes out clean.
-
Cool cakes in pans for 10 minutes, then invert onto wire racks to cool completely.
Raspberry Filling
-
In a saucepan over medium heat, combine sugar, water, lemon juice, and cornstarch. Stir until smooth.
-
Add raspberries and cook, stirring frequently, until softened and thickened (about 8–10 minutes).
-
Let filling cool completely before using (refrigerate to speed up if needed).
Chocolate Frosting
-
In a mixing bowl, combine melted butter and cocoa powder until smooth.
-
Gradually add powdered sugar, milk, and vanilla. Beat until creamy. Adjust consistency with more milk or sugar as needed.
Assemble Your Cake
-
Place one cooled cake layer on a serving plate. Spread a generous layer of raspberry filling over the top.
-
Top with second cake layer. Frost entire cake with chocolate frosting.
-
Garnish with fresh raspberries if desired. Let cake rest at least 1 hour before slicing for clean layers.
Nutrition Facts
Servings 16
Serving Size 1 slice
- Amount Per Serving
- Calories 480kcal
- % Daily Value *
- Total Fat 21g33%
- Saturated Fat 9g45%
- Cholesterol 55mg19%
- Sodium 380mg16%
- Potassium 240mg7%
- Total Carbohydrate 72g24%
- Dietary Fiber 4g16%
- Sugars 52g
- Protein 6g12%
- Calcium 8 mg
- Iron 15 mg
* Percent Daily Values are based on a 2,000 calorie diet. Your daily value may be higher or lower depending on your calorie needs.
Note
- No buttermilk? Make your own: add 1 tbsp white vinegar or lemon juice to a 1-cup measuring cup, then fill to the top with milk. Let sit 5 minutes.
- Seedless filling: Cook raspberries with water and lemon juice, strain through a sieve, then return pulp to pan with sugar and cornstarch to thicken.
- Make ahead: Cake layers can be baked 1 day ahead or frozen up to 1 month. Frosting keeps refrigerated for 2–3 weeks.
- High altitude? Add 2 extra tablespoons of flour to the cake batter.
Frequently Asked Questions
Can I use frozen raspberries for the filling?
Yes! Frozen raspberries work perfectly. No need to thaw—just add them directly to the saucepan.
How long does this cake keep?
Store covered at room temperature for up to 1 day, or refrigerate for up to 4 days. Bring to room temperature before serving for best texture.
Can I make this cake gluten-free?
Yes! Substitute the all-purpose flour with a 1:1 gluten-free baking flour blend. Ensure other ingredients (like baking powder) are certified gluten-free.