
There’s something wonderfully nostalgic about strawberry poke cake. Every time I slice into one, those bright red streaks running through the soft cake instantly bring back warm summer memories.
It’s a simple dessert, but somehow it always feels cheerful and a little special.
I first started making this cake years ago while working in a busy camp kitchen. On hot afternoons, we’d serve chilled squares of it to guests, and people always came back for seconds.
The light cake, sweet strawberry gelatin, and fluffy topping were exactly what everyone wanted after a long day outside.
Even now, this cake stays in my regular rotation. It isn’t fancy or complicated. But that’s the beauty of it. It’s familiar, comforting, and full of bright strawberry flavor that makes every bite feel like summer.
If you’ve never made a poke cake before, this recipe is a great place to start. The process is easy, the ingredients are simple, and the result is a dessert that feels both classic and refreshing.
Ingredients Needed for the Recipe
- Unsalted butter – Provides richness and helps create a soft, tender cake base.
- Granulated sugar – Sweetens the batter while helping the cake stay light and fluffy.
- Eggs – Bind the ingredients together and give the cake structure.
- Vanilla extract – Adds a warm background flavor that complements the strawberries.
- All-purpose flour – Builds the structure of the cake and gives it a soft crumb.
- Baking powder – Helps the cake rise properly while keeping the texture airy.
- Kosher salt – Balances the sweetness and enhances the flavor of the cake.
- Buttermilk – Adds a slight tang and creates a tender, moist texture.
- Strawberry gelatin – Infuses the cake with bold strawberry flavor and that signature color.
- Heavy cream – Whipped to create a light, creamy topping.
- Powdered sugar – Sweetens the whipped cream while keeping it smooth.
- Greek yogurt or sour cream – Stabilizes the whipped cream and adds a subtle tang.
- Sliced strawberries – Provide a fresh, juicy topping that completes the dessert.
A Few Small Things That Make This Cake Better
While the recipe itself is simple, a few thoughtful touches really make the final cake shine. I’ve learned these tricks after making this dessert many times, and they always help the texture turn out just right.
The first is patience. Letting the cake cool before pouring the gelatin makes a big difference. If the gelatin goes on too hot, the cake can soften too much and lose its structure.
The second thing is chilling time. This cake really benefits from resting in the refrigerator. The gelatin settles, the flavors blend, and the slices hold together beautifully when you cut them.
How to make Strawberry Poke Cake?
Step 1 – Prepare the batter
Start by preheating the oven to 350°F and greasing a 9 x 13-inch baking dish. In a mixing bowl, beat the butter and sugar together until the mixture becomes light and fluffy. This usually takes about three to five minutes.
Add the eggs one at a time while mixing on medium speed. Allow each egg to fully blend before adding the next. Stir in the vanilla extract to finish the wet mixture.
Step 2 – Add the dry ingredients
In the same bowl, add the flour, baking powder, and salt. With the mixer running on low speed, slowly pour in the buttermilk. Mix only until everything is combined.
A few streaks of flour are fine at this stage. I usually finish folding the batter gently with a spatula before spreading it evenly into the prepared baking dish.
Step 3 – Bake the cake
Place the pan in the oven and bake for about 35 to 45 minutes. The cake should be lightly golden and a skewer inserted in the center should come out clean.
Once baked, allow the cake to cool in the pan for about twenty minutes. The cake should still be slightly warm but not hot.
Step 4 – Poke and add the gelatin
While the cake cools, prepare the strawberry gelatin according to the package directions. Let it sit until it cools slightly but remains pourable.
Using a thick skewer or the handle of a wooden spoon, poke holes across the entire cake. Slowly pour the gelatin over the surface, letting it sink into the holes. Refrigerate the cake for two to three hours so the gelatin can fully set.
Step 5 – Prepare the whipped topping
In a large bowl, whip the heavy cream with powdered sugar, Greek yogurt, and vanilla extract. Continue beating until stiff peaks form and the mixture becomes thick and spreadable.
Spread the whipped topping evenly over the chilled cake. Finish by scattering fresh sliced strawberries over the top.
Step 6 – Chill before serving
Return the cake to the refrigerator for at least one hour. This final chilling step helps the layers settle and makes slicing easier.
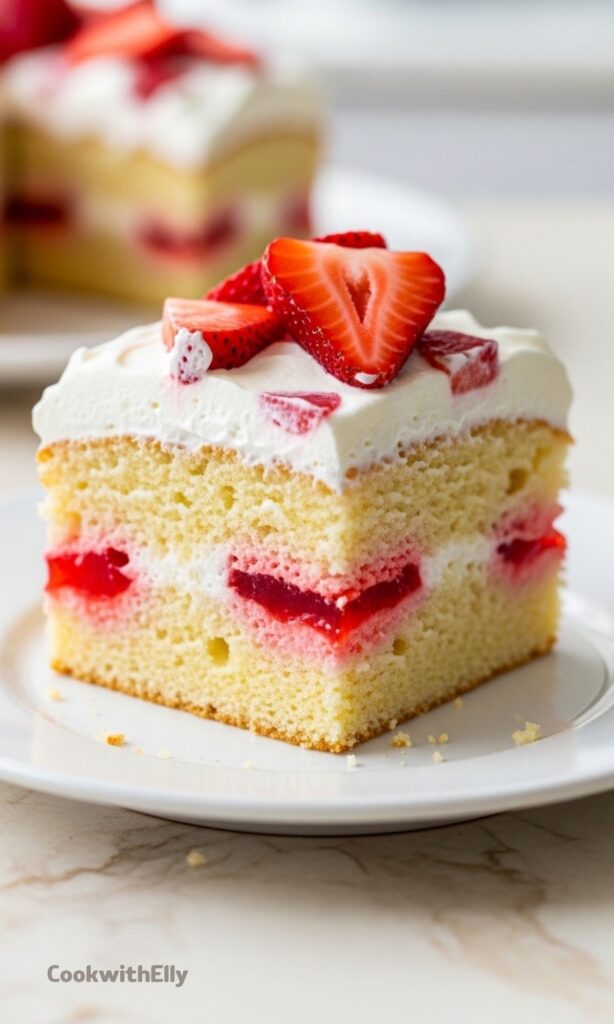
Once fully chilled, cut the cake into squares and serve. Each slice should reveal beautiful streaks of strawberry gelatin inside the soft cake.
Serving Ideas
This cake is best served cold straight from the refrigerator. The chilled texture gives it a refreshing quality that works especially well during warm weather.
I usually cut the cake into smaller squares since it is fairly sweet. About fifteen pieces from a standard pan works nicely, though you can adjust depending on the occasion.
If you’re serving guests, a few extra sliced strawberries on top make the presentation feel brighter. Sometimes I add a small spoonful of additional whipped cream on each slice, which people always appreciate.
This dessert fits easily into summer gatherings, family dinners, and casual celebrations. It’s simple enough for a weekday treat but still feels festive on a dessert table.
Tips
- Scrape the mixer beater occasionally while creaming the butter and sugar so everything blends evenly.
- Poke deep holes into the cake so the gelatin can soak through every layer.
- Avoid making the holes too wide or the cake may fall apart when sliced.
- Allow the gelatin to cool slightly before pouring it over the cake.
- Chill the cake long enough so the gelatin fully sets inside the cake.
- Refrigerate the cake again after adding the whipped topping for the best texture.
- Use fresh, ripe strawberries for the topping to add brightness and flavor.
Storage and Make-Ahead Notes
One of the reasons I enjoy making this cake is that it stores beautifully. In fact, it often tastes even better the next day once the flavors have had time to settle.
Keep any leftover cake in an airtight container in the refrigerator. It stays fresh for about five to seven days without losing its texture.
This also makes it a great dessert to prepare ahead of time. I sometimes make the cake the evening before a gathering and add the topping the next day. It saves time and still tastes wonderful.
If you plan to store the cake for several days, wait to add the fresh strawberries until just before serving. That keeps them bright and juicy.
Simple Flavor Variations
Although strawberry is the classic choice, this cake works well with other flavors too. The base cake stays the same, but you can swap the gelatin and fruit topping.
Lemon gelatin with fresh berries creates a bright citrus version that feels extra refreshing. Raspberry gelatin with raspberries also works beautifully if you enjoy slightly tart desserts.
For something a little different, try orange gelatin with mandarin segments on top. The result tastes surprisingly light and summery.
Still, I always return to strawberry. There’s just something about those rosy streaks inside the cake that makes it feel timeless and comforting.
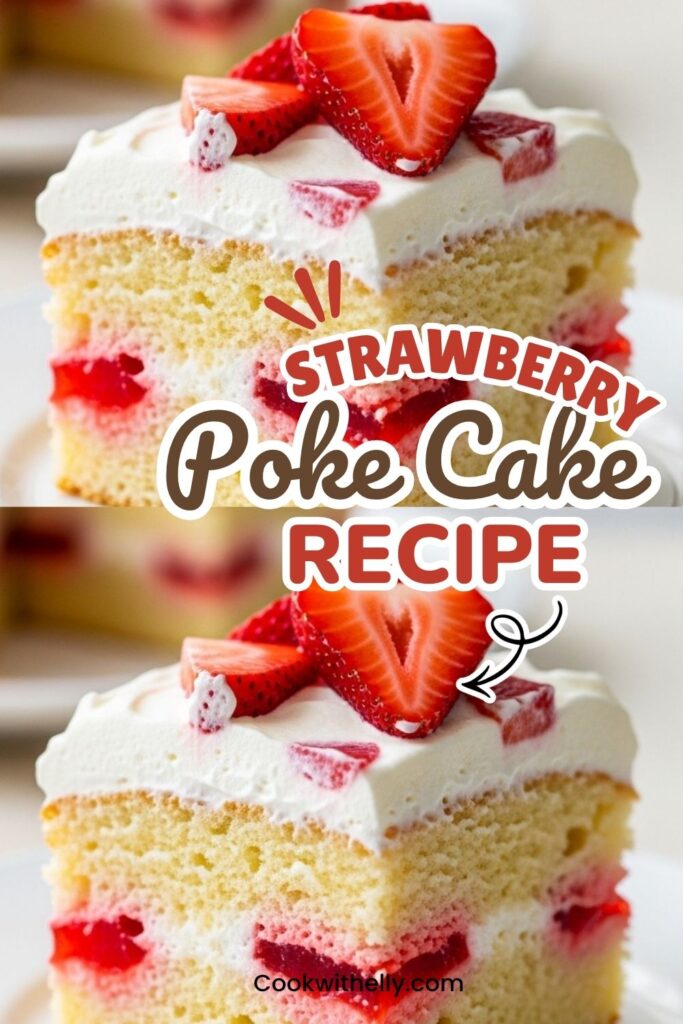
Strawberry Poke Cake Recipe
Description
This Strawberry Poke Cake is a nostalgic summer favorite featuring a soft, buttery cake soaked with bright strawberry gelatin and topped with fluffy whipped cream and fresh strawberries. Light, refreshing, and endlessly crowd-pleasing, it's the perfect dessert for picnics, potlucks, or any sunny day gathering. No fancy techniques required—just simple ingredients and big flavor!
ingredients
For the Cake
For the Topping
Instructions
-
Preheat & Prep
Preheat oven to 350°F (175°C). Grease a 9x13-inch baking pan with nonstick spray and set aside. -
Cream Wet Ingredients
In a stand mixer, beat butter and granulated sugar on medium speed until light and fluffy, 3-5 minutes. Add eggs one at a time, mixing well after each. Stir in vanilla extract.Scrape down the beater occasionally to ensure even mixing. -
Combine Dry Ingredients
Add flour, baking powder, and salt to the mixer. With mixer on low, slowly pour in buttermilk. Mix just until combined—do not overmix. A few dry streaks are okay. Fold batter gently with a spatula, then spread evenly into prepared pan. -
Bake the Cake
Bake for 35-45 minutes, or until a skewer inserted in the center comes out clean. Remove from oven and cool in pan for 20 minutes. -
Prepare & Add Gelatin
While cake bakes, dissolve strawberry gelatin in boiling water per package instructions. Let cool 20-30 minutes until warm but not hot. Use a skewer or wooden spoon handle to poke deep holes all over the slightly cooled cake. Slowly pour gelatin evenly over cake, allowing it to soak into holes.Don't pour boiling gelatin—it can melt the cake structure. -
Chill Cake
Refrigerate cake for 2-3 hours, or until completely chilled and gelatin is set. -
Make Whipped Topping
In a large bowl, whip heavy cream, powdered sugar, Greek yogurt, and vanilla extract until stiff peaks form. Spread evenly over chilled cake.Greek yogurt stabilizes the cream and adds subtle tang. -
Final Chill & Serve
Refrigerate frosted cake for at least 1 hour (or overnight) before serving. Top with fresh sliced strawberries just before serving. Cut into 15 squares.Chilling ensures clean slices and perfect texture.
Nutrition Facts
Servings 15
Serving Size 1 slice (1/15 of cake)
- Amount Per Serving
- Calories 445kcal
- % Daily Value *
- Total Fat 25gg39%
- Saturated Fat 15gg75%
- Trans Fat 0gg
- Cholesterol 85mgmg29%
- Sodium 195mgmg9%
- Potassium 145mgmg5%
- Total Carbohydrate 51gg17%
- Dietary Fiber 1gg4%
- Sugars 38gg
- Protein 6gg12%
- Calcium 10% mg
- Iron 8% mg
* Percent Daily Values are based on a 2,000 calorie diet. Your daily value may be higher or lower depending on your calorie needs.
Note
- Poke deep, not wide: Use a skewer or wooden spoon handle to create narrow, deep holes so the gelatin soaks in without compromising cake structure.
- Cool the gelatin: Let the dissolved Jello cool 20-30 minutes before pouring—too hot can melt the cake; too cold won't soak in properly.
- Chill between steps: Refrigerate after adding gelatin (2-3 hrs) AND after frosting (1+ hr) for best texture and clean slices.
- Make ahead friendly: Assemble up to 1 day ahead—just add fresh strawberries right before serving for peak freshness.
- Flavor swaps: Try lemon, raspberry, or lime gelatin with matching fresh fruit for fun variations!
Frequently Asked Questions
Can I make this cake ahead of time?
Yes! This cake is ideal for making 1 day in advance. Bake, poke, and add gelatin as directed, then cover and refrigerate overnight. Whip and spread the topping the day of serving, then chill 1 hour before adding fresh strawberries.
Can I use a box cake mix instead of making from scratch?
You can, but homemade batter yields a denser, sturdier crumb that holds up better to the gelatin soak. If using a mix, choose a white or yellow cake and reduce added liquid slightly for a firmer texture.
What can I substitute for Greek yogurt in the topping?
Sour cream works perfectly as a 1:1 substitute. It provides the same stabilizing effect and subtle tang to balance the sweetness.
How do I store leftovers?
Store covered in the refrigerator for up to 5-7 days. Keep in an airtight container to prevent the cake from absorbing other fridge odors. Note: fresh strawberries are best added just before serving.
Can I freeze this cake?
Freezing is not recommended once gelatin and whipped topping are added, as texture will suffer. However, you can freeze the unfrosted, un-poked cake layer for up to 1 month. Thaw, then proceed with poking, gelatin, and topping.