 View Gallery
1 photo
View Gallery
1 photo
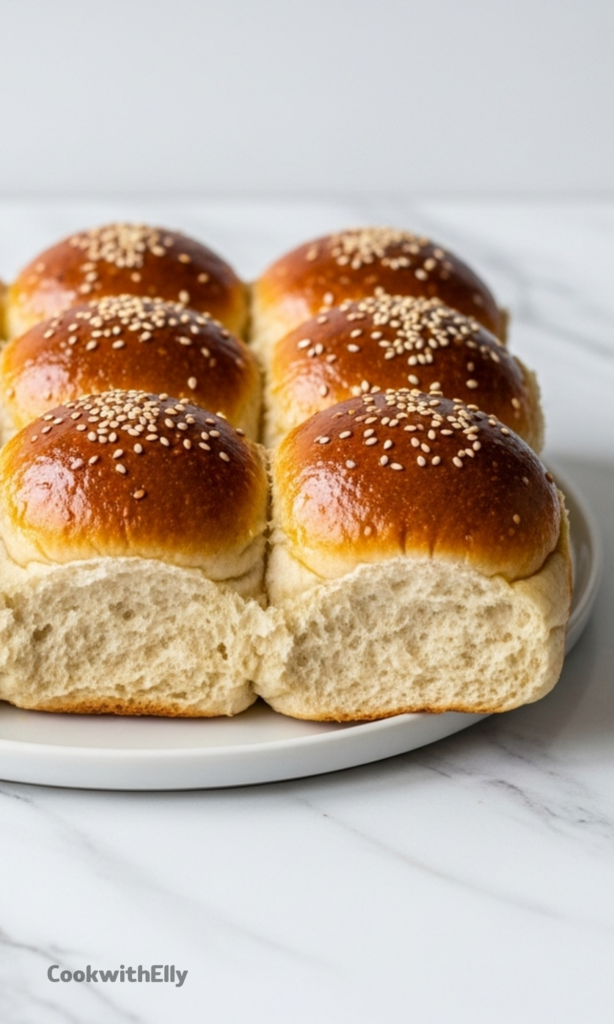
Once you’ve tasted a burger nestled in one of these homemade buns, the grocery store version just won’t do.
They’re soft, but never flimsy, with that perfect golden-brown finish that promises good things.
Your New Favorite Use for Discard
This recipe is, quite honestly, a game-changer for anyone with a jar of discard to use up.
We’re using a bit of instant yeast to speed things along, giving you the tangy depth of sourdough without an all-day commitment.
Ingredients Needed for the Recipe
Gathering your ingredients is the first simple step. Here’s what you’ll need, and a quick note on why each one matters.
- Warm Milk & Melted Butter: These enriched liquids should be warm to the touch (around 110°F) to gently activate the yeast without harming it. They create a tender, rich crumb.
- Sourdough Discard: Your ripe, unfed starter adds that wonderful, subtle tang and helps keep the buns fresh. Room temperature is best for a steady rise.
- Egg & Egg Yolk: The extra yolk adds richness and a beautiful golden color to the baked buns, while the whole egg helps with structure.
- Sugar: Just a bit to feed the yeast and balance the flavors. Honey works just as well if you prefer it.
- Bread Flour: I highly recommend it for its higher protein content, which builds a stronger, softer bun that can handle a juicy burger without getting soggy.
- Instant Yeast: Our reliable little helper that guarantees a good rise, making this a wonderfully fast and foolproof recipe.
- Salt: For flavor, always. It’s essential for balancing the taste and strengthening the gluten network.
How to make Sourdough Discard Burger Buns {Easy Hamburger Recipe}?
Let’s dive right in. The process is straightforward, and your stand mixer does most of the heavy lifting.
Just follow these steps, and you’ll have beautiful buns ready for dinner.
Step 1- Mix the Wet Ingredients
In the bowl of your stand mixer fitted with the paddle, combine the warm milk, melted butter, sourdough discard, the whole egg, and the extra yolk.
Mix them on low until you have a smooth, homogeneous blend. It should look creamy, almost like a thin batter.
Step 2- Add the Dry Ingredients and Knead
Switch to the dough hook now. Add the bread flour, instant yeast, and salt all at once to the wet mixture.
Mix on low until a shaggy dough forms, then crank the speed up to medium and let it knead for 6 to 8 minutes.
Step 3- The First Rise
You’ll know the dough is ready when it’s smooth, elastic, and pulls cleanly from the sides of the bowl.
Place it in a lightly greased bowl, cover it, and let it rest in a warm spot until it’s doubled in size. This usually takes about 30 to 45 minutes.
Step 4- Shape the Buns
Gently punch down the dough to release the large air bubbles. Turn it out onto a lightly floured surface.
Divide it into 8 to 10 equal pieces—a kitchen scale helps for perfect consistency, but you can eyeball it.
Step 5- Form Tight Dough Balls
Take each piece and pull the edges toward the center, creating a smooth surface on top.
Flip it over and cup your hand around it, rolling gently on the counter to form a tight, round ball. Place each ball on a parchment-lined baking sheet.
Step 6- The Second Rise
Lightly flatten each ball with your palm so they look like proper bun tops. Cover the whole baking sheet loosely.
Let them rise again until they’re puffy and nearly doubled. They should look plump and eager for the oven.
Step 7- Bake to Golden Perfection
Preheat your oven to 375°F. Whisk an egg with a splash of water for an egg wash and brush it gently over each risen bun.
Sprinkle with sesame seeds if you like, then bake for 13 to 15 minutes until they’re a deep, glorious golden brown.
The Secret to Shaping Perfect, Even Buns
Shaping can feel tricky, but a simple technique makes all the difference. After dividing your dough, don’t just roll it into a ball.
Instead, gently stretch each piece into a small square, then fold the corners into the center like an envelope.
Flip it seam-side down, and *then* use a cupped hand to roll it into a smooth, taut sphere. This traps a little air inside and creates that uniform, professional look. A light flatten with your palm after shaping ensures they bake up just the right height for your burgers.
Tips
- Temperature is Key: If your kitchen is cool, your rise will be slower. Be patient, or create a warm spot by placing the covered bowl in an oven with just the light on.
- The Windowpane Test: To be sure your dough is kneaded enough, take a small piece and gently stretch it. If you can stretch it thin enough to see light through without it tearing, you’re good to go.
- Don’t Skip the Egg Wash: It’s not just for shine. It helps the sesame seeds stick and gives the buns that beautiful, professional-looking color and texture.
How to Store and Bring Back That Fresh-Baked Feel
Once completely cool, store your buns in an airtight bag or container at room temperature for up to 3 days.
For longer storage, freeze them. Wrap each bun individually in plastic wrap, then toss them all into a freezer bag.
They’ll keep for 2 months. To revive, thaw at room temperature or microwave for 30 seconds.
For that just-baked magic, warm them in a 300°F oven for about 10 minutes. They’ll taste like you just pulled them from the oven, ready for your next backyard feast.
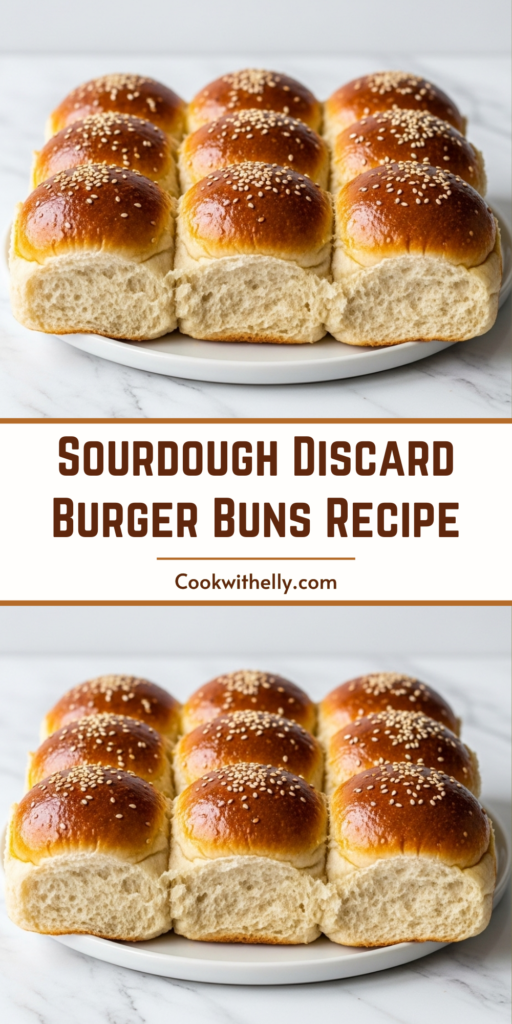
Sourdough Discard Burger Buns Recipe
Description
Once you’ve tasted a burger on these homemade sourdough discard burger buns, grocery store versions just don’t hit the same. In this same-day recipe, the dough mixes up easily in your stand mixer, then rises twice for buns that come out soft, golden brown, and full of flavor. Just like my fully-fermented, 100% Sourdough Burger Buns, these buns are rich, sturdy enough for a loaded burger, and finished with a shiny top that makes them look as good as they taste.
ingredients
Instructions
-
Mix Dough
To a bowl of a stand mixer fitted with a paddle attachment, add the warm milk, room temperature sourdough discard, egg, egg yolk, melted butter, and sugar. Mix on low speed until smooth. (Note: You can mix and knead this dough by hand if preferred.)Ensure milk is no hotter than 110°F to avoid killing the yeast. -
To the wet ingredients, add the flour, instant yeast, and salt. Switch to the dough hook attachment, mix on low speed, then knead on medium speed for 6–8 minutes.Dough should pull away from the bowl and pass the windowpane test.
-
First Rise
Place the dough in a lightly greased bowl, cover, and let rise in a warm spot until doubled in size (about 30–45 minutes in a 70°F environment).Rise time varies with kitchen temperature. -
Shape
Punch down the dough and turn it onto a lightly floured surface. Stretch into a rough rectangle and divide into 8–10 equal pieces (~100g each). Shape each piece into a tight, round ball by pulling corners to the center, flipping, and rolling.Place on a parchment-lined baking sheet, slightly flattened. -
Second Rise
Cover shaped buns with a damp towel or plastic cover. Let rise until puffy and nearly doubled (about 45–60 minutes). -
Bake
Preheat oven to 375°F (190°C). Brush buns with egg wash and sprinkle with sesame seeds (optional). Bake for 13–15 minutes until golden brown and internal temperature reaches 190–200°F.If browning too quickly, tent with foil. -
Cool on a wire rack before serving. Enjoy with your favorite grilled burger and toppings!
Nutrition Facts
Servings 8
Serving Size 1 bun
- Amount Per Serving
- Calories 220kcal
- % Daily Value *
- Total Fat 8gg13%
- Saturated Fat 4gg20%
- Trans Fat 0gg
- Cholesterol 45mgmg15%
- Sodium 420mgmg18%
- Potassium 95mgmg3%
- Total Carbohydrate 31gg11%
- Dietary Fiber 1gg4%
- Sugars 4gg
- Protein 6gg12%
- Calcium 5 mg
- Iron 10 mg
* Percent Daily Values are based on a 2,000 calorie diet. Your daily value may be higher or lower depending on your calorie needs.
Note
- Milk: Whole milk is preferred for richness, but unsweetened non-dairy milk (e.g., almond, oat) works well.
- Sourdough discard: Must be fresh (1–2 days old) and at room temperature for best results.
- Flour: Bread flour recommended for fluffier texture; all-purpose can be used in a pinch.
- Yeast: Instant yeast is required—do not substitute active dry yeast without adjustments.
- Storage: Store at room temperature for 3 days, refrigerate for up to 5 days, or freeze for up to 2 months.
Frequently Asked Questions
Can I make these without a stand mixer?
Yes! Knead by hand for 10–12 minutes until smooth and elastic. Use the windowpane test to confirm gluten development.
Can I use sourdough starter instead of discard?
Absolutely! Use the same amount (100g) of active, bubbly sourdough starter in place of discard.
Why didn’t my buns rise?
Check that your milk wasn’t too hot (over 110°F), that your yeast wasn’t expired, and that your discard wasn’t too old. Rise time also depends heavily on kitchen temperature.
Can I bake these as a loaf?
Yes! Shape into a loaf and bake in a greased 9×5-inch pan at 350°F for 30–40 minutes, or until internal temp reaches 190–200°F.