
Mini pancakes are one of those breakfasts that feel playful without being complicated. They look cute on the plate, they cook fast, and somehow they make a regular morning feel a little more special. I started making them during that TikTok phase, then never really stopped.
There is something satisfying about flipping tiny pancakes one by one. They remind me of Dutch poffertjes, but softer, simpler, and easier to make at home. Some mornings I keep them classic, other days I go all in and turn them into pancake cereal.
I love that this recipe works whether you want a cozy weekend breakfast or something quick on a busy weekday. The batter is forgiving, the steps are simple, and the results are always comforting. That combination is hard to beat.
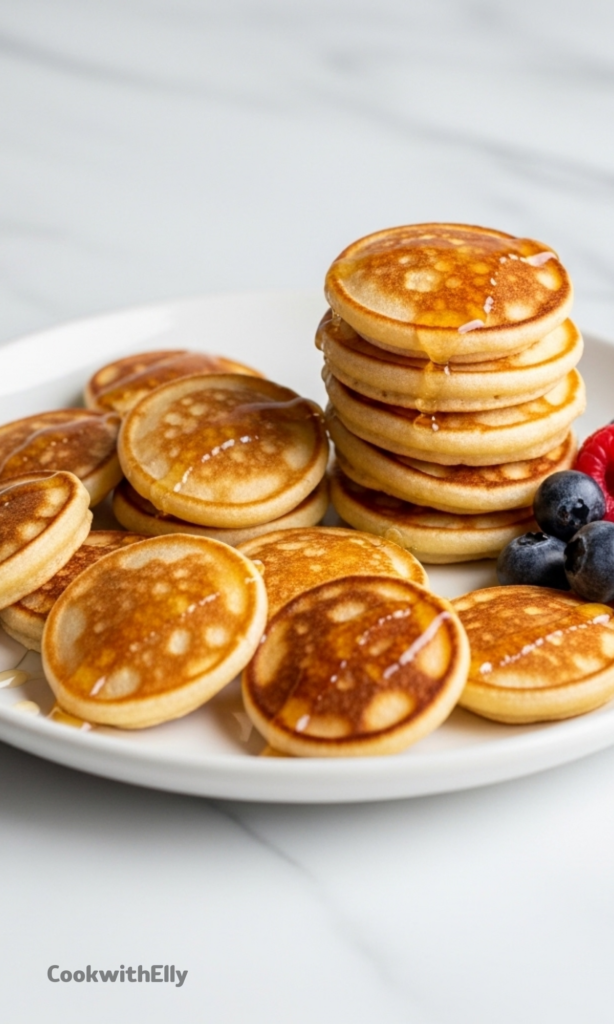
These mini pancakes are best served warm, piled high, with fresh fruit and a drizzle of honey. They soak up toppings beautifully without falling apart. Every bite is soft, lightly sweet, and familiar in the best way.
Ingredients Needed for the Recipe
- All-purpose flour – This forms the base of the batter and keeps the pancakes soft rather than chewy.
- Milk – Adds moisture and helps create a smooth, pourable batter.
- Butter – Melted butter gives richness and prevents sticking without extra grease.
- Sugar – A small amount adds gentle sweetness and helps with browning.
- Baking powder – This is what makes the mini pancakes light and fluffy.
- Egg – Binds everything together and adds structure.
- Salt – Balances the sweetness and brings out the flavor.
I usually stick to whole milk and butter because they give the best flavor. That said, this recipe is flexible and works well with plant-based milk too. I have tested it more than once on sleepy mornings.
If you want to swap some flour for whole wheat, you can, but I keep it partial. Too much whole wheat makes the pancakes heavier, and I like them soft and tender. These are small pancakes, so texture really matters.
Why Mini Pancakes Are Worth Making
Mini pancakes cook faster than regular ones, which means less standing at the stove. By the time you flip the first batch, the second is already ready to go. That rhythm makes the process oddly relaxing.
They are also great for sharing. Kids love them, adults love them, and nobody argues about portion sizes. You can eat five or fifteen, and somehow it always feels right.
I also like that you can size them however you want. Keep them poffertje-sized, or make them super tiny for pancake cereal. The batter does not complain.
How to make Mini pancakes?

Step 1 – Mix the dry ingredients
Add the flour, sugar, baking powder, and salt to a large mixing bowl. Whisk everything together until evenly combined. This step helps prevent uneven rising later.
I take an extra few seconds here just to be sure nothing is clumped. It makes the rest of the process smoother, especially when the batter comes together quickly.
Step 2 – Add the wet ingredients
Pour in the milk, crack in the egg, and add the melted butter. Stir gently until just combined. A few lumps are completely fine and actually expected.
Overmixing is the easiest way to ruin pancake texture. I stop stirring as soon as there is no dry flour left. The batter should look relaxed, not tight.
Step 3 – Heat the pan
Place a non-stick skillet over medium-low heat and let it warm up. Mini pancakes cook fast, so avoid turning the heat too high. Patience pays off here.
If needed, lightly grease the pan, but the butter in the batter usually does enough work. I prefer a dry pan once it is properly seasoned.
Step 4 – Scoop the batter
Use teaspoons to drop small mounds of batter into the pan. I usually use about two teaspoons per pancake. Leave a little space between each one.
This part feels fiddly at first, then suddenly fun. Once you find your rhythm, the pan fills quickly without feeling crowded.
Step 5 – Cook and flip
Cook the pancakes until the bottoms are golden, about one minute. When bubbles appear on top and the surface looks slightly dry, they are ready to flip.
I like using a skewer or fork to turn them over. Because they are small, you have more control, and fewer pancakes end up on the floor.
Step 6 – Finish and repeat
Cook the other side until golden, then remove from the pan. Transfer them to a plate and keep warm under a clean tea towel.
Repeat with the remaining batter until everything is cooked. Try not to snack too much while cooking, though I rarely succeed.
Serving Ideas That Actually Work
Mini pancakes shine when paired with fresh fruit. Berries, sliced bananas, or soft peaches add brightness and contrast to the warm pancakes.
Honey is my favorite topping. It drizzles easily and seeps into every little pancake. Maple syrup works too, but honey feels lighter here.
For something more filling, I add a spoon of yogurt or a dusting of powdered sugar. It turns a simple breakfast into something that feels almost dessert-like.
Tips
- Keep the heat moderate so the pancakes cook evenly.
- Use teaspoons instead of a ladle for better control.
- Do not overmix the batter, lumps are fine.
- Flip with a skewer or fork for precision.
- Keep cooked pancakes warm under a tea towel.
Variations and Substitutions
This recipe adapts easily to different diets. You can use gluten-free flour or oat flour if needed, and the texture still holds up well.
Plant-based milk like almond or coconut milk works nicely. Coconut milk adds a subtle sweetness that pairs well with fruit toppings.
You can also turn this batter into larger pancakes. The flavor stays the same, only the cooking time changes slightly.
Storage and Reheating
Mini pancakes are best fresh, but leftovers keep well for about three days at room temperature. I avoid the fridge since it dries them out faster.
For longer storage, freeze them in a freezer bag for up to three months. Let them thaw slowly before reheating.
To reheat, I prefer a dry skillet or a quick warm-up in the microwave. They come back soft and comforting, almost like new.
Mini pancakes have earned a permanent place in my breakfast rotation. They are simple, flexible, and quietly joyful. Once you make them, they tend to stick around.
Mini pancakes Recipe
Description
These mini pancakes are easy to make and very tasty for breakfast. About the size of a Dutch poffertje, they’re fluffy, golden, and perfect served with fresh fruit and honey. Make them super tiny for pancake cereal or slightly larger for classic bite-sized treats!
ingredients
Instructions
-
Put all the dry ingredients (flour, sugar, baking powder, and salt) in a large mixing bowl and stir well.
-
Add the wet ingredients (milk, melted butter, and egg) and briefly stir into the flour mixture. A few lumps are okay—they’ll disappear while cooking.
-
Heat a non-stick skillet over medium-low heat. Scoop about 2 teaspoons of batter per pancake into the pan—don’t overcrowd.
-
Cook until the bottom is golden brown (about 1 minute) and bubbles form on top.
-
Flip using a fork or skewer and cook the other side until golden (another 30–60 seconds).
-
Transfer cooked pancakes to a plate and cover with a clean tea towel or inverted bowl to keep warm. Repeat with remaining batter.
Nutrition Facts
Servings 4
Serving Size 4 mini pancakes
- Amount Per Serving
- Calories 180kcal
- % Daily Value *
- Total Fat 7g11%
- Saturated Fat 4g20%
- Cholesterol 55mg19%
- Sodium 320mg14%
- Potassium 120mg4%
- Total Carbohydrate 25g9%
- Dietary Fiber 1g4%
- Sugars 5g
- Protein 5g10%
- Calcium 100 mg
- Iron 1 mg
* Percent Daily Values are based on a 2,000 calorie diet. Your daily value may be higher or lower depending on your calorie needs.
Note
- Gluten-free option: Use certified gluten-free oat flour or a 1:1 gluten-free flour blend.
- Dairy-free? Substitute butter with melted coconut oil and use plant-based milk.
- Storage: Keep at room temperature for up to 2 days or freeze for up to 3 months. Reheat in a skillet or microwave.
- Serving idea: Top with fresh berries, a drizzle of honey, or a dusting of powdered sugar.
Frequently Asked Questions
Can I make these pancakes ahead of time?
Yes! Store cooled pancakes in an airtight container at room temperature for 1–2 days or freeze for longer storage. Reheat gently in a skillet or microwave.
Can I use homemade butter or oat flour?
Absolutely! Homemade butter adds rich flavor, and oat flour (made from blended rolled oats) works well for a gluten-free version—just ensure it’s finely ground and sifted.