
Sunday mornings used to mean a giant stack of pancakes, the kind that filled the kitchen with that warm, buttery smell. When I started eating low carb, that tradition felt like it disappeared overnight. And honestly, that was the hardest part.
I didn’t want eggs and bacon every single morning. I wanted something soft, fluffy, and comforting. Something that felt like a treat but didn’t knock me off track. So I started experimenting, tweaking, and testing until I found a version that actually felt like real pancakes.
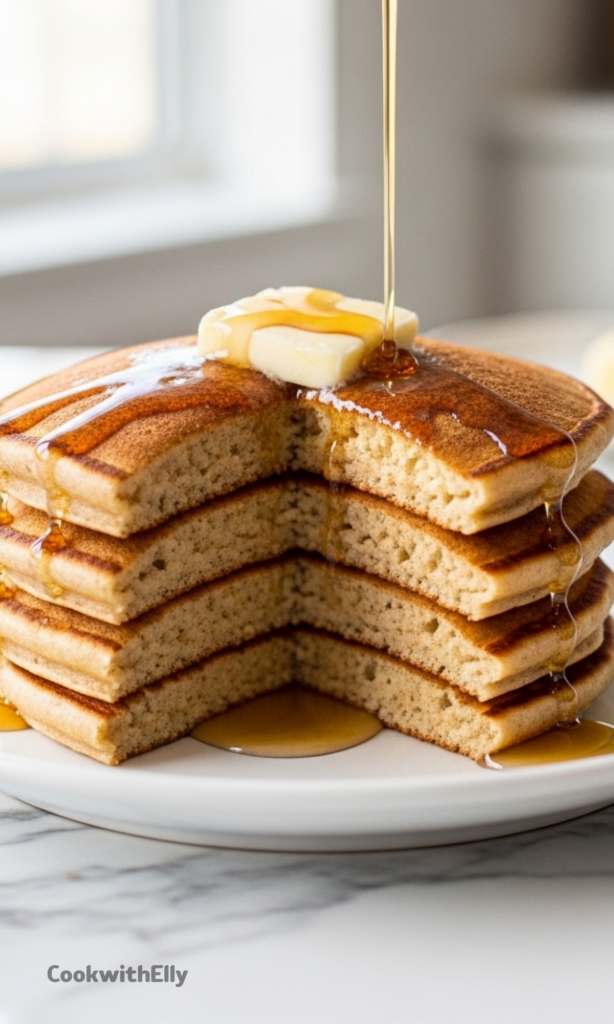
These low carb keto pancakes are now a regular in my kitchen. They cook up tender, lightly golden, and just rich enough to feel indulgent. The best part is that they don’t taste like a substitute. They taste like breakfast.
I’ve made them for family, for picky eaters, and even for people who had no idea they were low carb. Plates come back empty every time. That’s when you know you’ve got a keeper.
Why Almond Flour Works So Well
One of the biggest lessons I learned early on was that not all low carb flours behave the same. Some sound great on paper but leave you with dry, crumbly pancakes that fall apart before they reach the plate.
Almond flour changed everything. It has a naturally soft texture that mimics traditional flour much better, which helps create pancakes that are moist and tender instead of dense. That alone makes a huge difference.
It also blends beautifully with cream cheese, creating a batter that feels surprisingly classic. Once cooked, the flavor is mild, slightly nutty, and incredibly satisfying without overpowering the dish.
Ingredients Needed for the Recipe
- Eggs – These provide structure and help hold everything together while keeping the pancakes fluffy.
- Water – Loosens the batter slightly so it spreads evenly in the pan.
- Cream Cheese – Adds richness and gives the pancakes a soft, tender texture.
- Almond Flour – The main base that replaces traditional flour while keeping the pancakes low carb.
- Baking Powder – Helps the pancakes rise and become light instead of flat.
- Vanilla Extract – Brings warmth and a classic pancake flavor.
- Cinnamon – Adds a subtle depth that makes them taste cozy and homemade.
- Stevia Sweetener (or regular sugar if not strict keto) – Provides a gentle sweetness without overpowering.
- Butter – Used for cooking and serving, adding that familiar pancake richness.
- Syrup (sugar free for keto) – The finishing touch that makes them feel like a true breakfast treat.
How to make Low Carb Keto Pancakes?
Step 1 – Add Ingredients to the Blender
Start by adding the eggs, water, and cream cheese into the blender first. This helps everything move smoothly and prevents ingredients from sticking to the bottom.
Then add the almond flour, baking powder, vanilla, cinnamon, and sweetener. Layering like this may seem small, but it makes blending much easier.
Step 2 – Blend Until Smooth
Blend the mixture until it turns into a completely smooth batter. You want it to look creamy, not grainy, so give it a few extra seconds if needed.
Scrape down the sides once if anything clings. Let the batter sit for about two minutes so it can slightly thicken.
Step 3 – Heat the Pan
Place a non stick skillet over medium heat and allow it to warm up gradually. A steady temperature is important so the pancakes cook evenly without burning.
Add a small amount of butter and let it melt across the surface. That first sizzle always feels like a good sign.
Step 4 – Pour the Batter
Use about three to four tablespoons of batter for each pancake. The batter will be thicker than traditional pancake batter, so gently spread it if needed.
Keep the pancakes modest in size. Smaller pancakes flip more easily and cook through better.
Step 5 – Watch for Bubbles
As the pancakes cook, you’ll notice small bubbles forming on the surface. That’s your signal that the underside is ready.
Flip carefully with a thin spatula and cook the second side until golden brown. They don’t need long, just enough to set.
Step 6 – Repeat and Stack
Continue cooking until all the batter is used, adding a little butter to the pan as needed. The kitchen will smell amazing by now.
Stack them up as they finish, resisting the urge to grab one immediately. Or don’t resist. I rarely do.
Step 7 – Serve Warm
Top with butter and your favorite syrup right before serving. The warmth helps everything melt together into that classic pancake experience.
Serve them fresh and soft, just the way pancakes should be.
Tips
- Use finely ground almond flour, not almond meal, for the best texture.
- Let the batter rest briefly so it thickens and cooks more evenly.
- Cook on medium heat only. High heat can brown them too fast.
- Keep pancakes small to make flipping easier.
- If the batter thickens too much, add a teaspoon of water to loosen it.
- Use a non stick skillet to prevent sticking since these are delicate.
- Flip only once to keep them from breaking.
- Make a double batch to save time later in the week.
Serving Ideas That Keep Things Interesting
One of the things I love most about these pancakes is how easy they are to change up. Some mornings I keep it simple with butter and syrup, and other days I dress them up a little.
A handful of fresh berries adds brightness without making them feel heavy. You can also add a spoonful of whipped cream for something that feels like a weekend treat.
If you like contrast, try a sprinkle of chopped nuts on top. That tiny bit of crunch against the soft pancake is surprisingly good.
For a cozier version, I sometimes add extra cinnamon and a small pat of butter that melts right into the stack. It’s simple, warm, and exactly what breakfast should feel like.
Storing and Reheating
These pancakes store better than you might expect, which makes them perfect for busy mornings. I often make extra just to have them ready during the week.
Once cooled, place them in a sealed container or bag and refrigerate. They stay soft and reheat beautifully without drying out.
To reheat, just warm them in the microwave for a short time or place them in a skillet for a minute. They come back to life quickly, which is always a relief when you’re in a rush.
You can even freeze them individually and grab what you need. Having a stash ready makes sticking to low carb eating much easier, especially on hectic days.
These low carb keto pancakes prove that you don’t have to give up comfort food to stay on track. With the right ingredients and a simple method, you still get that familiar, satisfying breakfast.
And once you make them a few times, they become second nature. A quick blend, a warm pan, a short stack on the plate. That’s all it takes to bring pancakes back into your routine.
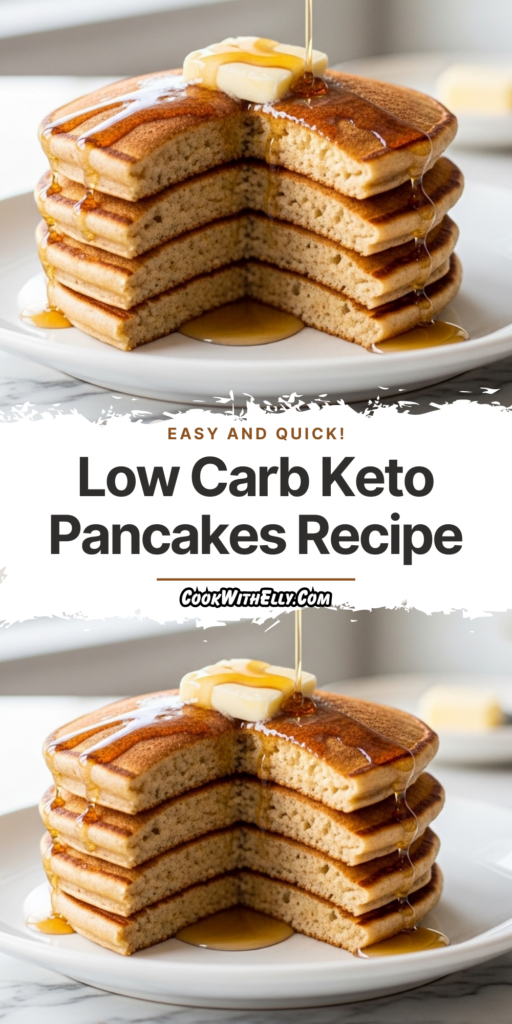
Low Carb Keto Pancakes Recipe
Description
These fluffy Low Carb Keto Pancakes have only 4 net carbs per serving and are a delicious, family-approved breakfast made with almond flour and cream cheese! Perfect for anyone following a keto or gluten-free lifestyle, these pancakes taste just like the real thing—golden, tender, and ready to top with butter and sugar-free syrup. Ready in just 15 minutes, they're an easy weekday breakfast or special weekend treat.
ingredients
Instructions
-
Add all ingredients to a blender, starting with eggs, water, and cream cheese to prevent sticking at the bottom.
-
Blend until completely smooth, scraping down the sides if needed. Let batter rest for 2 minutes to thicken slightly.
-
Heat a non-stick skillet or griddle over medium heat (about 175°C / 350°F). Lightly grease with butter or coconut oil if needed.
-
For each pancake, pour 3 to 4 tablespoons of batter onto the skillet. Cook until small bubbles form on the surface and edges look set, about 2-3 minutes.
-
Flip carefully and cook the other side until golden brown, about 1-2 minutes more. Repeat with remaining batter.
-
Serve warm topped with butter and your favorite sugar-free syrup. Enjoy immediately!
Nutrition Facts
Servings 6
Serving Size 1 pancake
- Amount Per Serving
- Calories 185kcal
- % Daily Value *
- Total Fat 16gg25%
- Saturated Fat 5gg25%
- Trans Fat 0gg
- Cholesterol 75mgmg25%
- Sodium 150mgmg7%
- Potassium 120mgmg4%
- Total Carbohydrate 6gg2%
- Dietary Fiber 2gg8%
- Sugars 1gg
- Protein 7gg15%
- Calcium 6% mg
- Iron 4% mg
* Percent Daily Values are based on a 2,000 calorie diet. Your daily value may be higher or lower depending on your calorie needs.
Note
- Make ahead friendly: Double or triple the batch, refrigerate leftovers in a ziplock bag, and reheat in the microwave for quick weekday breakfasts.
- Freezer option: Individually wrap cooled pancakes in saran wrap and freeze for up to 1 month. Reheat from frozen in microwave or toaster.
- Flour tip: Use super fine almond flour (like Kirkland brand), not almond meal, for the best texture. Almond flour is light beige; almond meal has dark brown flecks.
- Sweetener swap: Use regular sugar instead of stevia if making for kids or non-keto eaters—still lower carb than traditional pancakes!
- Batter consistency: Letting the batter rest 2 minutes helps it thicken for fluffier pancakes. If too thick, add 1 tsp water at a time.
Frequently Asked Questions
Can I make these pancakes without a blender?
Yes! Simply whisk the cream cheese until smooth first, then add eggs and water and whisk well. Gradually mix in the almond flour and remaining dry ingredients until no lumps remain. A hand mixer also works great.
Why did my pancakes stick to the pan?
Make sure your skillet is properly preheated to medium heat and lightly greased. Non-stick pans work best. If using stainless steel, let the pan heat fully and use a little butter or coconut oil.
Can I use coconut flour instead of almond flour?
Coconut flour absorbs much more liquid and won't work as a 1:1 substitute. For best results with this recipe, stick with super fine almond flour for the authentic pancake texture.
How do I store and reheat leftovers?
Store cooled pancakes in an airtight container in the fridge for up to 4 days, or freeze individually wrapped. Reheat in the microwave for 20-30 seconds or in a toaster oven until warm.