
This lemon cheesecake is the kind of dessert I make when I want something that feels special but still comforting. It has that perfect balance of creamy richness and bright citrus that makes every bite feel fresh, not heavy.
I love desserts that don’t shout for attention yet somehow steal the whole show. This one does exactly that. The smooth filling, the buttery crust, and the soft lemon layer on top come together in a way that feels effortless.
What makes this recipe truly reliable is the texture. It turns out velvety and light, not dense or overly sweet, with real lemon flavor woven into every layer rather than sitting on top.
It does take a little planning because cheesecake needs time to cool and chill. But honestly, that waiting time is part of the magic, and the results are always worth it.
Why This Cheesecake Works So Well
A lot of lemon desserts rely only on juice, which can taste sharp without depth. Here, both zest and juice are used, giving the flavor a natural brightness that feels round and balanced.
The filling is mixed carefully to keep it smooth without trapping too much air. That small detail makes a big difference, creating a creamy texture that slices beautifully instead of crumbling.
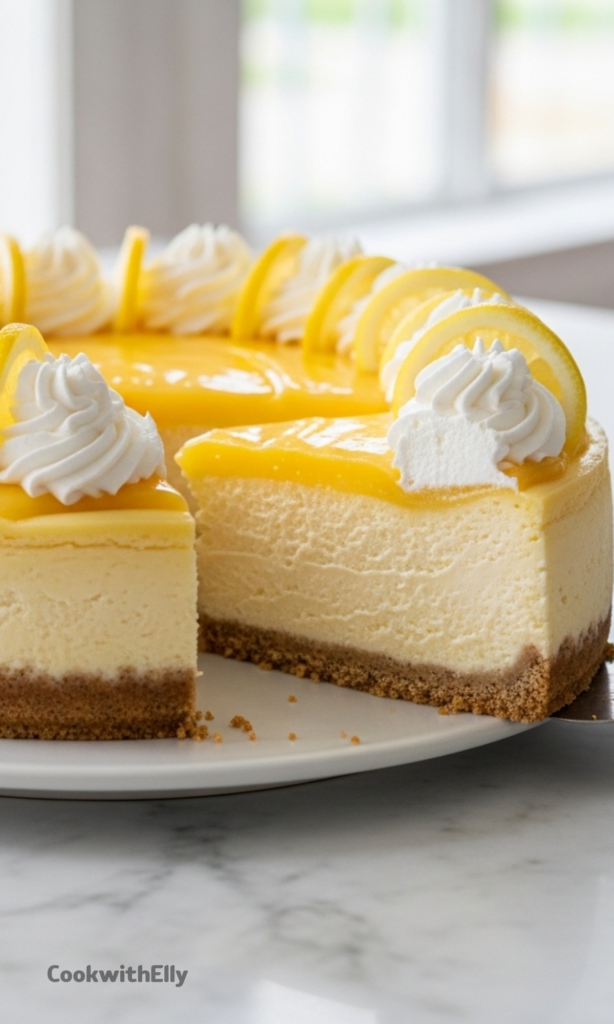
And then there is the topping. A layer of lemon curd adds an extra burst of citrus while also giving the cheesecake a glossy, bakery style finish.
Ingredients Needed for the Recipe
- Graham cracker crumbs – form the base and give the crust its classic toasty flavor.
- Granulated sugar – sweetens both the crust and the filling while helping with structure.
- Unsalted butter, melted – binds the crust together and adds richness.
- Cream cheese, softened – the heart of the cheesecake, responsible for the smooth and creamy texture.
- Fresh lemon zest – infuses deep citrus aroma throughout the batter.
- Fresh lemon juice – provides the bright, tangy flavor that defines the dessert.
- Sour cream or plain yogurt – softens the texture and adds a gentle tang.
- Vanilla extract – rounds out the flavor and enhances the lemon notes.
- Eggs – give the cheesecake structure and help it set while baking.
- Lemon curd – spread on top for an extra layer of citrus intensity.
- Whipped cream, optional – adds a light contrast to the dense filling.
- Fresh lemon slices or berries, optional – used for garnish and a fresh finish.
How to make Lemon Cheesecake Recipe?
Step 1 – Prepare the Crust
Start by combining the graham cracker crumbs and sugar in a bowl. Stir in the melted butter until the mixture looks like damp sand and holds together when pressed.
Press the mixture firmly into the bottom of a springform pan and slightly up the sides. Pre bake the crust for about 10 minutes so it sets before adding the filling.
Step 2 – Infuse the Sugar with Lemon
Pulse the lemon zest with the sugar until fragrant and slightly broken down. This step distributes the citrus oils evenly, giving the cheesecake a stronger, more natural lemon flavor.
It is a simple trick, but it makes the filling taste layered instead of one dimensional. The aroma alone will tell you it is worth doing.
Step 3 – Make the Creamy Filling
Beat the softened cream cheese with the lemon infused sugar until completely smooth. Take your time here because this is where the texture begins.
Add the lemon juice, sour cream, and vanilla extract, mixing just until combined. The batter should look silky and thick without any lumps.
Step 4 – Add the Eggs Gently
Add the eggs one at a time, mixing on low speed just until each disappears into the batter. Over mixing at this stage can introduce too much air and cause cracks later.
The goal is a calm, steady batter. Smooth, creamy, and not overly whipped.
Step 5 – Fill the Pan
Pour the cheesecake batter into the warm crust and smooth the top with a spatula. Give the pan a gentle tap on the counter to release any trapped air bubbles.
This small step helps the cheesecake bake evenly and keeps the texture consistent from edge to center.
Step 6 – Prepare the Water Bath
Place the springform pan inside a larger roasting pan and carefully pour hot water around it. The water should come about an inch up the sides.
This creates a humid environment that allows the cheesecake to bake slowly and evenly. It greatly reduces the chance of cracking.
Step 7 – Bake Until Just Set
Bake for 55 to 70 minutes, until the edges are set but the center still has a slight wobble. That gentle movement means the texture will stay creamy once chilled.
If the top begins to brown too quickly, loosely cover it with foil. The cheesecake should remain pale and soft looking.
Step 8 – Cool Gradually
Turn off the oven and crack the door open, letting the cheesecake sit inside for about an hour. This slow cooling prevents sudden temperature changes.
Afterward, remove it from the water bath and let it cool completely at room temperature before adding the topping.
Step 9 – Add the Lemon Curd Layer
Spread the cooled lemon curd over the surface, pushing it close to the edges without letting it spill over. The bright layer adds both flavor and visual appeal.
Once topped, refrigerate the cheesecake for at least four hours, though overnight chilling gives the best texture.
Step 10 – Slice and Serve
Run a knife around the edge before releasing the springform ring. Use a clean, warm knife for each slice to get neat, bakery style cuts.
Top with whipped cream or fresh fruit if you like, or keep it simple and let the lemon shine.
Serving Ideas That Make It Feel Extra Special
This cheesecake is lovely on its own, but I sometimes add a few small touches when serving guests. A spoonful of whipped cream softens the citrus and makes each bite feel lighter.
Fresh berries are another favorite because they bring color and a subtle sweetness. Even a few thin lemon slices can make the presentation look bright and inviting.
If you are serving it after a big meal, keep the portions modest. The flavor is rich enough that a small slice satisfies completely.
Tips
- Always start with room temperature ingredients so the batter blends smoothly without lumps.
- Do not over mix after adding the eggs or the cheesecake may crack while cooling.
- Pre baking the crust keeps it from becoming soggy under the filling.
- A water bath helps the cheesecake bake evenly and maintain a creamy texture.
- Let the cheesecake cool slowly to avoid sudden shrinking or sinking.
- Chilling time is essential because it allows the structure to fully set.
- Use fresh lemon juice for the brightest flavor rather than bottled juice.
- Clean the knife between slices for sharp, tidy edges.
Make Ahead and Storage
This dessert is perfect for preparing in advance because it actually improves with time. I usually make it the day before serving so it has plenty of time to chill and develop flavor.
Store it covered in the refrigerator, where it will stay fresh for up to five days. The texture remains smooth and the crust holds its structure beautifully.
If you need to freeze it, wrap the cheesecake tightly without the lemon curd topping. Thaw it overnight in the refrigerator, then add the topping before serving.
Having a cheesecake ready ahead of time takes the pressure off any gathering. You can focus on everything else while dessert waits patiently in the fridge.
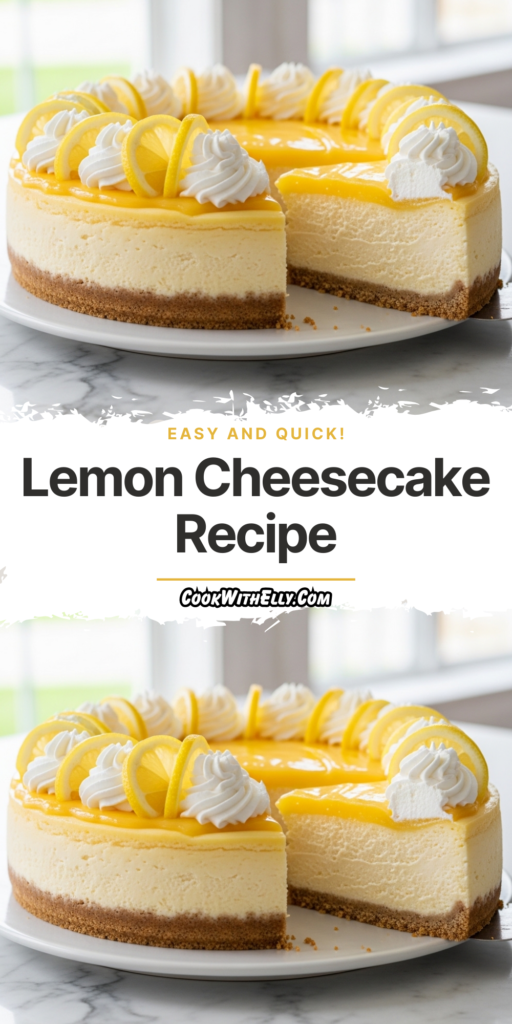
Lemon Cheesecake Recipe
Description
Savor every sweet-tart taste of the creamiest, dreamiest cheesecake flavored with fresh lemon, nestled between a buttery graham cracker crust and a layer of homemade lemon curd. Top with clouds of fluffy whipped cream and sunny lemon slices for a simple yet eye-catching presentation. Perfect for spring and summer gatherings, this make-ahead dessert is worth the wait!
ingredients
Graham Cracker Crust
Lemon Cheesecake Filling
Toppings (Optional but Recommended)
Instructions
Preparation
-
Preheat & Prep Pan
Adjust oven rack to lower-middle position and preheat oven to 350°F (177°C). Lightly grease a 9-inch springform pan. -
Make Graham Cracker Crust
In a medium bowl, combine graham cracker crumbs, sugar, and melted butter. Mix until crumbs are evenly coated. Press firmly into the bottom and slightly up the sides of the prepared springform pan. Use the bottom of a measuring cup to smooth. -
Pre-bake Crust
Pre-bake crust for 10 minutes. Remove from oven and place hot pan on a large piece of aluminum foil (for water bath later). Let cool slightly while preparing filling.
Make the Filling
-
Infuse Sugar with Lemon
Place granulated sugar and lemon zest in a food processor. Pulse 10-12 times until zest is broken down and sugar is fragrant with lemon oil.This step amplifies lemon flavor without adding extra liquid -
Beat Cream Cheese Base
Using a hand or stand mixer with paddle attachment, beat cream cheese and lemon-infused sugar on medium-high speed until smooth and creamy, about 2 minutes. Scrape down sides as needed.Ensure cream cheese is fully softened to avoid lumps -
Add Wet Ingredients
Add lemon juice, sour cream (or yogurt), and vanilla extract. Beat on medium-high until fully combined and smooth. -
Incorporate Eggs Carefully
On medium speed, add eggs one at a time, beating just until blended after each addition. After the last egg, stop mixing immediately to avoid over-beating.Over-mixing eggs adds air, which can cause cracking -
Pour Batter
Pour cheesecake batter over the warm crust. Use a rubber spatula to smooth into an even layer.
Water Bath & Baking
-
Prepare Water Bath
Place the springform pan (wrapped in foil) inside a large roasting pan. Boil water and carefully pour about 1 inch of hot water into the roasting pan around the springform pan.The steam creates a humid environment to prevent cracks -
Bake Cheesecake
Bake for 55-70 minutes, or until edges are set and center still has a slight wobble when gently shaken. If top browns too quickly, tent loosely with foil halfway through.Don't overbake; residual heat will finish cooking -
Cool in Oven
Turn off oven, crack the door open slightly, and let cheesecake cool in the water bath inside the oven for 1 hour.Gradual cooling prevents sudden temperature shock and cracking -
Cool Completely
Remove cheesecake from water bath and place on a wire rack. Cool uncovered at room temperature until completely cool (about 2 hours).
Chill & Serve
-
Add Lemon Curd Topping
Once cheesecake is completely cool at room temperature, spread lemon curd evenly over the top, stopping just before the edge. Use an offset spatula for a smooth finish.Ensure lemon curd is cooled before spreading -
Chill Thoroughly
Refrigerate cheesecake for at least 4 hours, preferably overnight, to allow flavors to meld and texture to set completely.Chilling is essential for clean slices -
Garnish & Slice
Run a thin knife around the edge of the springform pan to loosen, then remove the ring. Top with whipped cream, lemon slices, and/or fresh berries if desired. Use a clean, warm knife to slice neatly.Wipe knife between cuts for pristine slices
Nutrition Facts
Servings 16
Serving Size 1 slice (1/16 of cheesecake)
- Amount Per Serving
- Calories 435kcal
- % Daily Value *
- Total Fat 30gg47%
- Saturated Fat 18gg90%
- Trans Fat 0.5gg
- Cholesterol 120mgmg40%
- Sodium 250mgmg11%
- Potassium 150mgmg5%
- Total Carbohydrate 35gg12%
- Dietary Fiber 0.5gg2%
- Sugars 28gg
- Protein 6gg12%
- Calcium 8% mg
- Iron 4% mg
* Percent Daily Values are based on a 2,000 calorie diet. Your daily value may be higher or lower depending on your calorie needs.
Note
- Room temperature ingredients are essential: Cold ingredients won't blend smoothly and can lead to over-mixing. Take cream cheese, eggs, sour cream, and lemon juice out 1-2 hours ahead.
- Don't skip the water bath: The steam creates a gentle, humid environment that prevents cracks and ensures even baking. Wrap your springform pan well in foil to prevent leaks.
- Patience with cooling: Letting the cheesecake cool gradually in the turned-off oven, then at room temperature, then in the fridge is the secret to a crack-free, perfectly set dessert.
- Make-ahead friendly: This cheesecake tastes even better the next day! Prepare up to 2 days in advance; add whipped cream and fresh garnishes just before serving.
- Lemon curd tip: Make the curd while the cheesecake bakes so it has time to cool completely before spreading on top.
Frequently Asked Questions
Can I make this cheesecake ahead of time?
Absolutely! This lemon cheesecake is ideal for making 1-2 days in advance. Bake, cool, top with lemon curd, and refrigerate. Add whipped cream and fresh garnishes just before serving for the best presentation.
Why do I need to use a water bath?
A water bath (bain-marie) creates steam in the oven, which gently and evenly bakes the cheesecake. This prevents the edges from overcooking before the center sets, reduces the risk of cracks, and yields an ultra-creamy texture.
Can I use Meyer lemons?
Yes! Meyer lemons work beautifully and offer a sweeter, floral note. No recipe adjustments needed—simply use the same amount of zest and juice.
How do I get clean slices?
Use a sharp, thin-bladed knife dipped in hot water and wiped dry between each cut. For extra neatness, chill the cheesecake thoroughly (overnight is best) before slicing.
Can I freeze this cheesecake?
Yes! Freeze the plain cheesecake (without lemon curd topping) for up to 3 months. Wrap tightly in plastic wrap, then foil. Thaw overnight in the refrigerator, then add lemon curd and garnishes before serving.