
There’s something comforting about turning leftovers into something that feels brand new, and leftover ham and cheese sliders do exactly that. They come together fast, smell incredible while baking, and somehow disappear even faster once served. It’s one of those recipes that quietly becomes a habit.
_title -->I tend to make these right after a big dinner when there’s extra ham sitting in the fridge. Instead of letting it linger for days, this recipe gives it a second life that feels just as exciting as the original meal. Warm, cheesy, slightly crisp on top – it’s simple food done right.
They’re also incredibly flexible. Lunch, dinner, party snack, late-night bite – these sliders don’t really care. You just layer, bake, and serve, and somehow it always works out.
And yes, making a double batch is rarely a bad idea. They have a way of vanishing from the tray before you even sit down.
Ingredients Needed for the Recipe
- Slider buns or Hawaiian sweet rolls – These form the base and top; soft, slightly sweet buns balance the savory filling beautifully.
- Ham (leftover or sliced) – The star of the recipe; leftover ham adds depth and a slightly smoky flavor.
- Swiss cheese – Melts smoothly and pairs naturally with ham, adding a mild, creamy texture.
- Butter (melted) – Brushed or poured over the top to create a golden, slightly crisp finish.
- Deli or Italian dressing – Brings tang and moisture, tying everything together without extra effort.
Make the Most of Leftover Ham
Leftover ham can feel repetitive after a day or two, but this recipe flips that completely. Instead of reheating the same slices, you’re layering them into something warm, melty, and full of texture. It changes the experience entirely.
I often set aside a portion of ham specifically for this. It’s worth it. Having something ready that can turn into a quick meal the next day takes the pressure off, especially when time feels tight.
And if you have extra beyond that, it doesn’t stop here. A handful can go into eggs, casseroles, even quick pasta dishes. But sliders, they always come first.
How to make Ham and Cheese Sliders?
Step 1 – Preheat and Prepare the Pan
Start by preheating your oven to 350°F. While it warms up, lightly grease a 9 x 13 inch baking pan or line it with foil for easy cleanup.
This small step saves time later, especially when the cheese melts and everything gets a bit sticky around the edges.
Step 2 – Arrange the Bottom Buns
Place the bottom half of the slider buns into the prepared pan. Keep them connected rather than separating each one.
This makes layering easier and helps everything bake evenly, giving you that soft pull-apart texture once they’re done.
Step 3 – Layer the Ham
Spread the ham evenly over the buns. Don’t worry about perfect placement, just aim for full coverage so each bite has a bit of everything.
If your slices are thick, you can tear them slightly. It helps them sit better and keeps the layers from becoming bulky.
Step 4 – Add the Cheese
Lay the Swiss cheese over the ham, covering it from edge to edge. This layer melts into everything and creates that signature gooey center.
You can overlap slices if needed. A little extra cheese never hurts here.
Step 5 – Place the Top Buns
Gently set the top half of the buns over the cheese layer. Press down lightly so everything settles together.
At this point, it already looks promising, but the real magic happens once it goes into the oven.
Step 6 – Prepare the Butter Mixture
In a small bowl, mix the melted butter with the deli or Italian dressing. Stir until it’s well combined.
This mixture adds flavor and helps the tops bake into a golden, slightly crisp finish.
Step 7 – Pour and Cover
Pour the butter mixture evenly over the sliders, making sure it reaches the edges. Then cover the pan with aluminum foil.
Covering helps everything heat through without drying out, especially the bread.
Step 8 – Bake Covered
Place the pan in the oven and bake for about 15 minutes. This allows the cheese to melt and the flavors to settle together.
You’ll start to smell it around this point, and that’s usually when people wander into the kitchen.
Step 9 – Uncover and Finish Baking
Remove the foil and return the sliders to the oven for another 5 to 10 minutes. Let the tops turn golden brown.
This step gives that slight crispness on top while keeping the inside soft and melty.
Step 10 – Serve
Take the pan out and let it sit for a minute or two. Then use a spatula to lift and separate the sliders.
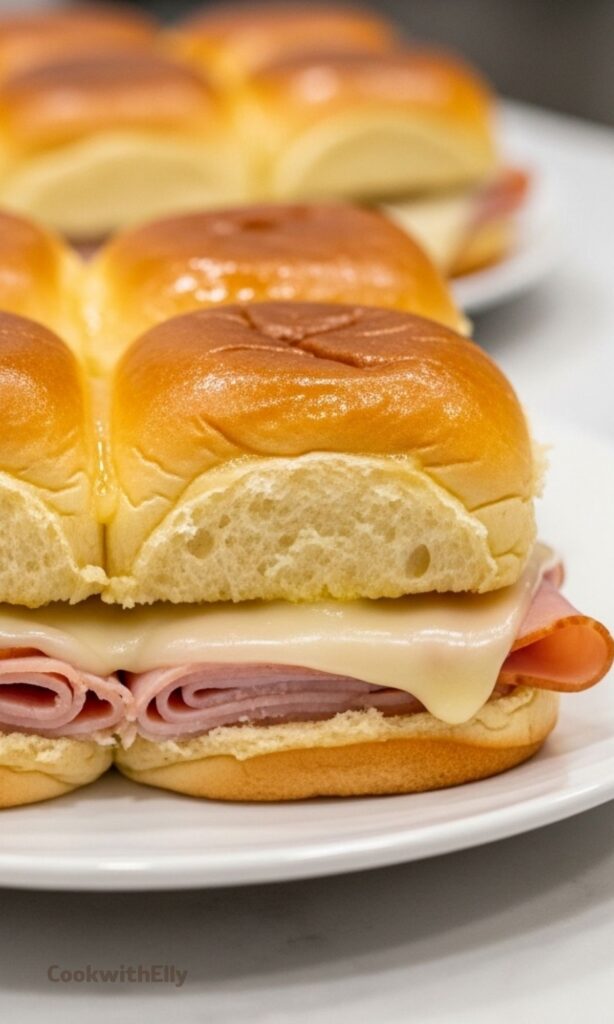
Serve them warm, preferably while the cheese is still stretchy and the tops are just crisp.
Serving Ideas That Work Every Time
These sliders don’t need much alongside them, but a simple pairing can round things out nicely. Something fresh or crunchy usually works best to balance the richness.
I like serving them with a light salad or even just some sliced vegetables on the side. It keeps the meal from feeling too heavy, especially if you’re having more than one slider.
They also fit right into casual gatherings. Set them out on a tray, and they’ll be gone before you get the chance to mention what’s in them.
Tips
- Keep the buns connected while assembling to save time and ensure even baking.
- Use leftover ham for deeper flavor, but deli ham works just as well in a pinch.
- Don’t skip covering the pan at first – it helps melt the cheese properly.
- Pour the butter mixture slowly so it spreads evenly across the tops.
- Let the sliders rest briefly before serving so they hold together better.
- If you like a crispier top, leave them uncovered a minute longer, but watch closely.
Storing and Reheating Leftovers
If you somehow end up with leftovers, they store quite well. Place them in an airtight container or resealable bag, with a paper towel underneath to absorb any moisture.
They’ll keep in the fridge for up to two days. Beyond that, freezing is a better option if you want to hold onto them longer.
For reheating, the oven gives the best results. Cover them first, warm through, then uncover briefly to bring back that golden top. The microwave works too, just quicker and a bit softer in texture.
Either way, they still taste satisfying the next day, which isn’t always the case with bread-based dishes.
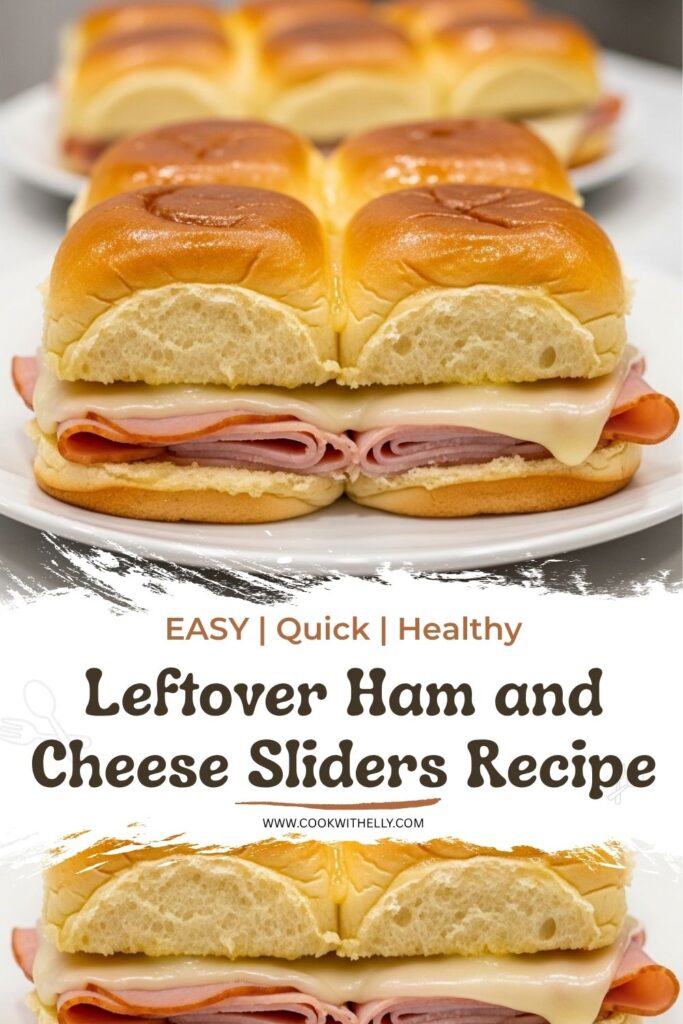
Leftover Ham and Cheese Sliders Recipe
Description
These irresistible Ham and Cheese Sliders come together in under 30 minutes and deliver big flavor in every bite. Perfectly tender slider buns are layered with savory ham, melty Swiss cheese, and brushed with a buttery Italian dressing glaze that bakes into golden perfection. Whether you're feeding a crowd at a party, packing lunches, or need a quick weeknight dinner, these mini sandwiches are a crowd-pleasing solution that disappears fast!
Ingredients
Instructions
-
Preheat & Prep – Preheat your oven to 350°F (175°C). Lightly coat a 9x13-inch baking dish with non-stick cooking spray or line with parchment paper for easy cleanup.
-
Layer the Base – Place the bottom halves of the slider buns in the prepared baking dish as a single connected layer (do not separate individual rolls).
-
Add Fillings – Evenly distribute the sliced ham over the buns, followed by a layer of Swiss cheese slices, ensuring full coverage.
-
Top & Glaze – Place the top bun halves over the cheese. In a small bowl, whisk together melted butter and Italian dressing until emulsified. Pour evenly over the assembled sliders, allowing the mixture to soak into the seams.
-
Bake Covered – Cover the dish tightly with aluminum foil and bake for 15 minutes to melt the cheese and warm the fillings through.
-
Finish & Brown – Remove the foil and bake uncovered for an additional 5–10 minutes, or until the bun tops are golden brown and lightly crisp at the edges.
-
Serve & Enjoy – Let rest 2 minutes, then use a spatula to lift out the connected sliders. Slice between rolls or serve as a pull-apart platter. Serve warm with extra dressing for dipping if desired!
Nutrition Facts
Servings 12
Serving Size 1 slider
- Amount Per Serving
- Calories 295kcal
- % Daily Value *
- Total Fat 15g24%
- Saturated Fat 7g35%
- Trans Fat 0.2g
- Cholesterol 45mg15%
- Sodium 680mg29%
- Potassium 210mg6%
- Total Carbohydrate 22g8%
- Dietary Fiber 1g4%
- Sugars 4g
- Protein 16g32%
- Vitamin A 320 IU
- Vitamin C 1 mg
- Calcium 180 mg
- Iron 1.8 mg
- Vitamin D 8 IU
- Vitamin E 0.6 IU
- Vitamin K 3 mcg
- Thiamin 0.2 mg
- Riboflavin 0.2 mg
- Niacin 3.8 mg
- Vitamin B6 0.3 mg
- Folate 35 mcg
- Vitamin B12 0.9 mcg
- Biotin 4 mcg
- Pantothenic Acid 0.8 mg
- Phosphorus 190 mg
- Iodine 15 mcg
- Magnesium 28 mg
- Zinc 1.9 mg
- Selenium 18 mcg
- Copper 0.1 mg
- Manganese 0.3 mg
- Chromium 3 mcg
- Molybdenum 6 mcg
- Chloride 420 mg
* Percent Daily Values are based on a 2,000 calorie diet. Your daily value may be higher or lower depending on your calorie needs.
Note
Make-Ahead Tip: Assemble sliders up to 4 hours ahead, cover, and refrigerate. Add 5 minutes to bake time if starting cold.
Cheese Swap: Try provolone, cheddar, or pepper jack for a flavor twist.
Gluten-Free Option: Use gluten-free slider buns and verify dressing is GF-certified.
Frequently Asked Questions
Can I use different types of ham?
Absolutely! Leftover baked ham, honey ham, black forest, or deli-sliced ham all work beautifully. Just ensure slices are thin enough to layer evenly.
How do I reheat leftover sliders?
For best results, reheat in a 350°F oven for 8–10 minutes covered with foil. Microwave works in a pinch (30–45 seconds), but may soften the bun texture.
Can I freeze these sliders?
Yes! Freeze unbaked assembled sliders tightly wrapped for up to 1 month. Bake from frozen, adding 10–12 minutes to the covered baking time.