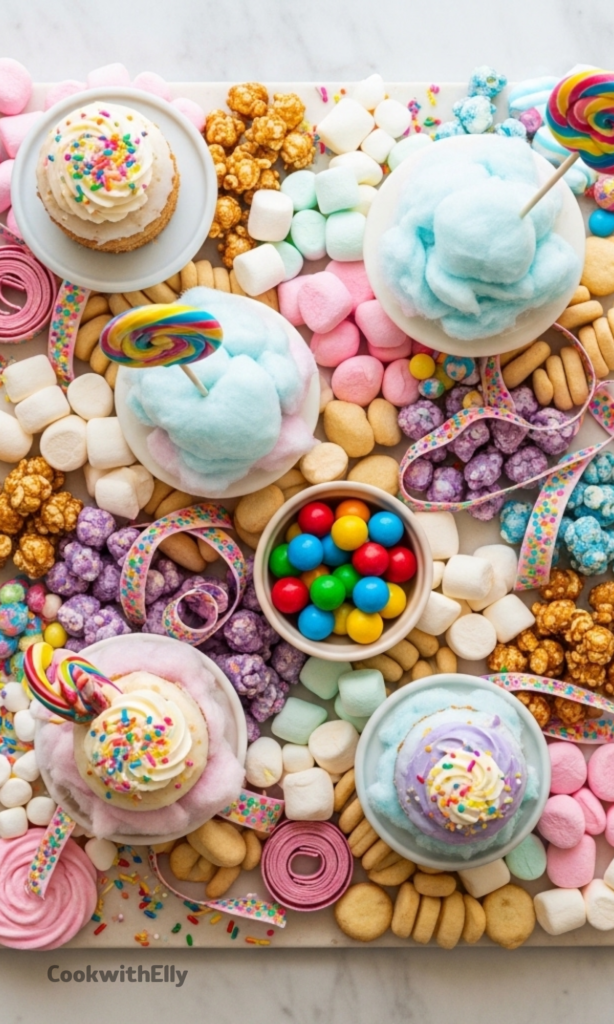

A birthday charcuterie board is one of those ideas that feels playful, thoughtful, and a little unexpected, all at once. It brings together bright colors, fun textures, and treats everyone already loves, just arranged in a way that feels special.
I still love birthday cake, don’t get me wrong, but sometimes it’s fun to switch things up. A dessert board feels relaxed and celebratory without the pressure of slicing and serving at the exact right moment.
This kind of board is especially great if you love decorating and leaning into a party theme. You can go bold, soft, sparkly, or silly, and it still works because the treats do most of the heavy lifting.
Whether it’s a milestone birthday or a small gathering, this board easily becomes the centerpiece. People hover, snack, chat, and keep coming back for just one more bite.
Why a Birthday Charcuterie Board Always Steals the Show
What I love most is how flexible this idea is. You’re not locked into one dessert or flavor, which means everyone finds something they actually want to eat.
It also feels more interactive than a single cake. Guests pick, choose, and build their own little dessert moment, which makes the table feel alive.
Another bonus is how fast it comes together. Even when I go all out with decorations, the assembly itself is quick and forgiving.
Ingredients Needed for the Recipe
- Mini cakes – These act as the focal point and give you a place to add birthday candles.
- Marshmallows – Great for filling gaps and adding soft texture and sweetness.
- Bubble yum tape – Used as decorative curls that look like party ribbon.
- Cotton candy – Adds height, color, and a playful, nostalgic touch.
- Birthday sprinkles – A final sprinkle ties everything together visually.
- Bubble gum balls – Perfect for bowls and pops of bright color.
- Candied popcorn – Fills empty spaces and adds crunch.
- Suckers – Fun vertical elements that double as decor and treats.
How to make Birthday Charcuterie Board?
Step 1 – Place the Cakes
Start by setting small cake stands on your board and placing the mini cakes on top. These become the anchors that guide the rest of the layout.
Step 2 – Add Cotton Candy
Tuck cotton candy into a few spots around the board. Keep it loose and fluffy so it adds volume without taking over.
Step 3 – Add Gum Balls
Pour the bubble gum balls into a small, pretty bowl and place it on the board. This gives structure and keeps things tidy.
Step 4 – Fill with Marshmallows and Popcorn
Scatter marshmallows and candied popcorn into open areas. This is where the board really starts to feel full and inviting.
Step 5 – Create Bubble Tape Curls
Cut the bubble gum tape into 6-inch pieces and curl them like party ribbon. Place them around the board for movement and color.
Step 6 – Add the Suckers
Stick the suckers directly into the cotton candy so they stand upright. This adds height and a playful feel.
Step 7 – Finish with Sprinkles
Lightly sprinkle birthday sprinkles over the entire board. This final touch pulls everything together.
Creative Theme Ideas
Matching the board to the party theme makes it feel intentional and elevated. For a princess party, I lean into pinks, sparkle, and soft textures.
For an older crowd or milestone birthday, black and gold treats feel bold and fun. Metallic wrappers and darker candies instantly change the vibe.
You can also keep it seasonal. Fall birthdays work beautifully with warm tones and spiced cakes, while summer boards shine with bright candy colors.
Tips
- Use number candles that match the birthday age for a personal touch.
- Assemble the board no more than 15 minutes before guests arrive.
- Leave extra cotton candy on the side in case it shrinks.
- Mix textures so the board doesn’t feel flat.
- Keep candies grouped loosely for easy grabbing.
Storing and Making Ahead
Most of the candy elements can be prepared well in advance and stored at room temperature. This makes party day feel much calmer.
If you need to prep early, wrap the finished board loosely with plastic wrap. This helps keep everything fresh, especially the cakes.
Cotton candy is the most delicate, so plan to eat that first. The mini cakes usually stay fresh for about four days.
One of my favorite tricks is setting aside extra candy and refilling spots as the party goes on. It keeps the board looking full.
Serving Ideas for Different Parties
This board works beautifully as the centerpiece of a snack table or grazing table. It draws people in without feeling overwhelming.
For bigger gatherings, pairing it with individual charcuterie cones lets guests snack while mingling. It keeps the flow moving.
I also love this idea for themed parties beyond birthdays, like game nights or holiday events. The format stays the same, only the treats change.
No matter how you serve it, a birthday charcuterie board brings joy in a very relaxed, very fun way. That’s what keeps me coming back to it.
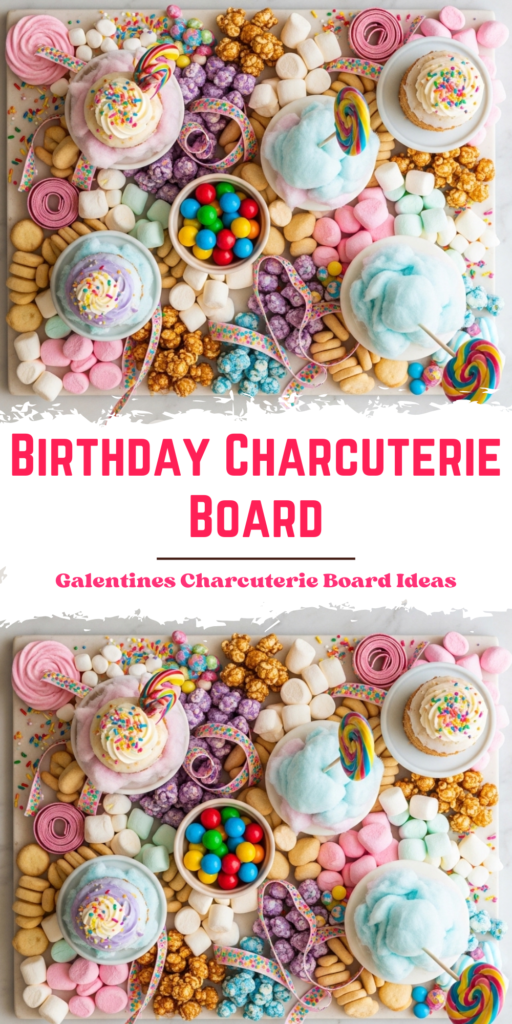
Birthday Charcuterie Board
Description
A birthday charcuterie board is a cute and festive way to celebrate any birthday with an array of colorful sweets, mini cakes, and fun treats. Instead of traditional cake alone, this dessert board adds visual flair and variety—perfect for themed parties like a Two Legit To Quit hip-hop bash or a princess celebration. It’s easy to assemble in under 15 minutes and can be fully customized to match any party theme or dietary preference, including gluten-free options.
ingredients
Sweet Treats & Decorations
Instructions
-
Place tiny cake stands on your charcuterie board or marble slab and position the mini cakes on top.
-
Add small mounds of cotton candy in 2–3 spots around the board.
-
Pour bubble gum balls into a decorative bowl and place it on the board.
-
Scatter marshmallows and candied popcorn in open areas to fill space and add texture.
-
Cut 6-inch pieces of bubble yum tape and curl them into ribbon-like shapes; tuck them around the board for a festive touch.
-
Stick lollipops or suckers directly into the cotton candy mounds for height and color.
-
Finish by sprinkling birthday sprinkles over the entire board for a celebratory pop.
Nutrition Facts
Servings 8
Serving Size 1 portion
- Amount Per Serving
- Calories 400kcal
- % Daily Value *
- Total Fat 13gg20%
- Saturated Fat 6gg30%
- Trans Fat 0gg
- Cholesterol 25mgmg9%
- Sodium 180mgmg8%
- Potassium 90mgmg3%
- Total Carbohydrate 72gg24%
- Dietary Fiber 1gg4%
- Sugars 58gg
- Protein 3gg6%
- Calcium 4 mg
- Iron 2 mg
* Percent Daily Values are based on a 2,000 calorie diet. Your daily value may be higher or lower depending on your calorie needs.
Note
- Make-Ahead Tip: Assemble up to 1 hour before serving. Cover loosely with plastic wrap, but add cotton candy and sprinkles just before guests arrive to maintain freshness and crunch.
- Dietary Swaps: Use certified gluten-free mini cakes and candies for a fully gluten-free board. Vegan marshmallows and dairy-free cakes are also great alternatives.
- Theme Ideas: Match colors to party themes—gold/black for a hip-hop party, pastels for baby showers, or red/white/blue for summer birthdays.
- Storage: Leftover candies can be stored in airtight containers. Mini cakes last up to 4 days refrigerated if frosted with buttercream.
Frequently Asked Questions
Can I make this board gluten-free?
Yes! Use gluten-free mini bundt cakes or bento cakes and ensure all candies (like popcorn and sprinkles) are certified gluten-free. Many brands now offer safe options.
How far in advance can I assemble the board?
You can prep most components up to 1 hour ahead. However, add cotton candy and sprinkles right before serving to prevent sogginess or melting.
What if I don’t have a large board?
No problem! Use individual charcuterie boxes or trays. This works great for kids’ parties or seated events.