
There is something deeply comforting about a warm Apple Crumble fresh from the oven. The smell alone fills the kitchen with a kind of quiet happiness that makes everyone wander in, asking when it will be ready.
I have been making this recipe for years, tweaking it little by little until it became exactly what I wanted. Not too sweet, not too dry, and never watery. Just soft apples tucked under a golden, crumbly top.
This is the dessert I turn to when I want something reliable and cozy. It is simple enough for a weekday, yet special enough to serve when friends come over and linger at the table.
And yes, this is the one people ask for again. That is how I know it works.
Choosing the Right Apples
The apples you choose really shape the final flavor. I prefer using tart green apples because they balance beautifully with the buttery topping and sugar.
That slight sharpness softens as they bake, turning mellow and fragrant rather than overly sweet. It gives the crumble depth instead of tasting flat.
If you enjoy a sweeter dessert, red apples work well too. The recipe is flexible, so you can adjust based on what you have without losing the spirit of the dish.
Ingredients Needed for the Recipe
- Granny Smith apples – the heart of the dessert, providing a fresh tartness that keeps the crumble from becoming overly sweet.
- Plain flour (for filling) – helps thicken the juices slightly so the apples become syrupy instead of watery.
- White sugar – adds sweetness and helps the apples soften while baking.
- Lemon juice – brightens the flavor and prevents the filling from tasting heavy.
- Ground cinnamon – gives warmth and that classic comforting aroma.
- Rolled oats – create texture in the topping and add a rustic, hearty crunch.
- Plain flour (for topping) – forms the base of the crumble mixture.
- Brown sugar – brings caramel notes and helps the topping turn golden.
- Baking powder – keeps the topping from becoming dense.
- Cinnamon powder – layers extra spice into the crumble itself.
- Unsalted butter, melted – binds everything together and creates those irresistible clumps.
- A pinch of salt – balances sweetness and enhances flavor.
- Vanilla ice cream (for serving) – melts into the warm crumble and makes every bite creamy.
How to make Apple Crumble?
Step 1 – Preheat the Oven
Start by preheating your oven to 180°C. Getting the oven properly hot ensures the topping crisps up rather than slowly melting.
A steady temperature is what gives the crumble its golden finish while the apples cook evenly underneath.
Step 2 – Prepare the Apples
Peel the apples, then cut them into small cubes about 1.5 cm in size. Try to keep them fairly even so they cook at the same rate.
This size allows them to soften beautifully without turning into mush. You still want to see pieces when you scoop into the dish.
Step 3 – Make the Apple Filling
Place the chopped apples into a large bowl. Sprinkle over the flour, sugar, and cinnamon, then add the lemon juice.
Toss everything together until the apples are evenly coated. The flour might seem like a small addition, but it transforms the filling into a light syrup as it bakes.
Spread the mixture evenly into a baking dish. Make sure the layer is level so it cooks uniformly.
Step 4 – Prepare the Crumble Topping
In another bowl, combine the oats, flour, brown sugar, baking powder, cinnamon, salt, and melted butter. Mix gently until the mixture forms clumps.
You are aiming for a texture similar to damp sand with some chunky bits. Those chunks are what give the topping its signature crumble rather than a flat crust.
Step 5 – Assemble the Crumble
Scatter the topping evenly over the apples. Use your fingers to break up larger clumps if needed, but do not press it down.
Keeping it loose allows air to circulate, which helps everything bake into a crisp, textured surface.
Step 6 – Bake Until Golden
Place the dish into the oven and bake for 30 to 40 minutes. The top should turn golden brown and smell irresistibly buttery.
You may see the apple juices bubbling gently at the edges. That is exactly what you want, as it means the filling has thickened.
Step 7 – Let It Rest
Remove the crumble from the oven and let it stand for about 10 minutes. This short rest allows the syrup to settle and thicken slightly.
If you scoop too early, the filling will be looser. Waiting just a little makes the texture perfect.
Step 8 – Serve Warm
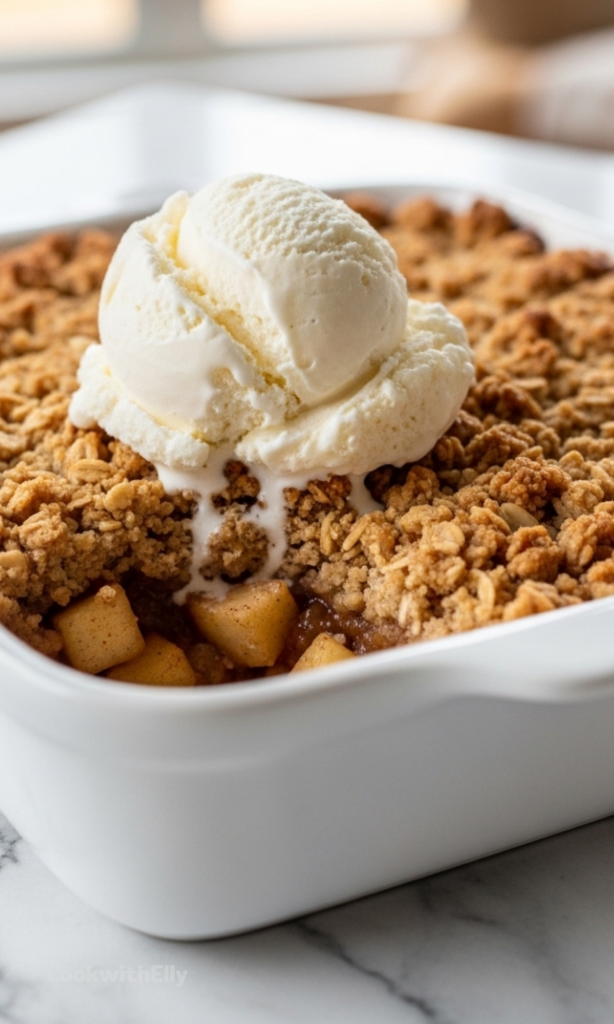
Spoon the crumble into bowls while still warm and top with vanilla ice cream. The contrast of hot crumble and cold cream is what makes it unforgettable.
The ice cream melts into the topping, creating a silky sauce without any extra effort.
Why This Recipe Works So Well
This crumble avoids the common problems people run into. The filling is never dry and never watery, thanks to that small amount of flour working quietly in the background.
The topping stays crisp while still tender. It holds together in clusters rather than turning into dust, giving you texture in every bite.
It is not overly sweet either. The balance between tart apples, warm spice, and buttery crumble keeps you going back for another spoonful.
There are no complicated techniques here. Just a handful of thoughtful steps that make all the difference.
Tips
- Cut apples evenly so they bake at the same rate.
- Do not skip the flour in the filling, it helps create that light syrup.
- Use melted butter, not cold butter, for a better crumble texture.
- Do not press the topping down, keep it loose for crispness.
- Let the crumble rest before serving so the filling thickens properly.
- If the top browns too quickly, loosely cover with foil.
- Serve warm, not piping hot, for the best flavor and texture.
- Always pair with ice cream for contrast and creaminess.
Simple Variations You Can Try
Once you are comfortable with the base recipe, you can gently change it to suit the season. Pears work wonderfully and create a softer, slightly floral version.
Stone fruits such as peaches can also be used when they are at their peak. They bring a juicier filling and a brighter flavor.
You can add a handful of chopped nuts to the topping if you want extra crunch. Almonds or walnuts fit naturally without overpowering the dessert.
Even a small pinch of nutmeg or cardamom can shift the flavor in an interesting way. Keep it subtle so the apples remain the star.
Serving and Storing Ideas
Apple Crumble is best served warm, straight from the baking dish. It is casual and inviting, the kind of dessert meant to be shared rather than plated perfectly.
Leftovers keep well for a couple of days in the refrigerator. Reheat gently in the oven to bring back the crisp topping.
If you are making it ahead, assemble everything and bake just before serving. That way you still get that fresh, golden texture.
Some people enjoy it cold the next day, and honestly, I do too sometimes. The flavors deepen overnight and become even more comforting.
Whether served after a family meal or enjoyed quietly with a cup of tea, this Apple Crumble always feels like a small reward at the end of the day.
Apple Crumble Recipe
Description
With a warm, cinnamon-laced apple filling and a perfectly crunchy, crumbly topping, Apple Crumble is an absolute crowd pleaser! Very easy to make, this Apple Crumble recipe is a keeper that you'll make again and again. The apple filling is never dry or watery—just slightly jammy and syrupy—while the crumbly topping bakes up beautifully crisp without being dry, doughy, or overly sweet.
ingredients
Apple Filling
Crumble Topping
To Serve
Instructions
-
Preheat oven to 180°C / 350°F (both fan and standard).
-
Peel apples, then cut into 1.5cm / 1/2" cubes.
-
Place apples in a bowl. Sprinkle with flour, sugar and cinnamon, then pour over lemon juice. Toss to combine, then spread out evenly in a 1.5 litre / 1.5 quart baking dish.
-
Place all Topping ingredients in a bowl. Mix until clumps form, like wet sand. Spread over the apples, crumbling with fingers if required to achieve that signature crumbly topping.
-
Bake for 30 to 40 minutes or until golden brown. Remove from oven, cover loosely with foil to keep warm, and let stand for 10 minutes before serving (this allows the apple syrup to thicken slightly).
-
Serve warm with a generous scoop of vanilla ice cream!
Nutrition Facts
Servings 6
Serving Size 1 serving (approx. 1/6 of recipe)
- Amount Per Serving
- Calories 485kcal
- % Daily Value *
- Total Fat 18gg28%
- Saturated Fat 11gg56%
- Trans Fat 0gg
- Cholesterol 35mgmg12%
- Sodium 85mgmg4%
- Potassium 220mgmg7%
- Total Carbohydrate 78gg26%
- Dietary Fiber 5gg20%
- Sugars 52gg
- Protein 4gg8%
- Calcium 4 mg
- Iron 6 mg
* Percent Daily Values are based on a 2,000 calorie diet. Your daily value may be higher or lower depending on your calorie needs.
Note
- Best apples: Granny Smith apples provide the perfect sweet-tart balance, but sweet red apples work well too if you prefer less tartness.
- Why flour in the filling? Just a little flour mixed with the apples helps create a slightly jammy, syrupy filling instead of a watery one.
- Topping texture tip: Mix topping ingredients just until clumps form like wet sand—don't overmix or it will become doughy.
- Variations: This recipe also works beautifully with pears or stone fruits like peaches and nectarines.
- Don't skip the rest time: Letting the crumble stand for 10 minutes after baking allows the apple syrup to thicken for the perfect spoonful.
- Serving essential: Always serve with vanilla ice cream—the warm/cold contrast is magical!
Frequently Asked Questions
Can I make Apple Crumble ahead of time?
Yes! Assemble the crumble (without baking), cover tightly, and refrigerate for up to 24 hours. Bake straight from the fridge, adding 5-10 minutes to the baking time if needed.
What's the best way to store leftovers?
Cover cooled crumble tightly and refrigerate for up to 3 days. Reheat individual portions in the microwave or the whole dish in a 160°C / 325°F oven until warmed through.
Can I use different apples?
Absolutely! Granny Smith apples are recommended for their sweet-tart flavor and firm texture that holds up during baking, but Honeycrisp, Braeburn, or Pink Lady apples also work wonderfully.
Can I make this gluten-free or dairy-free?
Yes! For gluten-free, use a 1:1 gluten-free flour blend and certified gluten-free oats. For dairy-free, substitute the butter with an equal amount of melted coconut oil or vegan butter.