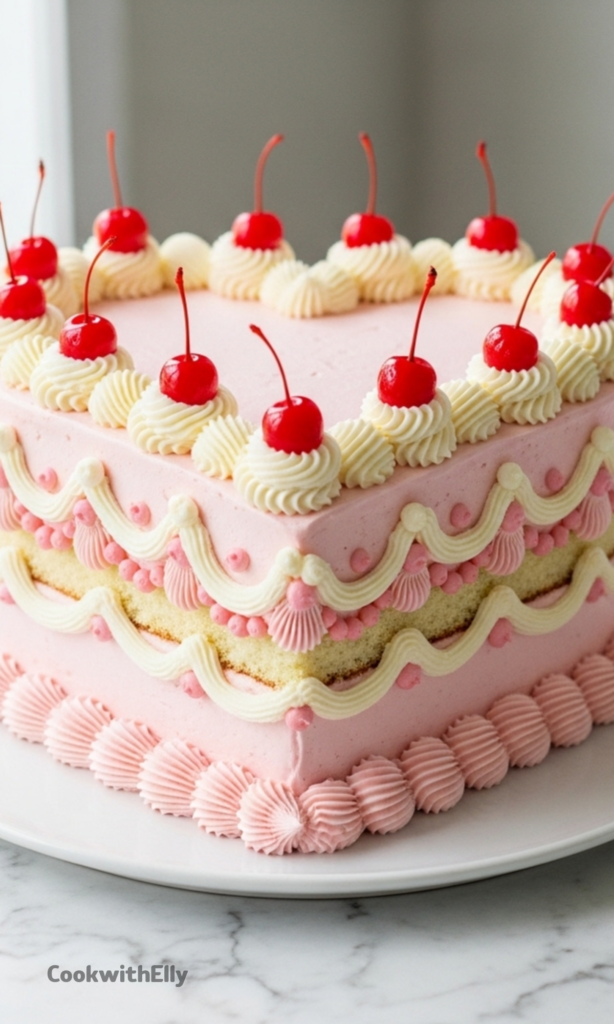
There’s something undeniably charming about a Vintage Heart Cake. It feels nostalgic and romantic, like something you’d see displayed in a bakery window in the 1950s—soft pastel frosting, delicate piping, and a sweet heart shape that instantly says love.
The best part? You don’t need a special heart-shaped pan or professional pastry skills to pull it off. With just two standard 8-inch round cake pans, a couple of simple cuts, and a little patience, you can create a stunning vintage heart cake that looks impressive and tastes even better.
This recipe is built on a fluffy, tender vanilla or lemon cake base paired with lightly sweetened cream cheese frosting tinted pink using natural food coloring.
It’s elegant without being fussy, sweet without being overwhelming, and absolutely perfect for Valentine’s Day, anniversaries, birthdays, or any moment that calls for something heartfelt.
Why This Vintage Heart Cake Is So Special
This isn’t just another cute cake—it’s a carefully tested, well-balanced recipe that delivers on both flavor and texture.
No specialty pan required – The heart shape is made using two round cakes and just two easy cuts.
Incredibly fluffy cake layers – Thanks to whipped eggs, properly heated milk, and the right baking temperature.
Lower sugar, big flavor – Still sweet and satisfying, but not cloying.
Customizable flavor – Go classic vanilla, bright lemon, or experiment with almond, orange, or even lime.
Gluten-free friendly – Works beautifully with quality 1-to-1 gluten-free flour blends.
Naturally pink frosting – No artificial dyes needed if you prefer natural options.
It’s the kind of cake that looks bakery-made but feels personal and homemade.
The Cake Base: Light, Fluffy, and Full of Flavor
At the heart of this vintage heart cake is a soft, fluffy cake adapted from the well-loved King Arthur Flour Classic Birthday Cake recipe. A few thoughtful tweaks make it especially well-suited for layered cakes baked in 8-inch pans.
Flavor Options
Vanilla – Warm, classic, and crowd-pleasing.
Lemon – Bright and fresh, thanks to lemon extract and zest.
Other extracts – Almond, orange, or coconut work beautifully. If you switch extracts, match the zest (or omit it entirely).
The lemon version is particularly lovely for Valentine’s Day—it cuts through the sweetness of the frosting and keeps each bite feeling light.
Why the Milk Needs to Be Heated
This step may feel unnecessary, but it’s crucial. Heating (or scalding) the milk helps denature whey proteins, which improves the cake’s structure and rise. Even when using gluten-free flour or plant-based milk, skipping this step results in a noticeably denser cake.
In short: it only takes a few minutes, and it’s absolutely worth it.
Baking Temperature Matters
Instead of the original recipe temperature, this cake bakes best at 335°F (about 170°C) when using two 8-inch pans. That small increase ensures consistent, fluffy layers without sinking or uneven baking.
Ingredients Breakdown (What Each One Does)
For the Cake
Flour – All-purpose flour works perfectly. For gluten-free, use a reliable 1-to-1 blend like King Arthur Measure for Measure or Bob’s Red Mill 1-to-1.
Baking powder + salt – Baking powder is essential here; baking soda won’t work.
Eggs (4 total) – Non-negotiable. Beating the eggs with sugar creates air and structure that egg replacers can’t replicate.
Granulated sugar – Provides sweetness and helps aerate the batter.
Milk – Any kind works, including dairy-free options, as long as it’s heated.
Butter + oil – The combination gives both flavor and moisture.
Extracts and zest – Where the personality of the cake really shines.
For the Frosting
Full-fat cream cheese – For richness and structure.
Butter (room temperature) – Essential for smooth, lump-free frosting.
Powdered sugar – Used sparingly for a less-sweet, more balanced frosting.
Natural pink food coloring – Optional but highly recommended for that vintage look.
This frosting stays soft and creamy, making it ideal for spreading and piping—but keep in mind that it doesn’t crust or harden like traditional buttercream.
How to Make a Vintage Heart Cake (Overview)
The full instructions live in the recipe card, but here’s a clear picture of how everything comes together.
Make this recipe yours—just save it to your Pinterest board!”
1. Bake the Cake Layers
Mix dry ingredients in one bowl.
Beat eggs, sugar, and extracts until thick and pale.
Heat milk with zest until very hot, then stir in butter and oil.
Combine everything into a smooth batter.
Divide evenly between two 8-inch round pans.
Bake at 335°F until set and springy.
Cool completely.
2. Make the Cream Cheese Frosting
Beat butter and cream cheese until smooth.
Add vanilla and salt.
Gradually beat in powdered sugar.
Tint with natural pink coloring if desired.
3. Assemble the Heart Shape
This is the part that sounds intimidating—but really isn’t.
Stack the two cake layers with frosting in between.
Cut two straight lines from the bottom center outward to form the point of the heart.
Attach the rounded cut-offs to the top sides using frosting to create the heart curves.
Trim the center top slightly if needed to define the heart shape.
Once you’ve done it once, you’ll realize how simple it actually is.
4. Crumb Coat and Chill
Apply a thin crumb coat over the entire cake.
Chill until firm—this makes final frosting much easier.
5. Frost and Decorate
Cover the cake smoothly with pink frosting.
Pipe shell borders using a tip like Wilton 32.
Add decorative lines, cherries, sprinkles, or leave it minimal and classic.
Decorating Ideas for a True Vintage Look
A vintage heart cake is all about soft colors and classic piping.
Shell borders around the top and bottom edges
Thin piped lines across the surface (optional but charming)
Maraschino cherries added just before serving
Freeze-dried raspberry powder mixed into frosting for natural color and flavor
Fresh berries if you prefer no food coloring at all
Even without elaborate piping, the heart shape alone makes this cake a showstopper.
Make-Ahead, Freezing, and Storage Tips
One of the best things about this vintage heart cake is how well it holds up.
Make Ahead
Cake layers can be baked, wrapped, and stored:
2 days at room temperature
3 days in the refrigerator
Up to 3 months in the freezer
You can even assemble the cake using frozen layers—it actually makes cutting and shaping easier.
Freezing the Frosted Cake
The fully assembled cake can be frozen (even frosted).
Wrap tightly in plastic wrap, then place in a freezer-safe bag.
Freeze for up to 1 week (longer if well-wrapped).
Storing the Finished Cake
Because of the cream cheese frosting, store the cake in the refrigerator.
Let it sit at room temperature for about 30 minutes before serving for the best texture and flavor.
Leftover slices freeze beautifully and thaw in as little as 10–30 minutes.
Gluten-Free Notes
This recipe works exceptionally well with high-quality gluten-free flour blends.
King Arthur Measure for Measure – Slightly taller, fluffier cake.
Bob’s Red Mill 1-to-1 – A bit denser but still moist and tender.
Avoid almond flour, coconut flour, or other single-ingredient substitutes—they won’t work here.
This vintage heart cake features a flavorful lemon or vanilla fluffy cake base and is topped with naturally pink-colored cream cheese frosting—perfect for Valentine’s Day. No specialty pan needed! You can easily create the heart shape using two standard 8" round pans with just two simple cuts. The recipe works beautifully with either all-purpose or gluten-free flour.
ingredients
For the cake:
2cups flour (240g all-purpose or gluten-free (King Arthur Measure for Measure or Bob’s Red Mill 1-to-1))
1 1/4teaspoons salt
2teaspoons baking powder
4 large eggs (50g each out of shell, room temperature)
1 3/4cups granulated sugar (350g)
1 1/2teaspoons vanilla extract
1 1/2teaspoons lemon extract (or more vanilla if preferred)
1cup milk (240ml, any type including unsweetened cashew or coconut milk)
2tablespoons lemon zest (omit for vanilla-only version)
1/4cup unsalted butter (56g, cut into parts)
1/3cup canola or vegetable oil (67g)
For the frosting:
20ounces full-fat cream cheese (563g or 2½ packages, room temperature)
1 cup + 2 tablespoons unsalted butter (252g, very soft but not melted)
Place rack in center of oven. Preheat to 335°F (168°C). Line two 8” round pans with parchment paper.
2
In a medium bowl, whisk together flour, salt, and baking powder. Set aside.
3
In a large bowl, beat eggs, sugar, vanilla, and lemon extract with an electric mixer on medium-high for 2 minutes (or 5 minutes with paddle) until thick and light gold.
4
Beat in dry ingredients on low speed until just combined. Scrape bowl and mix briefly.
5
In a small saucepan, heat milk and lemon zest over medium until small bubbles form (do not boil). Remove from heat and stir in butter and oil until melted.
6
Slowly stir warm milk mixture into batter on low speed until fully combined.
7
Divide batter evenly between pans (≈580g per pan). Bake 33–45 minutes until toothpick comes out clean.
8
Cool in pans 15 minutes, then transfer to wire racks to cool completely (≈2 hours).
Make the frosting:
9
Beat cream cheese and butter until well combined (may look slightly crumbly).
10
Gradually add powdered sugar, then vanilla and salt. Beat until smooth.
11
Reserve ½ cup (117g) of frosting to keep white for decoration.
12
Tint remaining frosting light pink with natural food coloring (e.g., ½ tsp McCormick berry powder). Beat until smooth.
Assemble the cake:
13
Place one cake layer toward bottom of serving plate. Spread ¾ cup pink frosting on top.
14
Top with second layer, flat side up.
15
Measure and mark two 5” lines forming a right angle at the bottom edge. Cut along curves to form heart base.
16
Attach rounded cut-offs to top center with ~2 tbsp frosting to form heart lobes. Trim center if needed for symmetry.
17
Apply crumb coat (⅓–½ cup frosting). Freeze 30–60 min or refrigerate 2 hours.
18
Frost entire cake (≈¾ cup on top, 1 cup on sides). Chill again before decorating.
Decorate the cake:
19
Deepen color of remaining pink frosting with extra food coloring (e.g., +3/8 tsp for darker shade).
20
Pipe shell border around top and bottom edges using Wilton tip 32.
21
Use reserved white frosting to pipe dots or lines (e.g., Wilton tips 18 or 3).
22
Just before serving, place maraschino cherries around top border.
Store:
23
Refrigerate covered for up to 4 days. Freeze (without cherries) for up to 3 months.
Nutrition Facts
Servings 12
Serving Size 1 slice
Amount Per Serving
Calories527kcal
% Daily Value *
Total Fat25g39%
Saturated Fat14g70%
Cholesterol107mg36%
Sodium316mg14%
Potassium180mg6%
Total Carbohydrate72g24%
Sugars58g
Protein5g10%
Calcium 80 mg
Iron 1 mg
* Percent Daily Values are based on a 2,000 calorie diet. Your daily value may be higher or lower depending on your calorie needs.
Note
Gluten-free tip: Use King Arthur GF Measure for Measure Flour for best texture and rise.
Dairy-free cake option: Replace butter with additional oil (total ½ cup + 1 tbsp oil), but frosting remains dairy-based.
Natural coloring: Freeze-dried raspberry powder also works for pink frosting—just sieve to remove seeds.
Make ahead: Cake layers freeze well for up to 3 months. Assemble directly from frozen.