I have baked a lot of vanilla cupcakes over the years. Some were fine on day one and disappointing by day two, others tasted sweet but felt dry, and a few looked good but crumbled the second you peeled the liner.
These vanilla cupcakes are different, and I do not say that lightly. They stay soft, tender, and properly moist for days, not hours, using regular pantry ingredients and a technique that quietly does all the heavy lifting.
This recipe comes from a vanilla cake batter I already loved, tweaked just enough to behave perfectly in cupcake form. The result is a plush crumb, gentle vanilla flavor, and a texture that feels bakery-level without being fussy.
If you like cupcakes that are fluffy but not fragile, sweet but not cloying, and still enjoyable on day four, you are in the right place. This is the kind of recipe you stop searching after.
Ingredients Needed for the Recipe
Plain all purpose flour - forms the structure while keeping the crumb soft and velvety.
Baking powder - provides reliable lift and helps the cupcakes rise evenly.
Salt - balances sweetness and brings out the vanilla and butter flavors.
Eggs at room temperature - whipped to trap air and create a light, fluffy base.
Sugar - sweetens and helps stabilize the whipped eggs for a finer crumb.
Unsalted butter - adds richness and that classic buttery cupcake flavor.
Full fat milk - adds moisture and helps create a tender texture.
Vanilla extract - gives the cupcakes their warm, familiar vanilla aroma.
Neutral oil - adds extra moisture that keeps the cupcakes soft for days.
Why these cupcakes stay moist longer than most
Most vanilla cupcake recipes rely heavily on creaming butter and sugar. That method can work, but it is easy to overmix, undermix, or lose moisture fast once the cupcakes cool.
This recipe takes a different route by whipping eggs and sugar until thick and airy. That step builds structure without drying the crumb, which is the quiet reason these cupcakes age so well.
Warm milk and butter are folded in gently at the end. It sounds simple, but this small detail helps the batter rise better and stay tender long after baking.
How to make Vanilla Cupcakes (that actually stay moist)?
Make this recipe yours—just save it to your Pinterest board!”
Step 1 - Prepare the oven and pan
Start by preheating the oven so it is fully hot before the batter is ready. Line a standard muffin tin with cupcake liners and set it aside.
This batter depends on air trapped during mixing, so you want everything ready. Once you begin, it is best to move straight through without long pauses.
Step 2 - Mix the dry ingredients
Whisk the flour, baking powder, and salt together in a bowl. This helps distribute the leavening evenly so every cupcake rises the same way.
Set the bowl aside nearby. You will be adding this mixture in stages, so having it ready matters more than it sounds.
Step 3 - Heat the milk and butter
Warm the milk with the butter until the butter melts and the mixture is very warm but not boiling. Cover it to keep the heat in.
Warm liquid blends more smoothly into the batter and supports better lift. It is one of those steps that feels small but changes the result.
Step 4 - Whip the eggs
Beat the eggs on their own first, then slowly add the sugar while continuing to beat. Keep going until the mixture turns pale, thick, and triples in volume.
This step takes several minutes and patience pays off here. The whipped eggs are what give these cupcakes their light, plush crumb.
Step 5 - Add the dry ingredients gently
Add the flour mixture in portions, mixing briefly on low speed each time. Stop as soon as the flour disappears into the batter.
Overmixing at this stage knocks out air and toughens the crumb. A few faint streaks are fine and will disappear later.
Step 6 - Temper the warm milk
Pour some of the whipped batter into the warm milk along with the vanilla and oil. Whisk it until smooth and slightly foamy.
This step cools the milk gently and lightens its texture so it blends back into the batter without deflating it.
Step 7 - Finish the batter
Slowly pour the milk mixture back into the main batter while mixing on low speed. Scrape the bowl, then mix briefly until smooth.
The finished batter should be pourable, airy, and glossy. At this point, work efficiently and move straight to filling the liners.
Step 8 - Fill the cupcake liners
Fill each liner about two thirds full. An ice cream scoop makes this easy and keeps the cupcakes evenly sized.
Overfilling causes overflow and sinking, so resist the urge to add extra batter. Less is safer here.
Step 9 - Bake and cool
Bake until the tops are lightly golden and a toothpick comes out clean. Remove the cupcakes after a short rest and transfer them to a rack.
Cooling them promptly prevents overbaking. Let them cool completely before adding any frosting.
Best ways to frost and serve
These cupcakes are lovely on their own, especially on the day they are baked. A light dusting of powdered sugar works if you want something simple.
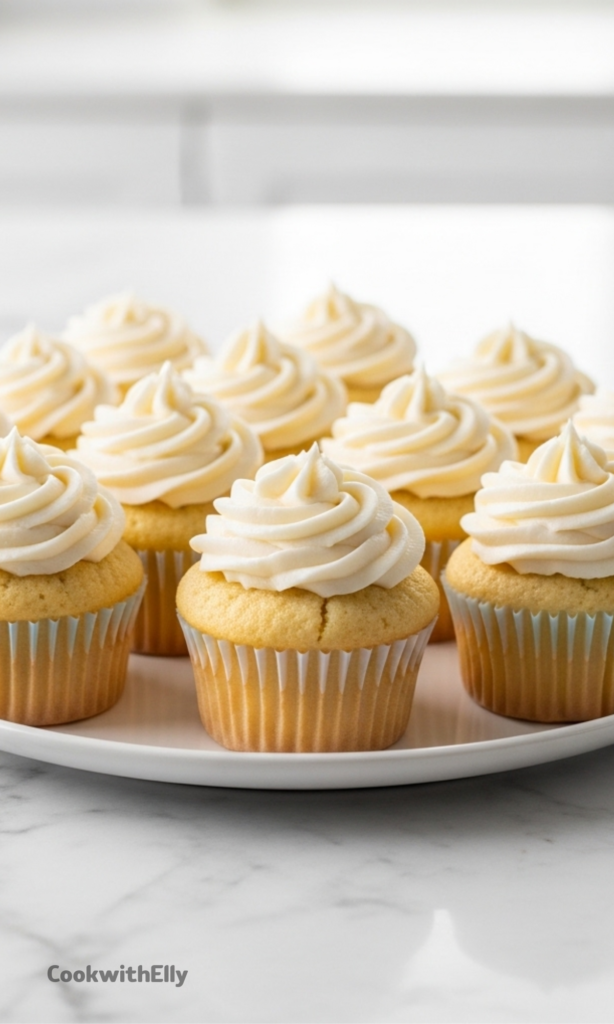
For celebrations, a classic vanilla buttercream sits beautifully on top without overpowering the cake. The cupcake itself is less sweet, so it balances well.
If you prefer something lighter, a fluffy, less-sweet frosting or even softly whipped cream works well. Just be mindful of storage when using dairy-based toppings.
How to store them properly
Once the cupcakes are fully cool, store them in an airtight container as soon as possible. Air is the fastest way to dry them out.
In mild weather, unfrosted cupcakes keep well at room temperature for several days. Hot conditions call for refrigeration, but always bring them back to room temperature before serving.
Freezing is also an option. Wrap carefully, thaw slowly, and they will still taste surprisingly fresh.
Tips
Read the recipe fully before starting so the steps flow smoothly.
Use eggs at room temperature for better volume and texture.
Do not stop midway through mixing once the eggs are whipped.
Check that your baking powder is fresh and active.
Fill liners no more than three quarters full.
Remove cupcakes from the pan shortly after baking.
Store in airtight containers as soon as they cool.
Small variations that work well
This batter is a great base if you like to experiment gently. You can add citrus zest for a brighter flavor without changing the texture.
A spoonful of jam in the center before baking creates a soft filling that stays moist. Keep the amount modest so the cupcake structure holds.
For a slightly richer version, top with a light chocolate glaze. The vanilla crumb pairs beautifully with deeper flavors.
Final thoughts
I have a soft spot for recipes that quietly do what they promise. These vanilla cupcakes do exactly that, without tricks or hard-to-find ingredients.
They stay tender, taste balanced, and feel reliable every time I make them. That matters when you are baking for people you care about.
If you have been disappointed by dry cupcakes in the past, I truly hope this recipe changes that for you. It certainly did for me.
Using a Japanese baking technique applied to classic butter cupcake ingredients, these Vanilla Cupcakes deliver a professional bakery-style crumb that stays perfectly moist for 4 whole days—unheard of for cupcakes! No secret ingredients, just expert technique for plush, tender cupcakes with elegant buttery-vanilla flavor and a sweet golden dome.
ingredients
Cupcake Batter
1cup plain / all purpose flour (cake flour OK too (do not substitute self-raising or gluten-free))
1 1/4tsp baking powder (NOT baking soda)
1/8tsp salt
2large eggs (50-55g/2 oz each, at room temperature)
3/4cup caster / superfine sugar (granulated/regular sugar OK too)
60g unsalted butter (cut into 1.5cm/½" cubes)
1/2cup milk (full fat (low fat works but rises marginally less))
2tsp vanilla extract (best quality you can afford)
1 1/2tsp vegetable or canola oil (adds moisture without weighing down crumb)
Instructions
Preparation
1
Preheat oven to 180°C/350°F (160°C fan) for 20 minutes before starting batter. Position rack in middle of oven.
2
Line a standard 12-cup muffin tin with cupcake liners.
Batter
3
Whisk flour, baking powder and salt together in a large bowl. Set aside.
4
Place butter and milk in a heatproof jug. Microwave 2 minutes on high to melt butter (do not let milk boil—foam is OK). Cover and keep warm in microwave or on turned-off stove.
5
In a separate heavy-based glass bowl, beat eggs for 30 seconds on Speed 6 with handheld beater.
6
With beater still running, gradually pour in sugar over 30 seconds.
7
Beat eggs and sugar for 6–7 minutes on Speed 8 until tripled in volume, almost pure white, and thick/glossy.
Critical step: aeration creates fluffy crumb
8
Scatter ⅓ of flour mixture over egg batter. Beat on Speed 1 for 5 seconds. Repeat with half remaining flour, then final portion—mixing just until flour disappears (5–10 seconds). Do not overmix.
Minimal mixing preserves air bubbles
9
Pour hot milk, vanilla extract and oil into the empty flour bowl. Add ~¾ cup of egg batter and whisk vigorously until smooth and foamy (this tempers the hot milk).
10
With beater on Speed 1, slowly pour milk mixture into egg batter over 15 seconds. Turn off beater.
11
Scrape down sides and base of bowl. Beat on Speed 1 for 10 seconds until batter is smooth and pourable.
Bake & Cool
12
Fill cupcake liners ⅔ full with batter (use ice cream scoop with lever for accuracy). DO NOT overfill—causes sinking or overflow.
Under-filling is better than over-filling
13
Bake 22 minutes until golden and toothpick inserted into center comes out clean.
14
Cool in tin for exactly 2 minutes, then transfer cupcakes to cooling rack using a fork. Cool completely before frosting.
Leaving cupcakes in hot tin too long causes overcooking
Nutrition Facts
Servings 12
Serving Size 1 cupcake
Amount Per Serving
Calories148kcal
% Daily Value *
Total Fat7g11%
Saturated Fat4g20%
Cholesterol55mg19%
Sodium85mg4%
Potassium65mg2%
Total Carbohydrate21g8%
Dietary Fiber0.3g2%
Sugars13g
Protein2g4%
Calcium 45 mg
Iron 0.6 mg
* Percent Daily Values are based on a 2,000 calorie diet. Your daily value may be higher or lower depending on your calorie needs.
Note
Room temperature eggs are essential – they whip better and create more volume. Warm cold eggs by placing in warm water for 5 minutes.
Do not stop once you start mixing – the batter relies on whipped egg aeration. Leaving it sitting causes bubbles to deflate and reduces rise.
Test baking powder freshness – place ½ tsp in bowl and pour boiling water over it. It should bubble energetically. If not, replace it.
Storage – Keep unfrosted cupcakes in airtight container at room temperature (up to 25°C/77°F) for 4 days of perfect freshness. In hot weather, refrigerate but bring to room temperature 30 minutes before serving.
Freezing – Place parchment paper on cupcake surface, wrap in cling film or place in ziplock bags. Freeze up to 3 months. Thaw overnight in fridge, then bring to room temperature before serving.
Frosting options – Vanilla Buttercream (from Vanilla Cake recipe), Fluffy Vanilla Frosting (less sweet), or Swiss Meringue Buttercream. Frosted cupcakes must be stored according to frosting requirements (most need refrigeration).