The smell hits first. Warm butter, sugar melting into something deeper, and that faint tang from pineapple starting to wake up in the heat. I always pause right there, spatula in hand, because that moment feels like the cake has already begun without me.
I usually rush baking, but not this one. This cake asks me to slow down just a bit. Not in a complicated way, just enough to pay attention to what’s happening in the pan.
There’s something oddly satisfying about building a cake upside down. It feels slightly wrong and completely right at the same time. And when it flips cleanly, it almost feels like a small victory.
I’ve made this enough times to know it’s forgiving, but it still has opinions. Too much moisture, it sulks. Overbake it, and it loses that soft charm. So I treat it gently now.
Ingredients Needed for the Recipe
¼ cup (60 g) salted butter, melted - creates the rich caramel base
½ cup (100 g) brown sugar - adds depth and that sticky golden topping
10 pineapple slices (patted dry) - the star, sweet and slightly tangy
Maraschino cherries - for color and that syrupy sweetness
½ cup (115 g) unsalted butter, softened - gives structure and richness to the cake
¾ cup (150 g) granulated sugar - sweetens and helps with texture
1 ½ cups (195 g) all-purpose flour - forms the base of the cake
1 ½ teaspoons baking powder - helps it rise just enough
¼ teaspoon salt - balances sweetness
½ cup (120 ml) whole milk - keeps the crumb soft and moist
A small moment before the baking actually starts
I always dry the pineapple slices more than I think I need to. Paper towels, press gently, flip, press again. It feels excessive, but skipping that once gave me a soggy layer I couldn’t ignore.
There’s also that quiet moment when everything is laid out. Butter softening, eggs waiting, sugar already measured. I tend to double-check the pan size at least twice for no real reason.
Sometimes I snack on a cherry during this stage. It’s become a habit. One for the cake, one for me, and suddenly I’m short a few by the time I start placing them.
How to make Pineapple Upside Down Cake?
Step 1 - Prepare the base
I start by pouring the melted butter into the pan. I tilt it around instead of using a brush, just easier and quicker. Then the brown sugar goes in, and I spread it evenly without overthinking it.
It doesn’t have to be perfect here. Once it melts and bakes, it evens itself out in a way that always surprises me.
Step 2 - Arrange the fruit
Pineapple slices go down next. I press them lightly into the sugar so they don’t float later. The first time I made this, I skipped that, and everything shifted slightly.
Cherries go in the center and wherever there’s space. I don’t follow a pattern anymore. Slight randomness makes it look better once flipped.
Step 3 - Cream butter and sugar
I mix the softened butter and sugar until it looks pale and smooth. Not rushed, but not overly whipped either. Somewhere in between feels right.
If I overmix here, the cake sometimes turns a bit too airy and loses that sturdy hold it needs later.
Step 4 - Add eggs and vanilla
Eggs go in one at a time. I’ve tried tossing them both in together when impatient, and it still works, but the texture isn’t as even.
Vanilla goes in last, and I always give it one extra stir just because I like how it smells at this stage.
Step 5 - Combine dry ingredients
Flour, baking powder, and salt get whisked separately. I used to skip this step and mix everything directly, but I noticed uneven rising once or twice.
Now I keep it simple and separate. It doesn’t take long anyway.
Step 6 - Alternate flour and milk
I add the dry mix and milk in parts, starting and ending with flour. I use a spatula instead of a mixer here to stay in control.
Overmixing is easy at this stage, so I stop as soon as it looks combined. Slight streaks are fine. They disappear while baking.
Step 7 - Pour and spread
The batter goes over the fruit layer. I spread it gently so I don’t disturb what’s underneath. It feels like covering something delicate.
I tap the pan lightly once or twice. Not necessary, but it makes me feel like I’ve done my part.
Step 8 - Bake carefully
I bake it and check at 30 minutes. If the top looks too dark, I loosely cover it with foil. I learned that the hard way after one overly browned cake.
Another 15 minutes usually does it. I look for a mostly clean toothpick, not perfectly clean.
Step 9 - Cool and flip
I wait about 10 to 15 minutes. Waiting longer once made it stick, and that was frustrating. So I keep an eye on the clock now.
Then I flip it quickly but carefully. There’s always a tiny moment of suspense before lifting the pan.
That one time it almost didn’t work
I once forgot to loosen the edges before flipping. Just a small step, but it mattered. Part of the cake stayed behind, and I had to patch it back together.
It still tasted good, but it didn’t have that clean, glossy look on top. Since then, I run a knife around the edges every single time.
Another near miss was letting it cool too long. The caramel hardened slightly, and it clung stubbornly to the pan. Lesson learned without much drama, thankfully.
Tips
Blot pineapple slices well to avoid excess moisture
Do not overmix the batter once flour is added
Check the cake early if your oven runs hot
Use a plate larger than the pan when flipping
Loosen edges before inverting to prevent sticking
Flip while still warm, not fully cooled
Cover loosely with foil if top browns too fast
Serve slightly warm for the best texture and flavor
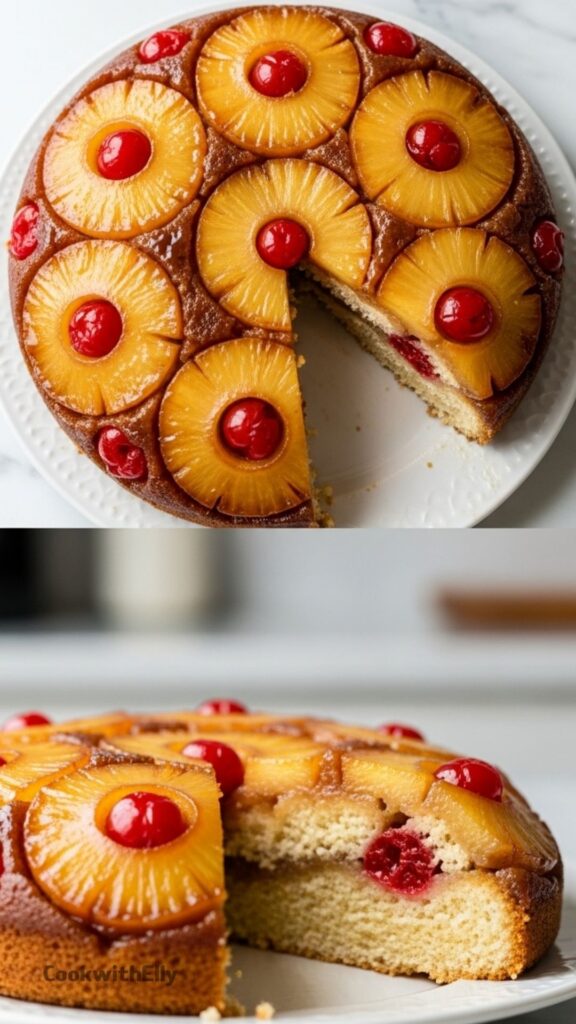
When it comes out right, the top is glossy and sticky in the best way. The pineapple softens into something almost jam-like, and the cake underneath stays firm but tender.
I usually cut into it sooner than I should. It holds better after cooling a bit more, but warm slices are hard to resist. The edges are slightly crisp, and the center stays soft.
This isn’t the kind of cake I save for later. It’s best right then, still warm, when everything feels fresh and just a little messy. And honestly, that’s part of why I keep making it.
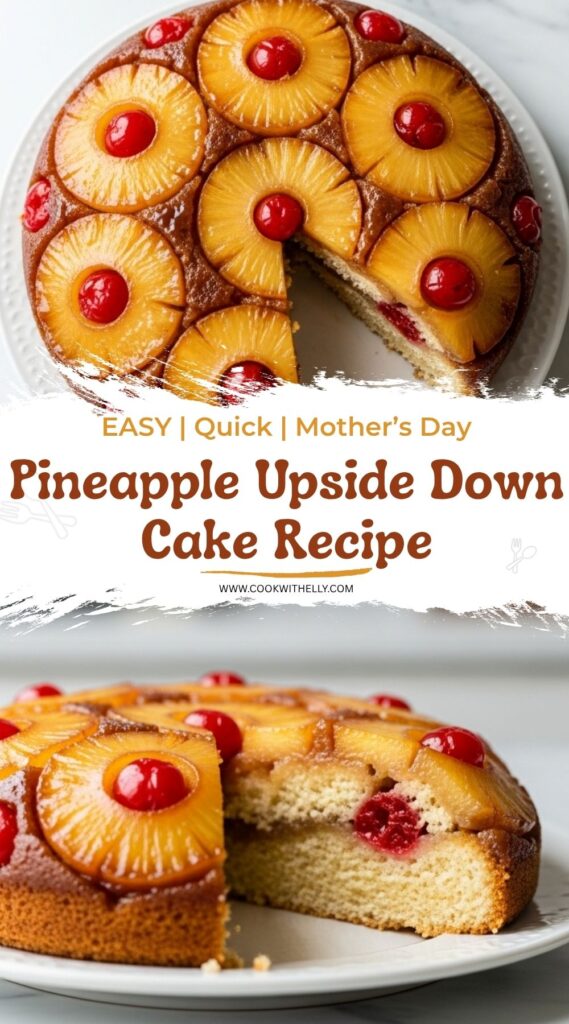
This easy Pineapple Upside Down Cake features a soft, fluffy vanilla cake base crowned with a beautiful layer of caramelized pineapple rings and maraschino cherries. It is a timeless dessert that requires no frosting and is perfect for any occasion.
Ingredients
Caramel Topping
1/4cup salted butter (60g, melted)
1/2cup brown sugar (100g, light or dark, tightly packed)
10slices pineapple rings (from a 20oz can, patted dry)
maraschino cherries (for decoration)
Vanilla Cake Batter
1/2cup unsalted butter (115g, softened to room temperature)
3/4cup granulated sugar (150g)
2large eggs (room temperature preferred)
1teaspoon vanilla extract
1 1/2cups all-purpose flour (195g)
1 1/2teaspoons baking powder
1/4teaspoon salt
1/2cup whole milk (120ml, room temperature preferred)
Instructions
1
Prepare the Pan and ToppingPreheat oven to 350°F (175°C). Pour the melted salted butter into a 9.5-10 inch pie plate or deep cake pan, ensuring it covers the bottom. Use a spoon to brush some butter up the sides. Sprinkle the brown sugar evenly over the butter. Arrange the pineapple slices in a single layer on the bottom, placing cherries in the centers and empty spaces as desired.
Pat pineapple slices dry with paper towels to prevent a soggy cake.
2
Make the BatterIn a medium bowl, beat the softened unsalted butter and granulated sugar until creamy and well-combined. Add the eggs one at a time, beating well after each addition. Stir in the vanilla extract.
3
Combine Dry and Wet IngredientsIn a separate bowl, whisk together the flour, baking powder, and salt. Alternately add the dry ingredients and the milk to the wet mixture, beginning and ending with the flour. Mix until just combined; do not overmix.
Mixing by hand with a spatula helps prevent overmixing.
4
Assemble and BakePour the batter evenly over the pineapple and cherry layer in the prepared pan. Bake for 30 minutes. Loosely tent with foil and bake for an additional 15 minutes, or until a toothpick inserted into the center comes out with few crumbs. Total bake time is approximately 45 minutes.
Tenting with foil prevents the top (which is the bottom during baking) from over-browning.
5
Cool and InvertAllow the cake to cool in the pan for 10-15 minutes. Run a knife around the edges to loosen if necessary. Place a serving platter over the pan and carefully invert the cake onto the platter while still warm. Serve warm for best flavor.
Do not let it cool completely in the pan or it may stick.
Nutrition Facts
Servings 8
Serving Size 1 slice
Amount Per Serving
Calories340kcal
% Daily Value *
Total Fat12g19%
Saturated Fat7g35%
Trans Fat0.3g
Cholesterol65mg22%
Sodium180mg8%
Potassium150mg5%
Total Carbohydrate56g19%
Dietary Fiber1g4%
Sugars38g
Protein3g6%
* Percent Daily Values are based on a 2,000 calorie diet. Your daily value may be higher or lower depending on your calorie needs.
Note
For best results, serve this cake warm. Leftovers can be stored covered in the refrigerator for up to 3 days, but the texture may become softer over time.