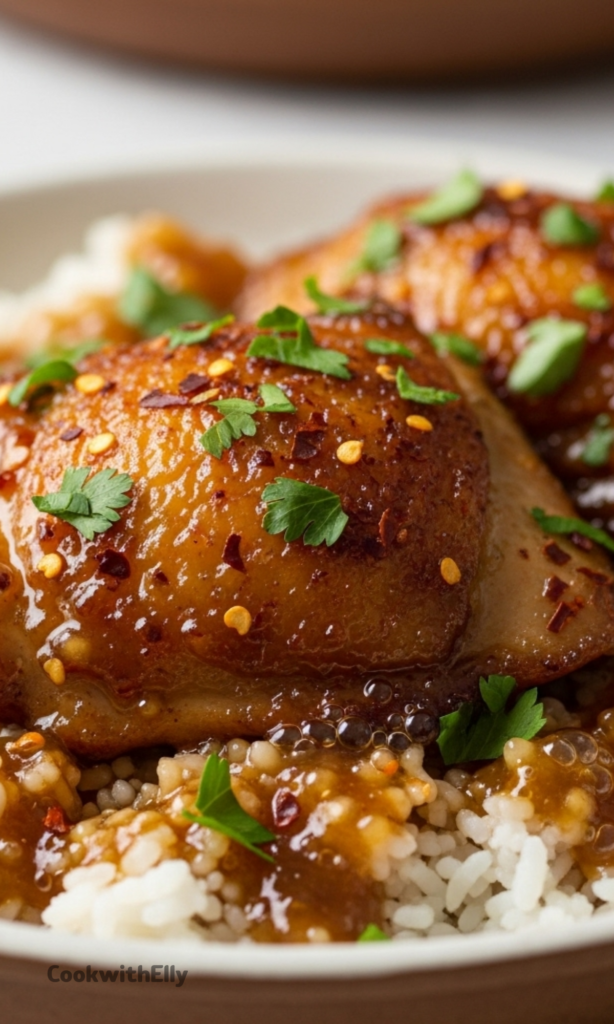
You know that feeling when a dinner just... works? The kind that gets a happy, quiet moment around the table, followed by someone asking for seconds.
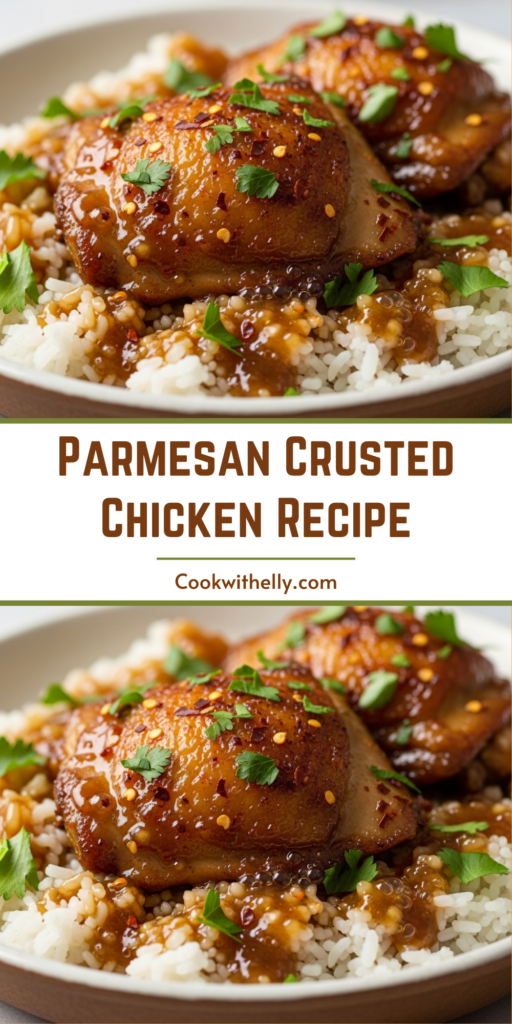
That’s Parmesan crusted chicken for you. It’s a simple, golden-brown masterpiece, really—a weeknight savior with a secret flair for feeling fancy.
Why This Recipe Belongs in Your Rotation
Let’s be honest, chicken breasts can sometimes be a little, well, predictable. They need a bit of help to shine.
This recipe is that help, in the most delicious way possible. It transforms the ordinary into something special, with a crispy, cheesy crust that gives way to perfectly juicy meat.
It’s the versatility that wins me over every time. On a busy Tuesday, it’s a quick, satisfying main dish the kids will devour.
Then on Friday, you can top it with a bright, lemony arugula salad and suddenly it’s a restaurant-quality meal, right at your own kitchen table.
Ingredients Needed for the Recipe
Gathering your ingredients is the first step to kitchen success. Here’s what you’ll need, and why each one matters.
Boneless, Skinless Chicken Breasts: The star of the show. Pounding them to an even thickness is non-negotiable—it tenderizes and guarantees they cook through evenly, without any dry edges.
All-Purpose Flour: This is the first coat, the foundation. It gives the next layer something to cling to, creating the crucial glue for our crust.
Large Eggs: Think of these as the ultimate edible adhesive. They bind the flour layer to the glorious cheesy crumbs, sealing the deal.
Seasoned Italian Breadcrumbs: They’re the primary source of that crave-worthy crunch and carry wonderful herbs and seasoning, giving you a flavor head-start.
Parmigiano-Reggiano Cheese: This is where the magic gets its name. Freshly grated, it melts into the crust, offering salty, nutty, savory depth in every bite.
Fresh Herbs (like parsley, thyme, or chives): The fragrant finishing touch. They cut through the richness and add a pop of color and garden-fresh flavor.
Olive Oil: For pan-frying. It adds a beautiful flavor and helps achieve that perfect, uniform golden-brown sear.
Salt & Black Pepper: The essential flavor builders. We use them at every stage to season the chicken and the breading itself.
Lemon Wedges: Don’t skip these! A squeeze of fresh lemon juice right at the end brightens all the flavors beautifully.
The Art of the Perfect Crust
That irresistible, shatteringly crisp coating isn't an accident. It's a tiny bit of science and a whole lot of fun.
The secret lies in the classic three-step breading method. It creates a perfect, sealed barrier that locks in the chicken's juices.
While the exterior turns golden and crisp, the interior stays wonderfully moist. It's the difference between a good chicken cutlet and a truly great one.
And trust me, once you get the rhythm down, it becomes second nature. It’s a relaxing, almost therapeutic process.
How to make Parmesan Crusted Chicken?
Here’s your road map to crispy, cheesy success. Just follow these simple steps.
Step 1 - Prep and Pound
Start by placing your chicken breasts between two sheets of plastic wrap or in a large zip-top bag. Use a rolling pin, a heavy skillet, or even a meat mallet to gently pound them to an even ¼-inch thickness.
This isn't just about making them thin; it's about making them uniform. Pat the chicken dry with paper towels, then season both sides generously with salt and pepper.
Step 2 - Create Your Breading Station
Set up three shallow dishes in a row. In the first, place your all-purpose flour. In the second, beat the eggs until smooth.
In the third, combine the seasoned breadcrumbs, freshly grated Parmigiano-Reggiano, a pinch of salt and pepper, and your chopped fresh herbs. Stir it all together with a fork.
Step 3 - The Three-Step Breading Dance
Now for the main event. Take a seasoned chicken breast and dredge it in the flour, shaking off any excess. A light, even dusting is all you need.
Next, dip it fully into the beaten egg, letting the excess drip back into the bowl. Finally, press it firmly into the breadcrumb mixture, coating both sides thoroughly. Place the breaded chicken on a clean plate and repeat.
Step 4 - Pan-Fry to Golden Perfection
Heat the olive oil in a large skillet over medium heat. You’ll know it’s ready when a breadcrumb dropped in sizzles gently.
Carefully add the chicken breasts, without crowding the pan. Cook for about 3 to 4 minutes on the first side, until deeply golden brown.
Flip them over and cook for another 3 to 4 minutes, until the chicken is cooked through and the crust is crispy all over. Transfer to a paper-towel lined plate for just a moment.
Step 5 - Serve Immediately
Plate your beautiful chicken right away. The crust is at its absolute peak when it's fresh from the pan.
Serve with those all-important lemon wedges on the side. That quick squeeze of citrus juice just before eating makes everything sing.
Tips
A few little insights can make the process even smoother and the results even better. Keep these in mind.
Use one hand for the dry steps (flour and breadcrumbs) and the other for the wet (egg). This keeps your fingers from becoming a breaded mess.
Let the oil get properly hot before adding the chicken. A properly heated pan ensures immediate sizzle, which seals the crust and prevents oil absorption.
Don’t move the chicken around once it’s in the pan. Let it sit and develop that gorgeous, golden crust before you even think about flipping it.
For easier cleanup, line your breading station with parchment or wax paper. When you're done, you can just gather it up and toss it.
Clever Twists and Substitutions
Don’t have every single ingredient? Want to mix it up? No problem. The beauty of this recipe is its adaptability. If you don’t have seasoned breadcrumbs, use plain ones and add a teaspoon of Italian seasoning, a little garlic powder, and extra salt.
Pre-grated Parmesan will work in a pinch, but the flavor and melt of a block you grate yourself is noticeably superior. For a lighter version, you can bake the breaded chicken on a wire rack set over a baking sheet at 400°F for about 15-20 minutes, flipping halfway. It won't be *quite* as crunchy as pan-fried, but it’s still utterly delicious.
Storing and Reheating for Later
Leftovers are a beautiful thing. To store, let the cooked chicken cool completely, then place it in an airtight container in the refrigerator for up to 3 days.
The key to reviving that crispness is to avoid the microwave. Instead, reheat the chicken in a 375°F oven on a baking sheet for about 10-15 minutes, or in an air fryer for 4-5 minutes, until hot and crispy again. You can also freeze the cooked and cooled chicken for up to 2 months.
Thaw overnight in the fridge before reheating using the oven method. So, there you have it. A dinner that’s as reliable as it is delightful, ready to become a new favorite in your home. Now, go get that skillet hot.
Set up three large shallow bowls in an assembly line. Put the flour in the first bowl; beat the eggs in the second bowl; and mix the bread crumbs, Parmesan cheese, salt, pepper, and chopped fresh herbs in the third bowl.
2
Season chicken breasts with salt and pepper. Dredge the first chicken breast in the flour and shake off the excess until just a light coating remains. Next, dip the chicken in the egg mixture and turn to coat evenly, letting any excess egg drip off. Finally, dredge the chicken in the bread crumb mixture, turning a few times to coat well. Set breaded chicken on a plate and repeat until all of the chicken breasts are breaded.
3
Heat the oil in a large sauté pan over medium heat. When the oil is hot, add the chicken breasts to the pan and cook for 2 to 3 minutes until the first side is golden brown. Flip and continue cooking until done, 2 to 3 minutes longer.
4
Serve immediately with lemon wedges.
Nutrition Facts
Servings 4
Serving Size 1 piece
Amount Per Serving
Calories562kcal
% Daily Value *
Total Fat28g44%
Saturated Fat8g40%
Cholesterol223mg75%
Sodium1218mg51%
Potassium605mg18%
Total Carbohydrate25g9%
Dietary Fiber1g4%
Sugars1g
Protein48g96%
Calcium 180 mg
Iron 2 mg
* Percent Daily Values are based on a 2,000 calorie diet. Your daily value may be higher or lower depending on your calorie needs.
Note
If the breasts are large (8 ounces or more), you can either cut them in half crosswise after pounding to create smaller portions or slice them in half horizontally before pounding to make thinner cutlets that won’t spread as much when pounded.
Make-Ahead Instructions: You can bread the chicken up to one day in advance. Store on a parchment-lined baking sheet covered tightly with plastic wrap in the refrigerator. Let sit at room temperature for 15 minutes before frying.
Freezing Instructions: Freeze breaded chicken on a baking sheet until solid, then transfer to a freezer-safe bag with parchment between layers. Thaw overnight in fridge before cooking. Cooked chicken can be frozen and reheated in a 375°F oven to retain crispness.