Let's be honest, the store-bought protein bar aisle can be a bit of a gamble.
You're hoping for a chewy, satisfying snack, but sometimes you end up with a chalky brick that tastes, well, artificial.
Why These Bars Are Different
That's exactly why I, Elly, started making my own. I wanted something real.
These bars are my answer: no baking required, just wholesome ingredients you can feel good about, and a taste that actually makes you look forward to your snack.
They’re wonderfully forgiving, and the process feels more like assembling than cooking.
In about ten minutes of hands-on time, you can have a whole batch ready to set in the fridge, which is perfect for a quick week.
Ingredients Needed for the Recipe
Gathering everything is the first step, and each ingredient has a special job here.
They work together to create that perfect, firm-yet-chewy texture and naturally sweet flavor.
Old-Fashioned Rolled Oats (1 ½ cups): The hearty, wholesome base that gives the bars substance and a lovely chew.
Peanut Butter (¾ cup): Acts as the main glue, binding everything together while adding rich, creamy flavor and healthy fats.
Ripe Banana (1, mashed): Our secret weapon for natural sweetness, moisture, and helping everything stick without being dry.
Honey (⅓ cup): The natural sweetener that also contributes to the soft, dense texture we’re after.
Ground Flax Seed (½ cup): Adds a nutty depth, a boost of fiber, and helps absorb moisture for the perfect bar consistency.
Protein Powder (1 cup): The star of the show, of course. It integrates seamlessly, giving you that protein boost without dominating the taste.
Vanilla Extract (2 teaspoons): The flavor enhancer that makes all the other ingredients sing together harmoniously.
A Pinch of Salt: Crucial for balancing the sweetness and making all the flavors pop.
Your Choice of Mix-Ins (¾ cup): This is where your personality shines. Chocolate chips, dried fruit, nuts—it’s your call.
The Magic of Making Your Own
There’s a quiet pride that comes from unwrapping a homemade bar.
You know exactly what’s in it, you controlled the sweetness, and you get to enjoy the fruits of your own, very minimal, labor.
It turns a routine snack into a little act of self-care.
Plus, they just look so much more appealing than something from a plastic wrapper, don't they?
How to make Protein Bars?
Ready? This is the easiest part. Clear a little counter space, grab a big bowl, and let's go.
Make this recipe yours—just save it to your Pinterest board!”
You won't believe how quickly it all comes together.
Step 1- Combine the Foundation
In your large mixing bowl, add the rolled oats, protein powder, ground flax seed, and that tiny pinch of salt.
Give these dry ingredients a quick stir with a spoon, just to introduce them to each other.
Step 2- Add the Wet Team
Now, plop in the peanut butter, mashed banana, honey, and vanilla extract.
This is where the fun begins, and a sturdy spoon or even clean hands work perfectly.
Step 3- Mix and Adjust
Stir and mash and mix until every last oat flake is coated and the mixture is uniformly combined.
If it seems unusually dry or crumbly, add a teaspoon of water or milk, or a tiny extra drizzle of honey.
Step 4- Fold in Your Personality
Gently fold in your chosen mix-ins until they're evenly scattered throughout the dough.
The mixture should hold together when you squeeze a bit in your palm, feeling soft and malleable.
Step 5- Press and Promise
Line an 8x8 inch pan with parchment paper for easy removal. Transfer the mixture into the pan.
Now, press down—really firmly and evenly—with the back of your spoon or your fingers. This compacts the bars so they hold their shape beautifully later.
Step 6- The Patient Chill
Slide the pan into the refrigerator and let it chill for at least one hour. I know, the wait is the hardest part.
This rest time is non-negotiable; it allows the ingredients to set and become sliceable bars.
Step 7- Slice and Celebrate
Lift the chilled slab out using the parchment paper. Place it on a cutting board.
Use a sharp knife to slice it into your preferred size, whether that's 8 large bars or 16 smaller bites.
Your Bar, Your Way: Fun Variations
The true beauty of this recipe lies in its flexibility. It’s a fantastic template waiting for your touch.
Don't be afraid to swap things based on what you love or what’s in your pantry.
Butter Swap: Not a peanut butter fan? Almond butter, cashew butter, or even sunflower seed butter work identically.
Flavor Adventure: Match your protein powder to your mood. Chocolate powder makes it dessert-like, vanilla keeps it classic, and plain lets your mix-ins shine.
Mix-In Mania: Think beyond chocolate chips. Chopped dried apricots, toasted coconut, crushed pretzels for salt, or even a sprinkle of cinnamon can create a whole new experience.
Tips
A few little insights from my kitchen to yours can make your first batch even smoother.
These are the things you learn after making them a dozen times.
For the easiest mix, use a banana that’s very ripe, with lots of brown spots. It mashes effortlessly and is at its sweetest.
When pressing into the pan, lay a second sheet of parchment paper on top of the mixture first. Pressing through that prevents sticking to your hands or spoon.
If your bars seem too soft at room temperature, don’t worry. That’s normal with natural ingredients. Simply store them in the fridge, and they’ll be perfectly firm and portable.
Storing and Freezing for Later
Proper storage keeps your bars fresh and delicious, ready for any hunger emergency.
It also means you can always have a stash on hand, which is the ultimate goal.
Keep the cut bars in an airtight container in the refrigerator. They’ll stay fresh and tasty for up to two weeks.
For long-term savings, freezing is a brilliant option. Layer them in a freezer-safe bag with parchment paper between layers.
They’ll keep for up to three months. Just thaw one in the fridge overnight or on the counter for a bit.
It’s like giving your future self a delicious, nutritious gift.
The Joy of a Homemade Snack
There’s something deeply satisfying about reaching into your fridge and pulling out something you made.
These bars are a testament to the fact that healthy doesn’t have to be complicated or compromise on flavor.
They’re a small, tangible victory in your day. So go ahead, mix up a batch, make them your own, and enjoy every wholesome bite.
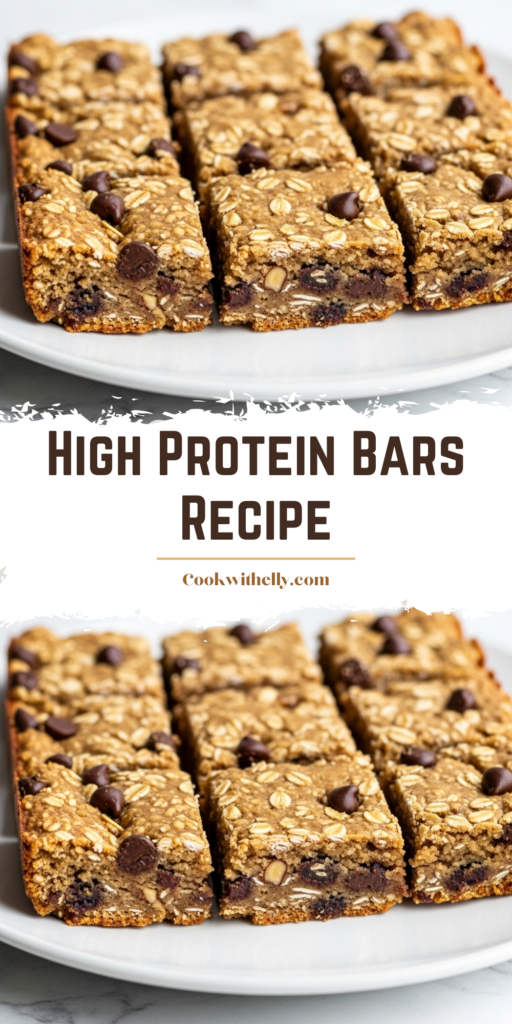
The BEST Protein Bars are healthy, no-bake, and contain nothing artificial! These are chewy, delicious, easy to customize, and are the perfect healthy snack for kids and adults alike. Made with pantry staples like oats, peanut butter, banana, honey, and your favorite protein powder, they come together in just 10 minutes and require zero oven time!
1cup protein powder (chocolate, vanilla, or plain (120 g))
2teaspoons vanilla extract ((10 ml))
3/4cup mix-ins (chopped dates, dried fruit (blueberries, cranberries, or raisins), mini chocolate chips, unsweetened coconut flakes, or nuts (about 90 g))
Instructions
1
In a large mixing bowl, combine all ingredients except the mix-ins until well blended. The mixture should be soft and slightly sticky—not dry or crumbly.
If the mixture seems too dry, add a splash of water, milk, or an extra drizzle of honey.
2
Gently fold in your chosen mix-ins (e.g., dried fruit, chocolate chips, coconut, or nuts) until evenly distributed.
3
Line an 8×8 inch baking pan with parchment paper. Press the mixture into the pan very firmly and evenly using the back of a spoon or your fingers (lightly wet hands if sticky).
4
Refrigerate for at least 1 hour to set.
5
Cut into 16 bars and store in an airtight container in the fridge for up to 2 weeks.
Nutrition Facts
Servings 16
Serving Size 1 bar
Amount Per Serving
Calories180kcal
% Daily Value *
Total Fat8g13%
Saturated Fat1.5g8%
Sodium95mg4%
Potassium220mg7%
Total Carbohydrate20g7%
Dietary Fiber4g16%
Sugars8g
Protein10g20%
Calcium 60 mg
Iron 1.5 mg
* Percent Daily Values are based on a 2,000 calorie diet. Your daily value may be higher or lower depending on your calorie needs.
Note
Freezing: Layer bars between parchment paper in a freezer-safe container and freeze for up to 3 months. Thaw in the fridge or at room temperature.
Vegan Option: Use plant-based protein powder and maple syrup instead of honey.
Allergy-Friendly: Swap peanut butter for sunflower seed butter to make nut-free protein bars.
Customize: Add crispy rice cereal, chia seeds, or cacao nibs for fun texture variations!
Keywords:
protein bars, no bake protein bars, healthy snack, homemade protein bars, kid-friendly snack, energy bars