There’s a special kind of holiday magic that happens in a warm kitchen, the scent of vanilla in the air and a bowl of dough slowly turning a playful shade of green. It’s a feeling, really.
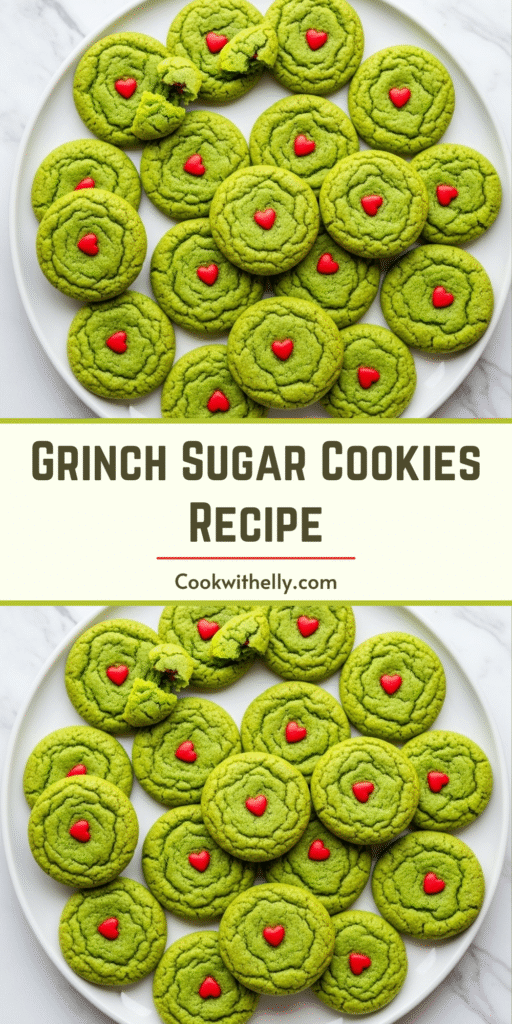
These Grinch Sugar Cookies capture exactly that — a soft, chewy, buttery treat that’s as fun to make as it is to eat.
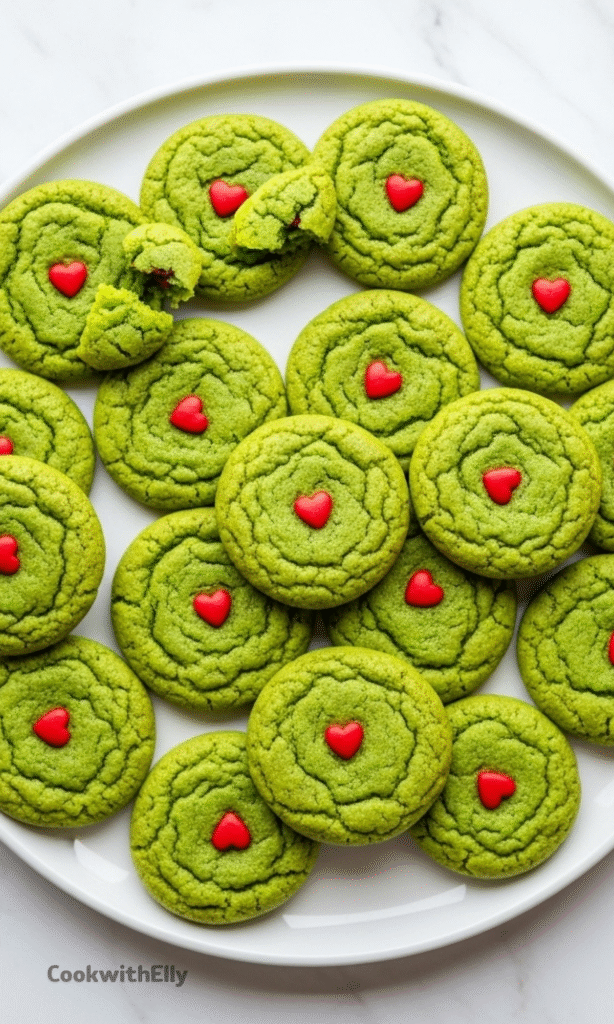
They’re not just cookies; they’re little edible emblems of Christmas spirit, complete with a tiny red heart right on top.
The contrast of the bright green cookie against the sparkly sugar and that single heart? It’s simply irresistible.
A Little Story Behind the Dough
I first developed this recipe years ago for a holiday collection, and the response was instantly wonderful. Friends texted pictures of their kids’ flour-dusted hands shaping the dough, and neighbors asked for the recipe after cookie exchanges.
That’s the best part, you know? Seeing a simple idea spark joy in other kitchens.
So, this year, I knew it was time to share it here properly. This version is tried, true, and tweaked to absolute simplicity.
We’re using a melted butter base for an easier mix and that perfect chewy texture. No fussy steps, just straightforward, delicious baking that ends with a plate full of Grinchy grins.
Ingredients Needed for the Recipe
Let’s gather our cheerful crew of ingredients. Using room-temperature items, especially the dairy and egg, is a small secret that makes a big difference — it helps everything blend together smoothly and evenly.
Salted Butter (1 cup, melted): Melted butter gives us that wonderfully chewy center and a rich, forgiving dough that’s easy to work with.
Granulated Sugar (1 ½ cups + ¼ cup for rolling): The sugar in the dough sweetens and softens, while the extra for rolling creates that delightful, sparkly crust.
Vanilla Extract (2 tsp): This is the soul of the cookie, providing that warm, classic sugar cookie flavor we all love.
Whole Milk (3 tbsp): A little bit of milk adds just the right amount of tenderness to the crumb, keeping the cookies soft.
1 Egg: Our binding agent, it gives the dough structure and contributes to the beautiful golden edges.
All-Purpose Flour (3 cups): The reliable foundation that builds our cookie’s body.
Baking Soda (1 tsp): Our leavening friend, it helps the cookies rise just enough and spread perfectly.
Cornstarch (1 tbsp): This is a texture superhero, it’s the key to making the cookies supremely soft and pillowy.
Kosher Salt (¼ tsp): A pinch balances all the sweetness and makes the vanilla flavor sing louder.
Green & Yellow Food Dye: Gel food coloring is my strong recommendation here, it gives vibrant color without thinning the dough.
Heart Sprinkles: The final, crucial touch — that iconic red heart that makes the whole idea come to life.
How to make ?
Step 1 – The Wet Ingredients
Start by adding your melted (but slightly cooled) butter, the 1 ½ cups of granulated sugar, and the vanilla extract to the bowl of a stand mixer. Mix these on medium speed just until they’re completely combined. It’ll look a bit like a glossy, yellow paste. Now, pour in the milk and crack in the egg.
Mix again on a low setting until the egg and milk are fully incorporated. The mixture might look a little curdled at this point, but don’t worry, that’s completely normal. The flour is coming to the rescue next.
Step 2 – The Dry Ingredients & Color
With your mixer on its lowest speed, it’s time to add the dry team. Slowly spoon in the flour, followed by the cornstarch, baking soda, and salt.
Let the mixer run until you just stop seeing dry streaks of flour — overmixing is the enemy of a tender cookie. Now, for the magic.
Add your green gel food coloring. I like to start with a few drops of green and a tiny drop of yellow to get that true Grinch hue.
You can always add more. Mix it on low until the color is even throughout, remembering the color will lighten a bit in the oven.
Step 3 – The Essential Chill
This step is non-negotiable for the perfect texture. Cover the bowl tightly with plastic wrap and tuck it into the refrigerator.
Let it chill for at least 30 minutes, up to 60. Chilling firms up the butter, which means less spreading and a thicker, chewier cookie.
It also gives the flavors time to get to know each other, resulting in a deeper, more delicious vanilla taste. Trust me, the wait is worth it.
You can even scoop the dough balls first and then chill them if you’re short on space.
Step 4 – Scoop, Roll, and Prep
Once your dough is properly chilled, preheat your oven to 350°F and line your baking sheets with parchment paper.
Grab your medium cookie scoop (about 2 ½ tablespoons) and portion out all the dough. Roll each portion into a smooth ball between your palms.
Take that extra ¼ cup of granulated sugar and pour it into a small bowl. Roll each dough ball generously in the sugar until it’s completely coated.
This creates that iconic crackly, sugary top. Place the balls about 2 inches apart on your prepared sheets.
Step 5 – Bake and Brand with Love
Bake the cookies for exactly 10 minutes. The key is to pull them out when the edges are just set but the centers still look soft and puffy.
They will seem underdone, and that’s the goal. Immediately upon taking them out of the oven, gently press a single red heart sprinkle into the center of each warm cookie.
Let the cookies cool on the hot baking sheet for a full 5 minutes. This allows them to finish setting up without over-baking.
Then, transfer them to a wire rack to cool completely. The result? A cookie with a slightly crisp sugar shell giving way to a perfectly soft, chewy, bright green interior.
The Art of the Perfect Green
Getting that signature Grinch color is easier than you might think, but the tool matters. Liquid food coloring can water down your dough and give a pastel, minty green.
Gel or paste food coloring, however, packs a powerful pigment punch without altering the dough’s consistency.
Start with a small amount, you can always add more. I often mix a standard green with a tiny dot of yellow to get that distinct, slightly sour-apple Grinch green.
If you find a “neon green” gel, that often works perfectly on its own. Remember, the color deepens as it sits and lightens as it bakes, so aim for a shade slightly darker than your desired final result.
Tips
For bakery-perfect rounds, use a simple trick right when the cookies come out of the oven. Take a round cookie cutter (or even a mug) slightly larger than the cookie and swirl it around the hot cookie’s edge for a few seconds. It tucks in any uneven bits.
Experiment with flavor by adding a half teaspoon of almond extract along with the vanilla. It adds a wonderful, nuanced depth that makes people ask, “What is that amazing taste?”
If your dough feels too soft after chilling to scoop cleanly, let it sit on the counter for just 5-7 minutes. It will warm up enough to be pliable but still retain its chilled structure.
Serving & Gifting Ideas
These cookies are a celebration on their own, but you can make them the star of the show. Stack them on a festive plate with a dusting of powdered sugar “snow.”
For a kid’s party, place one at each setting as a edible placeholder or party favor. They’re always a hit.
They also make the most charming handmade gift. Find a clear cellophane bag, tie it with a red and white striped ribbon, and include a little tag.
Pair a few cookies with a copy of the classic book or a holiday movie rental code for a truly thoughtful present.
Storage & Keeping Them Soft
To keep that irresistible soft, chewy texture, storage is key. Once completely cooled, store the cookies in an airtight container at room temperature.
Layer them between sheets of parchment paper if you’re stacking them. They’ll stay perfectly fresh for up to 5 days this way.
For longer storage, you can freeze the baked and cooled cookies in a single layer on a tray before transferring them to a freezer bag. They’ll keep for about 2 months. Thaw at room temperature, still in the bag, to prevent condensation.
The dough balls can also be frozen on a tray, then bagged, and baked straight from the freezer, just adding a minute or two to the bake time.
Why This Recipe Works So Well
The magic here is in the balance of ingredients and method. Using melted butter, instead of creamed, encourages a denser, chewier texture from the start.
The cornstarch is the silent hero, interfering with gluten formation to guarantee a tender bite every single time.
Finally, the dual-temperature bake—hot oven first, then residual heat on the sheet—sets the structure while locking in moisture.
It’s a series of small, intentional choices that result in a cookie that’s visually whimsical but seriously, seriously good to eat. A cookie that, hopefully, makes your heart feel just a little bit bigger.
These Grinch Sugar Cookies might just make your heart grow three sizes! Soft, chewy, buttery, and bright green with a little red heart on top—they’re as fun to make as they are to eat. Perfect for holiday baking, cookie exchanges, or enjoying while watching How the Grinch Stole Christmas, these festive treats combine nostalgia with joyful color and flavor.
Ingredients
1cup salted butter (melted, room temperature)
1.5cups granulated sugar (plus ¼ cup for rolling)
2tsp vanilla extract
3tbsp whole milk (room temperature)
1 egg (room temperature)
3cups all-purpose flour
1tsp baking soda
1tbsp corn starch
0.25tsp kosher salt
0.25cup granulated sugar (for rolling the dough balls)
as needed green & yellow food dye (gel recommended for vibrant color)
20 heart sprinkles (red, for decorating)
Instructions
1
Add butter, 1½ cups granulated sugar, and vanilla extract to the bowl of a stand mixer and mix until combined. Add in the milk and egg and mix on low to combine.
2
With the mixer on low, slowly add in the flour, cornstarch, baking soda, and salt. Add in the green and yellow food dye—start small and adjust until you reach your desired Grinch green. Mix until just incorporated.
Make the dough slightly darker than desired; it will lighten during baking.
3
Cover the bowl with plastic wrap and chill for 30–60 minutes.
Chilling prevents spreading and enhances flavor.
4
Preheat oven to 350°F. Line a baking sheet with parchment paper.
5
Scoop dough into 20 balls (about 2½ tablespoons each). Roll each in the remaining ¼ cup granulated sugar. Place 2 inches apart on the baking sheet.
6
Bake for 10 minutes, or until the edges are just set but centers are still soft.
Underbaking ensures chewy texture.
7
Immediately after removing from oven, gently press one red heart sprinkle into the center of each cookie.
8
Let cookies cool on the baking sheet for 5 minutes, then transfer to a wire rack to cool completely.
Nutrition Facts
Servings 20
Serving Size 1 cookie
Amount Per Serving
Calories120kcal
% Daily Value *
Total Fat5gg8%
Saturated Fat3gg15%
Trans Fat0gg
Cholesterol25mgmg9%
Sodium125mgmg6%
Potassium40mgmg2%
Total Carbohydrate18gg6%
Dietary Fiber0gg0%
Sugars10gg
Protein2gg4%
Calcium 20 mg
Iron 0.5 mg
* Percent Daily Values are based on a 2,000 calorie diet. Your daily value may be higher or lower depending on your calorie needs.
Note
For perfect Grinch green: Use gel food coloring—mix green and yellow, or use neon green. Gel gives vibrant color without altering dough consistency.
Chill dough: 30–60 minutes ensures thicker, chewier cookies and prevents spreading.
Round cookies trick: Right after baking, gently swirl a round cookie cutter around each hot cookie to shape it perfectly.