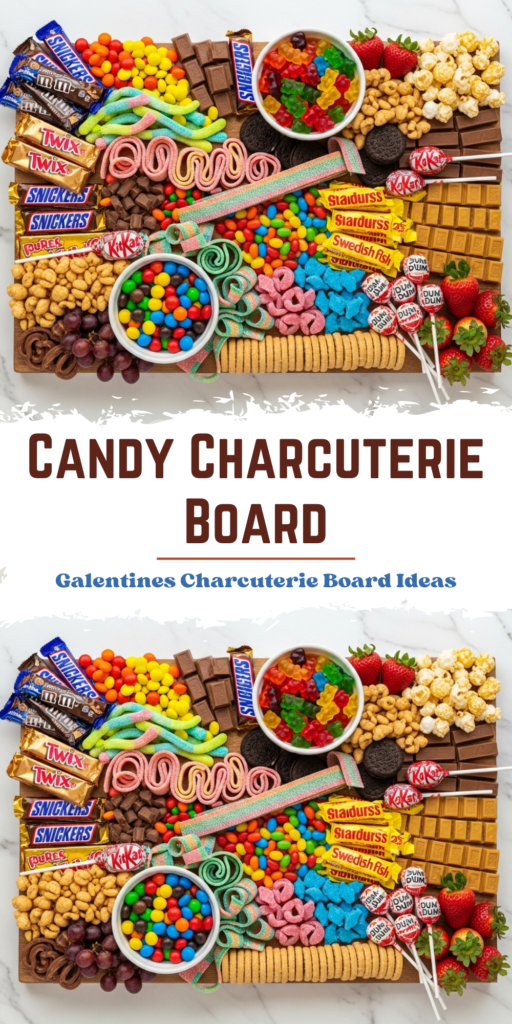
I have a soft spot for recipes that feel more like play than work, and this Candy Charcuterie Board sits right at the top of that list. It is colorful, flexible, and honestly just plain fun to put together. There is no stove to watch, no timer stress, just a board slowly filling up with sweet little surprises.
Some people say the whole charcuterie trend is overdone, but I still love it, especially when candy gets involved. A candy board feels lighter and more relaxed, like something you build while chatting or setting up for a movie night. Friends drift over, sneak pieces, and suddenly it becomes part of the gathering instead of just food.
I make this board often because it adapts to almost any occasion. Birthdays, game nights, holidays, or even a random Friday evening all feel a bit more special with one on the table. It is easy to customize, easy to refill, and always disappears faster than expected.
What Makes a Candy Charcuterie Board Special
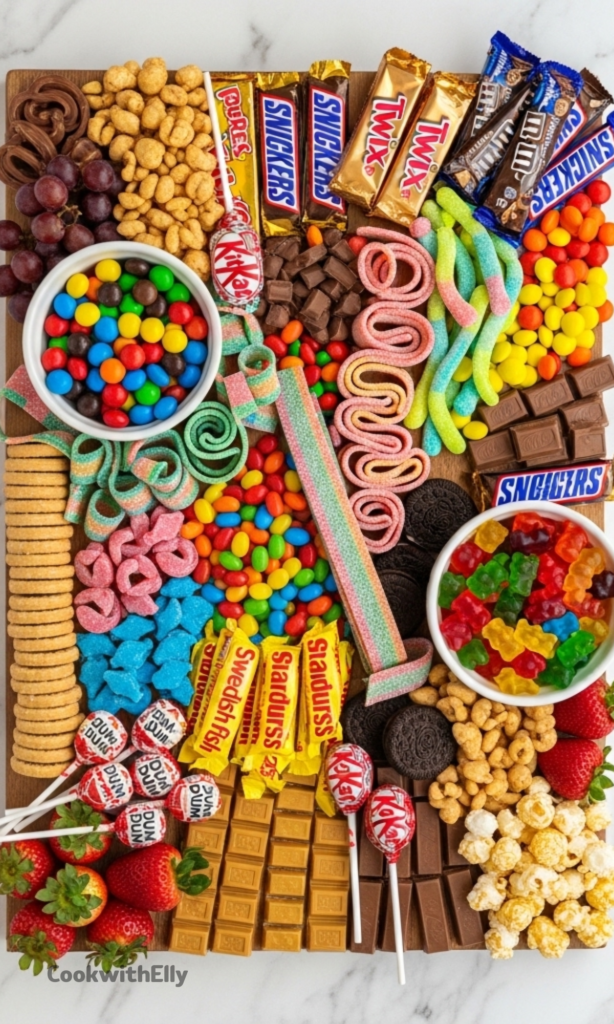
A candy charcuterie board takes the familiar idea of a meat and cheese board and flips it into dessert mode. Instead of savory bites, you build layers of chocolate, fruity candy, chewy textures, and playful colors. The goal is abundance without chaos.
I like that it invites people to pick and choose without committing to a full dessert. A gummy here, a chocolate there, maybe something sour to wake things up. It keeps the mood casual and encourages sharing without anyone feeling rushed.
Ingredients Needed for the Recipe
M&M candies - These add bright pops of color and a crunchy chocolate bite.
Jolly Ranchers - Perfect for bold fruity flavor and a hard candy contrast.
Dum Dum lollipops - Great for height and a playful, nostalgic touch.
Gummy bears - Soft and chewy, they help balance harder candies.
Starbursts - A smooth, fruity chew that fills gaps beautifully.
Fun-size candy bars - These bring in chocolate variety and familiar favorites.
Sour candy belts - Ideal for tangy flavor and long shapes that curve around the board.
Sour gummy worms - They add movement, color, and a little zing.
Choosing the Right Board and Bowls
The board itself does not need to be fancy, but it should feel sturdy and roomy. Wood boards are my favorite because they warm up all those bright candy colors. A large cutting board or serving tray works just as well.
Small bowls matter more than people think. They add height and help keep loose candies from wandering. I usually grab two or three small bowls, nothing matching, because a bit of mismatch keeps things relaxed.
How to make Candy Charcuterie Board?
Make this recipe yours—just save it to your Pinterest board!”
Step 1 - Prepare the Board
Start by washing and drying your serving board so it is clean and ready. Place it where you plan to serve because once it is full, moving it can get tricky. This step seems small, but it saves stress later.
Step 2 - Add the Bowls
Fill two small bowls with M&Ms and gummy bears. Place them on the board first, spacing them apart so they anchor different sections. These bowls create structure and guide the rest of the layout.
Step 3 - Place Large Candies
Set out the fun-size candy bars and lollipops next. Tuck them around the bowls and along the edges to create visual balance. Larger items should feel intentional, not scattered.
Step 4 - Fill with Medium Candies
Add Starbursts, sour belts, and gummy worms into the open spaces. Let them curve and overlap slightly so the board feels full but not messy. Different shapes help keep the eye moving.
Step 5 - Finish with Small Details
Fill remaining gaps with Jolly Ranchers and any extra gummies. These small candies act like confetti, tying everything together. Step back, adjust a few pieces, and call it done.
Flavor Balance Matters More Than You Think
Even though this is candy, balance still plays a role. Too much chocolate can feel heavy, while too many sour candies can overwhelm. Mixing textures and flavors keeps people coming back for more.
I try to include at least one crunchy, one chewy, one chocolatey, and one sour option. It sounds simple, but it makes a big difference in how the board feels. People notice, even if they do not say it out loud.
Theme Ideas That Always Work
This board shines when you lean into a theme. Movie night works year-round with classic candies and popcorn on the side. Holiday boards are fun too, especially when colors match the season.
Easter boards look great with chocolate eggs and pastel candies. Halloween boards practically build themselves with gummy bugs and candy corn. A theme gives direction without adding pressure.
Tips
Use small bowls to add height and keep loose candies contained.
Start with the largest items, then work down to the smallest.
Avoid placing similar colors or shapes right next to each other.
Keep extra candy nearby for easy refills during the event.
Do not overthink it, slight imperfections make it feel inviting.
Serving and Refilling During a Gathering
I like to set the board out early so it becomes part of the atmosphere. People naturally drift over and start sampling without needing instructions. It breaks the ice faster than almost anything else.
Making It Your Own Over Time
No two candy charcuterie boards need to look the same. Each time I make one, it changes slightly based on mood, season, or what I find at the store. That freedom is part of the charm.
Over time, you start to notice patterns in what people love. Certain candies vanish first, others linger. Let those little observations guide your next board and it will only get better.
At the end of the day, this Candy Charcuterie Board is less about perfection and more about joy. It is colorful, casual, and meant to be shared. That is exactly why it keeps finding its way back onto my table.
Create a feast for the eyes and the stomach with this colorful Candy Charcuterie Board – a sweet twist on the classic meat and cheese board. Perfect for parties, movie nights, or holiday gatherings, this board combines chocolatey, fruity, sour, and crunchy treats in an eye-catching display that’s as fun to assemble as it is to eat!