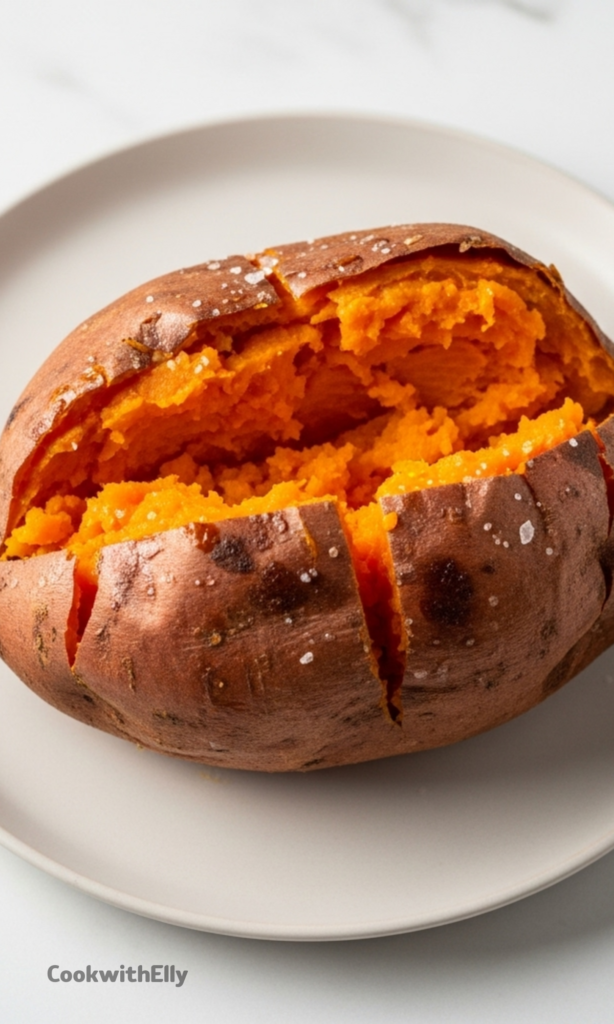
There's something truly special about a perfectly baked sweet potato. It's not just a side dish, it's an event. The skin cracks and puffs, promising the creamy, almost sticky-sweet flesh inside. That contrast of crisp exterior and soft interior is everything.
And achieving it? It's simpler than you might think. Forget everything you've heard about poking holes or wrapping them in foil. We're going for maximum flavor and texture here, and I learned this patient method from the best—my grandma.
Let's turn these humble tubers into the star of your table.
A Sweet Potato, By Any Other Color
First, a quick chat about our star ingredient. Those orange-fleshed beauties you see everywhere are just one variety. Sweet potatoes can be white, yellow, or even a stunning violet-purple.
They're all wonderful, but they do behave a bit differently. The orange ones, packed with beta-carotene, get the sweetest and creamiest. Purple ones are often a tad drier and less sugary.
For this classic, crispy-skinned version, the common orange sweet potato is your perfect canvas. Just look for firm potatoes with smooth, unblemished skins.
Ingredients Needed for the Recipe
See? Beautifully simple. The magic is in the method.
Sweet Potatoes: However many you need! Try to pick ones similar in size for even cooking.
Olive Oil (or Avocado/Coconut Oil): A light coating is all we need. It helps the salt stick and works wonders for crisping up that skin.
Sea Salt or Himalayan Pink Salt: This isn't just for the flesh. A sprinkle on the skin before baking creates a delicious, seasoned crunch you'll want to eat.
Parchment Paper: Lining your baking sheet makes cleanup effortless and prevents any sticky drips from caramelizing onto your pan.
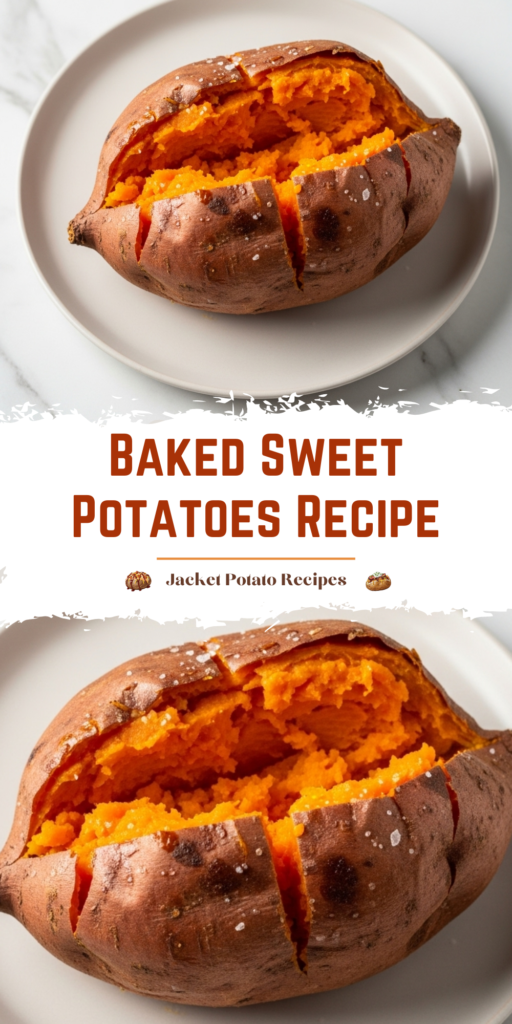
How to make Perfect Baked Sweet Potatoes (with Crispy Skins!)?
This is where patience pays off. We're not rushing. We're slowly transforming, concentrating flavors and textures.
Make this recipe yours—just save it to your Pinterest board!”
Step 1- Prep & Heat
Start by preheating your oven to 400°F (200°C). This is the sweet spot, trust me. While it warms, give your potatoes a good scrub under running water.
Scrub off any dirt, and if you see any dodgy spots, just slice them out with a small knife. Dry them thoroughly with a kitchen towel. Damp potatoes steam, and we're not steaming.
Step 2- Oil & Salt
Place your dried potatoes on the parchment-lined baking sheet. Now, lightly brush or spray them all over with your oil. Don't drench them, just a thin, even glaze.
Follow that with a generous pinch of salt over each one. Roll them a bit to coat evenly. This step is the secret to that irresistible, crispy, seasoned skin.
Step 3- Bake, Wait, and Flip
Pop that tray into your preheated oven. Now, the waiting game begins. The total time can vary wildly, from 40 to 90 minutes.
Smaller potatoes (under 3 inches thick) will be quicker. Big, hefty ones need more time. About halfway through, just flip each potato over. This ensures an evenly crisp and beautifully browned skin all around.
If you forget the flip, don't panic. They'll still be great.
Step 4- The Doneness Test
Here's the artistry. After about 40 minutes, you can start checking. Put on an oven mitt and give one a gentle squeeze. It should yield deeply, feeling almost liquid inside its skin.
The skins will start to puff up and look slightly wrinkled. You can also gently tug at a bit of skin. If it pulls away from the flesh with zero effort, you're there.
When you slice it open, the flesh should be wildly creamy and come off a fork easily. If it's still at all firm or fibrous, give it more time.
Tips
Size Matters: For a predictable dinner, choose potatoes of similar size. If you have a mix, just expect to pull the smaller ones out earlier.
No Foil, Ever: Foil traps steam. Steam gives you soggy skin and a less concentrated, watery interior. We want crispy and creamy.
Give Them Space: Don't crowd the baking sheet. Air needs to circulate around each potato for proper crisping.
High Heat is a Trick: Baking at 425°F or higher cooks them faster, but the inside won't have that same slow-reduced, ultra-creamy texture. 400°F is perfect.
Your New Meal Prep Best Friend
Once you've mastered the basic bake, a world of easy meals opens up. A perfect baked sweet potato is the ultimate gluten-free foundation.
Cook a few on a Sunday, and your weekday lunches are halfway done. Let them cool, then stash them in the fridge for up to five days.
When you're ready, reheat in a 425°F oven wrapped in foil for about 20 minutes, or just give them a quick zap in the microwave. Dinner is served, in minutes.
How to Serve Your Masterpiece
Now for the fun part. The topping possibilities are endless, truly. Keep it classic with a pat of butter, a crack of black pepper, and a pinch of flaky salt.
Or, go all out. Load it up like a baked potato with bacon, sour cream, and chives. For a healthy meal, treat it like a bowl.
Top it with black beans, salsa, and avocado. Leftover chili is a fantastic option. For breakfast, try it with a fried egg and a dash of hot sauce.
You can even scoop out the flesh and mash it with a little butter and milk for the easiest mashed sweet potatoes ever. Don't discard that skin, though. It's the cook's treat—crispy, salty, and delicious.
Storing and Reheating Leftovers
Let any uneaten potatoes cool completely to room temperature. Then, just place them in an airtight container in the refrigerator.
They'll keep beautifully for up to five days. I don't recommend freezing them, as the texture can become a bit grainy upon thawing.
To reheat, the oven method is best for restoring a bit of that skin texture. Wrap them in foil and bake at 425°F for about 20 minutes. Cutting them in half lengthwise first speeds things up.
The microwave works in a pinch for a quick lunch—just heat on high for 1-2 minutes until warmed through.
Mastering the perfect baked sweet potato is a great skill for meal prep! Learn how to bake sweet potatoes in the oven until creamy inside with irresistibly crispy skins. They’re naturally sweet, packed with nutrients like vitamin A and fiber, and make a fantastic base for endless healthy meals—from savory dinners to breakfast bowls.
1tablespoon olive oil (or avocado oil or coconut oil)
sea salt (to taste)
Instructions
1
Preheat your oven to 400°F (204°C). Line a rimmed baking sheet with parchment paper for easy cleanup.
2
Wash the sweet potatoes thoroughly under running water and scrub off any dirt. Trim away any blemishes or soft spots with a paring knife. Pat dry with a clean towel.
3
Brush or rub each sweet potato lightly with olive oil, then sprinkle evenly with sea salt.
4
Place the sweet potatoes directly on the prepared baking sheet, spaced apart so they don’t touch.
5
Bake for 40 to 90 minutes, depending on size. Smaller potatoes (under 3 inches in diameter) may be done in 40–50 minutes; larger ones can take up to 90 minutes. For even crispiness, flip the potatoes halfway through baking.
6
Check for doneness by gently squeezing the potato—it should yield easily and feel very soft. The skin will puff slightly and pull away easily when ready.
7
Remove from oven and let cool slightly before slicing open. Serve as is or with your favorite toppings!
Nutrition Facts
Servings 4
Serving Size 1 medium sweet potato (130g)
Amount Per Serving
Calories103kcal
% Daily Value *
Total Fat0.2g1%
Sodium73mg4%
Potassium337mg10%
Total Carbohydrate24g8%
Dietary Fiber3.8g16%
Sugars5.4g
Protein2g4%
Calcium 3 mg
Iron 0.7 mg
* Percent Daily Values are based on a 2,000 calorie diet. Your daily value may be higher or lower depending on your calorie needs.
Note
Don’t wrap in foil! Baking without foil allows moisture to escape, yielding creamy flesh and crispy skins.
Size matters: Choose similarly sized potatoes for even cooking.
Storage: Store cooled baked sweet potatoes in an airtight container in the fridge for up to 5 days. Reheat in the oven at 425°F wrapped in foil for 20 minutes, or microwave for quick meals.
Meal prep tip: Top with proteins like eggs, beans, grilled chicken, or black beans and salsa for balanced bowls.