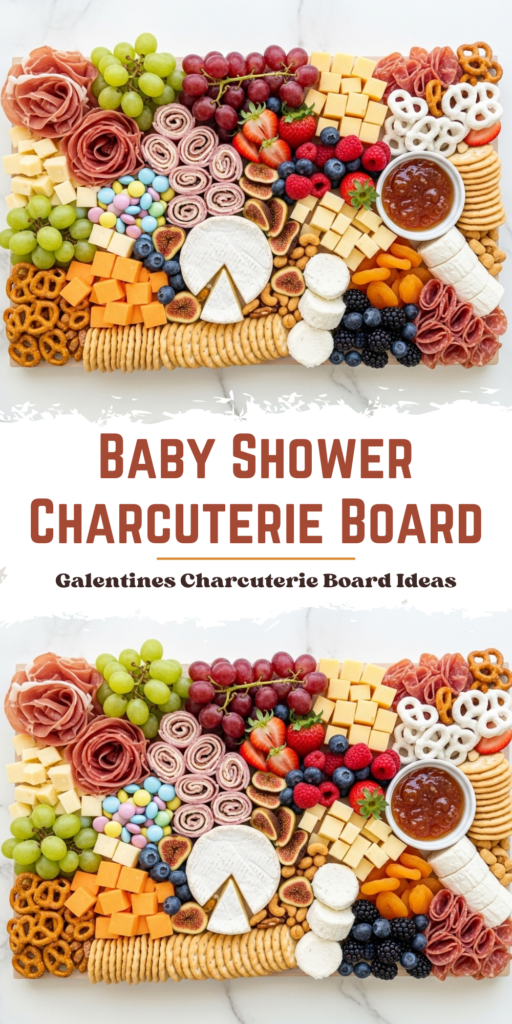
I have a soft spot for baby showers. They feel gentler than most parties, slower somehow, and the food should match that mood. A baby shower charcuterie board does exactly that. It feeds people without pulling attention away from the celebration itself.
I started making these boards years ago after realizing guests wanted to nibble, chat, and move around. No one wanted a heavy plate balanced on their lap. A grazing board lets everyone eat what they want, when they want.
This guide is based on what I actually put on boards for real showers. Nothing fussy. Nothing stressful. Just thoughtful combinations, simple prep, and a few tricks that make the board feel special.
Why a Charcuterie Board Works So Well for Baby Showers
Baby showers are social by nature. People drift between conversations, games, and gift tables. A charcuterie board fits right into that flow without forcing anyone to sit down.
I like that it doubles as decor. Even a modest board becomes a centerpiece once it is filled with color and texture. It fills space in a warm, inviting way.
There is also flexibility. You can go sweet, savory, or a mix of both. You can keep things mild, kid-friendly, and familiar, which matters when guests range from grandparents to toddlers.
Ingredients Needed for the Recipe
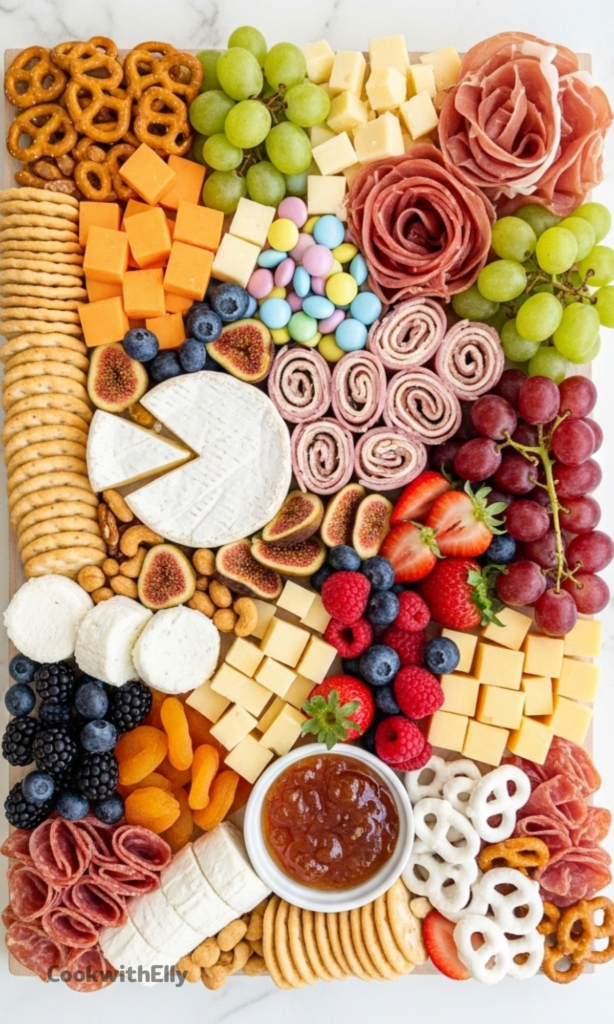
Assorted cheeses – these form the base and give the board structure and variety
Mild cured meats – used for savory balance without overpowering other flavors
Fresh fruits – add color, freshness, and natural sweetness
Dried fruits – bring chewiness and deeper flavor notes
Crackers and breadsticks – provide crunch and a neutral pairing option
Nuts – fill gaps and add texture in small amounts
Dips or spreads – honey, jam, or soft spreads tie bites together
Sweets or candies – used sparingly for theme and playful touches
How to make Baby Shower Charcuterie Board Themes And Tips?
Make this recipe yours—just save it to your Pinterest board!”
Step 1 - Choose Your Board and Layout
I start with the board itself. Wood, marble, or a simple platter all work, as long as there is enough space.
Before adding food, I picture where cheeses will go. They act like anchors and help guide everything else.
Step 2 - Place the Cheeses First
Cheeses go on before anything else. I spread them out rather than clustering them together.
This creates natural sections and prevents overcrowding later.
Step 3 - Add Meats and Larger Items
Next come the meats and any bowls of dips or spreads. These items define the board’s shape.
I fold or roll meats gently. It looks inviting and makes grabbing easier.
Step 4 - Fill in with Fruits and Crackers
Fresh fruits add color fast. I place them near cheeses they pair well with.
Crackers and breadsticks slide into open spaces without overwhelming the board.
Step 5 - Finish with Small Details
Nuts, dried fruits, and sweets fill the gaps. This is where the board starts to feel abundant.
I stop before it feels crowded. Empty space is not a bad thing.
Serving Ideas That Keep Things Easy
I always set out small tongs or toothpicks. It keeps things tidy and helps guests feel comfortable.
For larger showers, I prefer two medium boards instead of one giant one. It reduces crowding instantly.
Napkins nearby are essential. Plates are optional.
Tips
Prep everything the day before and assemble close to serving time
Keep extra items chilled to refresh the board later
Stick to mild flavors that appeal to many guests
Use bowls to contain messy or sticky items
Step back and adjust before serving, small tweaks matter
Kid-Friendly Additions Without a Separate Board
If kids will be present, I weave in familiar snacks. Cheese cubes, berries, and simple crackers work well.
I avoid spicy or hard-to-chew items. The board should feel welcoming to everyone.
Bright colors naturally draw kids in, so fruit does most of the work here.
Storage and Make-Ahead Advice
Most components can be prepped a day ahead. I store everything separately in airtight containers.
Cheese comes out of the fridge about thirty minutes before serving. It tastes better that way.
Once assembled, the board is best enjoyed within a few hours.
Decorative Touches That Do Not Overdo It
A few non-food decorations can help reinforce the theme. Small signs or floral accents work nicely.
I keep decor minimal and always clearly separate from food. Guests should never wonder what is edible.
Sometimes the food itself is decoration enough.
Final Thoughts From My Kitchen
A baby shower charcuterie board does not need perfection. It needs care. That difference shows.
I have learned that guests remember how a spread made them feel, not whether everything matched exactly.
If you build the board with intention and a little joy, it will do exactly what it should. Bring people together, quietly and beautifully.
This baby shower charcuterie board is a beautiful, customizable grazing platter filled with gourmet cheeses, mild cured meats, fresh and dried fruits, crackers, and sweet treats. Designed to delight guests and double as a decorative centerpiece, it’s perfect for celebrating the mom-to-be in style—offering both visual charm and delicious variety with minimal prep.
ingredients
Meats & Cheeses
8oz prosciutto (thinly sliced)
8oz honey ham or turkey roulades (mild and family-friendly)